How to Make a Chicken Teriyaki Bowl That’s Better Than Takeout
Let’s be honest, there are nights when the siren song of takeout is almost impossible to resist. The craving for a savory, sweet, and satisfying teriyaki bowl can be powerful.
But what if you could recreate that same magic at home, elevate the flavors, and pack it with nutrients—all in about 30 minutes? That’s exactly what this recipe is all about.
As a Registered Dietitian, I’m passionate about making healthy food genuinely crave-worthy. This isn’t just another recipe; it’s a guide to building a perfectly balanced meal.
We’ll ditch the high-sodium, sugar-laden store-bought sauces and create a simple, flavor-packed version from scratch. Get ready for a new weeknight favorite that will leave you feeling energized and satisfied.
- What Makes This Teriyaki Bowl Genuinely Healthy
- Why Should I Make the Teriyaki Sauce from Scratch
- How to Choose the Best Ingredients for Your Bowl
- The Trick to a Perfect Homemade Teriyaki Sauce
- Cooking Your Chicken and Veggies Like a Pro
- Step by Step Guide to Assembling Your Bowl
- What Toppings Can Elevate Your Teriyaki Bowl
- How to Meal Prep These Bowls for the Week
- Conclusion
What Makes This Teriyaki Bowl Genuinely Healthy
This isn’t just a tasty meal; it’s a powerhouse of balanced nutrition thoughtfully designed to fuel your body and delight your taste buds.
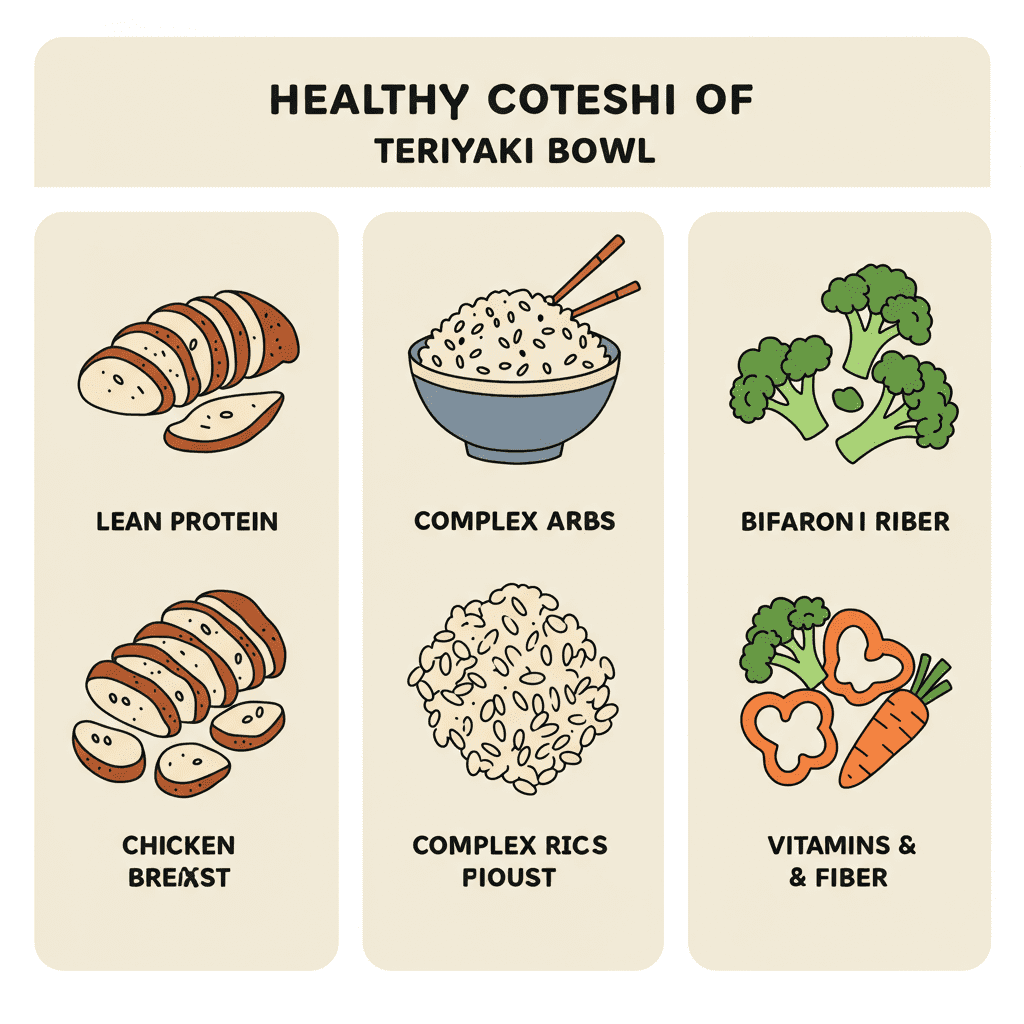
It’s built on a foundation of three key macronutrients that work together to provide sustained energy and keep you feeling full and satisfied long after you’ve cleaned your bowl. First, we have lean protein from the chicken, which is essential for muscle repair and building.
Next, complex carbohydrates from brown rice (or another whole grain) provide a slow and steady release of energy, preventing the blood sugar spike and subsequent crash you might get from more refined grains. Finally, the rainbow of vegetables delivers crucial fiber, vitamins, and phytonutrients that support everything from gut health to immune function.
This combination is the key to a meal that truly nourishes.
Why Should I Make the Teriyaki Sauce from Scratch
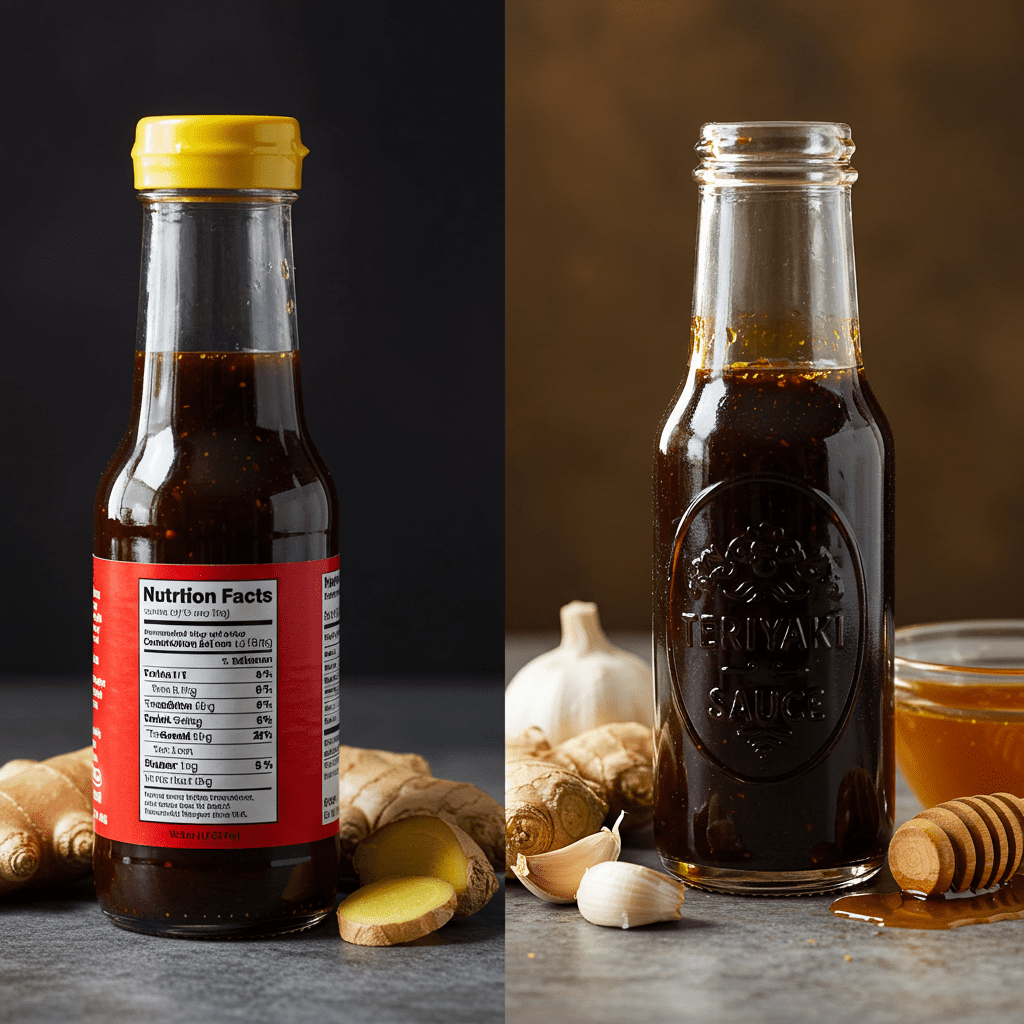
The aisle of pre-made sauces at the grocery store can be tempting, but a quick look at the nutrition label often reveals a less-than-desirable reality. Many commercial teriyaki sauces are loaded with sodium and sugar, two ingredients that most of us could stand to reduce.
The Centers for Disease Control and Prevention (CDC) notes that a significant portion of sodium in American diets comes from processed foods and restaurant meals. By making your sauce at home, you gain complete control.
You decide the sweetness, the saltiness, and you get to use fresh, vibrant ingredients. The flavor of freshly grated ginger and garlic is infinitely better than their powdered counterparts, creating a sauce that’s brighter, more aromatic, and free from unnecessary preservatives.
It takes just five extra minutes and elevates the entire dish from good to exceptional.
How to Choose the Best Ingredients for Your Bowl
The beauty of a bowl meal lies in its versatility. Think of this recipe as a template for you to customize based on your preferences and what’s in your fridge.
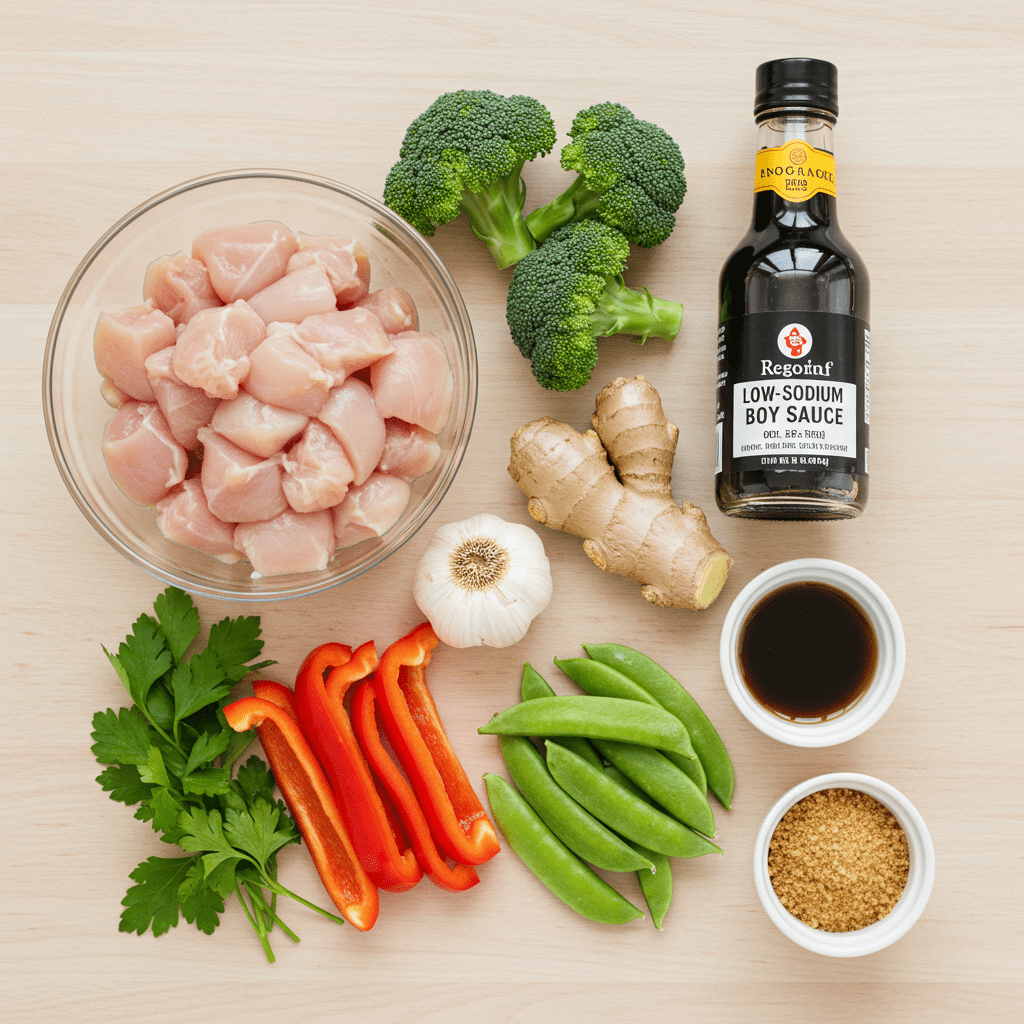
For the Protein: Boneless, skinless chicken breast is a fantastic lean option. Chicken thighs will offer a richer flavor due to their higher fat content.
Beyond chicken, this bowl works wonderfully with shrimp, thinly sliced steak, or plant-based proteins like firm tofu or edamame. If using tofu, be sure to press it for at least 20 minutes to remove excess water for a better texture.
For the Veggies: Aim for a variety of colors to maximize your nutrient intake. My go-to combination is broccoli, red bell peppers, and snap peas for their crunch and sweetness.
However, feel free to add or substitute with bok choy, edamame, shredded carrots, or mushrooms. For the Base: Brown rice is an excellent choice for its fiber content, which supports digestive health and promotes satiety.
According to the Mayo Clinic, whole grains are a vital part of a healthy diet. If you’re not a fan of brown rice, quinoa, farro, or even cauliflower rice for a low-carb option are all fantastic alternatives.
The Trick to a Perfect Homemade Teriyaki Sauce
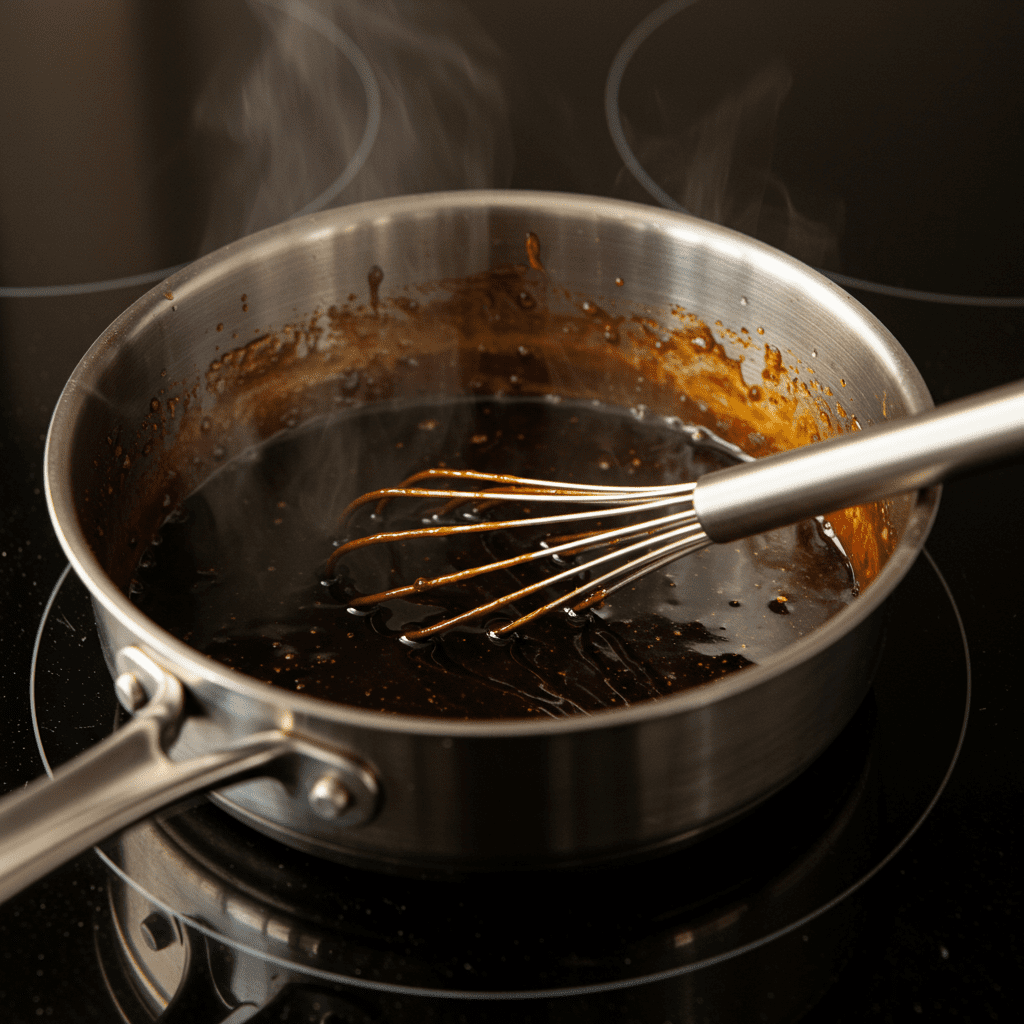
The secret to a luscious, glossy teriyaki sauce that perfectly coats every bite is all in the technique. In a small bowl, whisk the cornstarch with a few tablespoons of cold water until it’s completely smooth.
This step is crucial; adding cornstarch directly to hot liquid will create lumps. Once your slurry is ready, combine the low-sodium soy sauce, honey, brown sugar, and freshly grated ginger and garlic in a small saucepan.
A microplane grater is your best friend here—it turns the ginger and garlic into a fine paste, allowing their flavors to infuse the sauce instantly. Whisk everything together and bring it to a gentle simmer over medium heat.
As it heats up, slowly pour in the cornstarch slurry while whisking continuously. You’ll see the sauce begin to transform, thickening into a beautiful, glossy glaze in just a minute or two.
Once it’s thick enough to coat the back of a spoon, it’s perfect.
Cooking Your Chicken and Veggies Like a Pro
To achieve that satisfying, restaurant-quality texture, a couple of simple techniques make all the difference. For the Chicken: The key to getting a beautiful golden-brown sear is a hot pan and enough space.
Heat your skillet or wok over medium-high heat with a bit of oil. Add the chicken in a single layer, ensuring you don’t overcrowd the pan.
If you add too much at once, the chicken will steam instead of sear. It’s better to cook it in two batches if necessary.
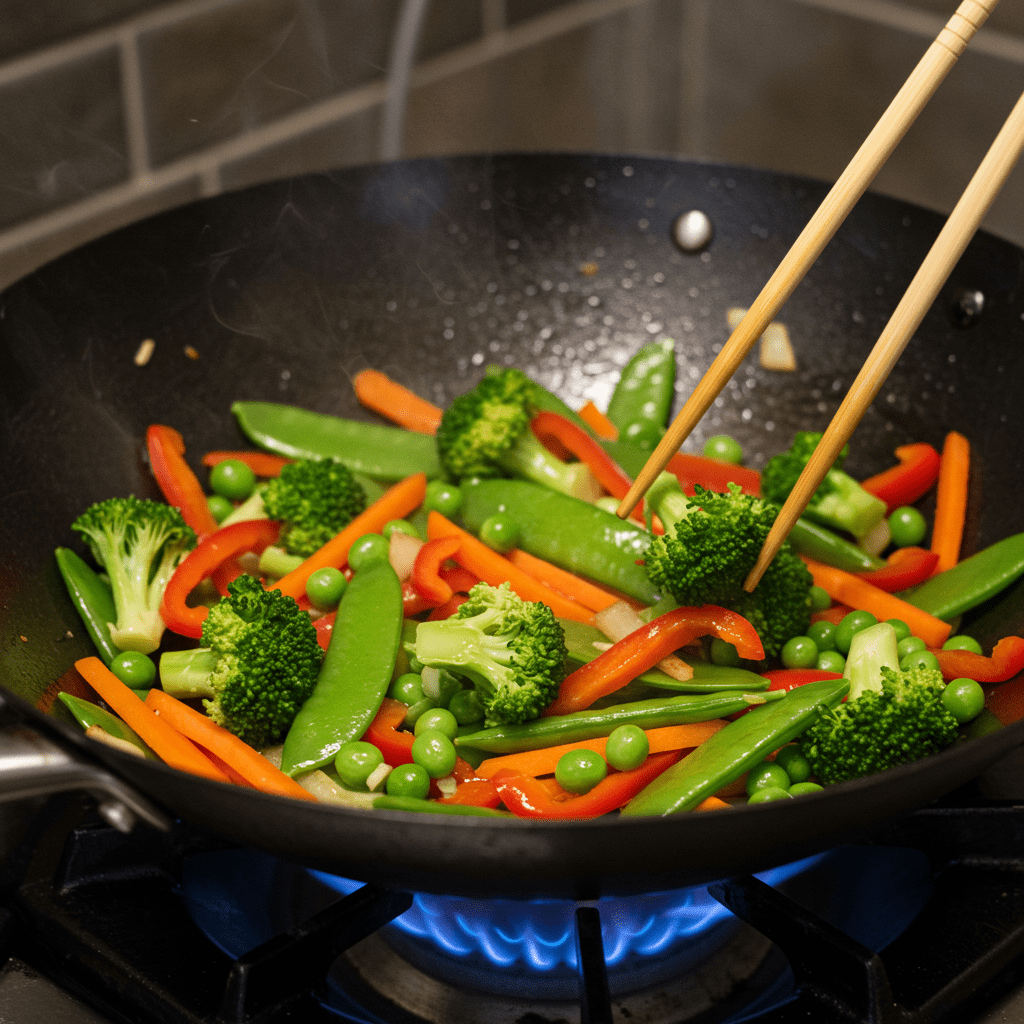
Let it cook for 3-4 minutes without moving it to develop a nice crust before flipping and cooking through. For the Vegetables: You’re aiming for “tender-crisp”—a texture that’s cooked through but still has a pleasant bite.
Start by stir-frying the heartier vegetables like broccoli and carrots first, as they take longer to cook. After a few minutes, add the quicker-cooking veggies like bell peppers and snap peas.
Sautéing them for just 3-5 minutes will keep them vibrant and crunchy, preventing them from becoming mushy and waterlogged.
Step by Step Guide to Assembling Your Bowl
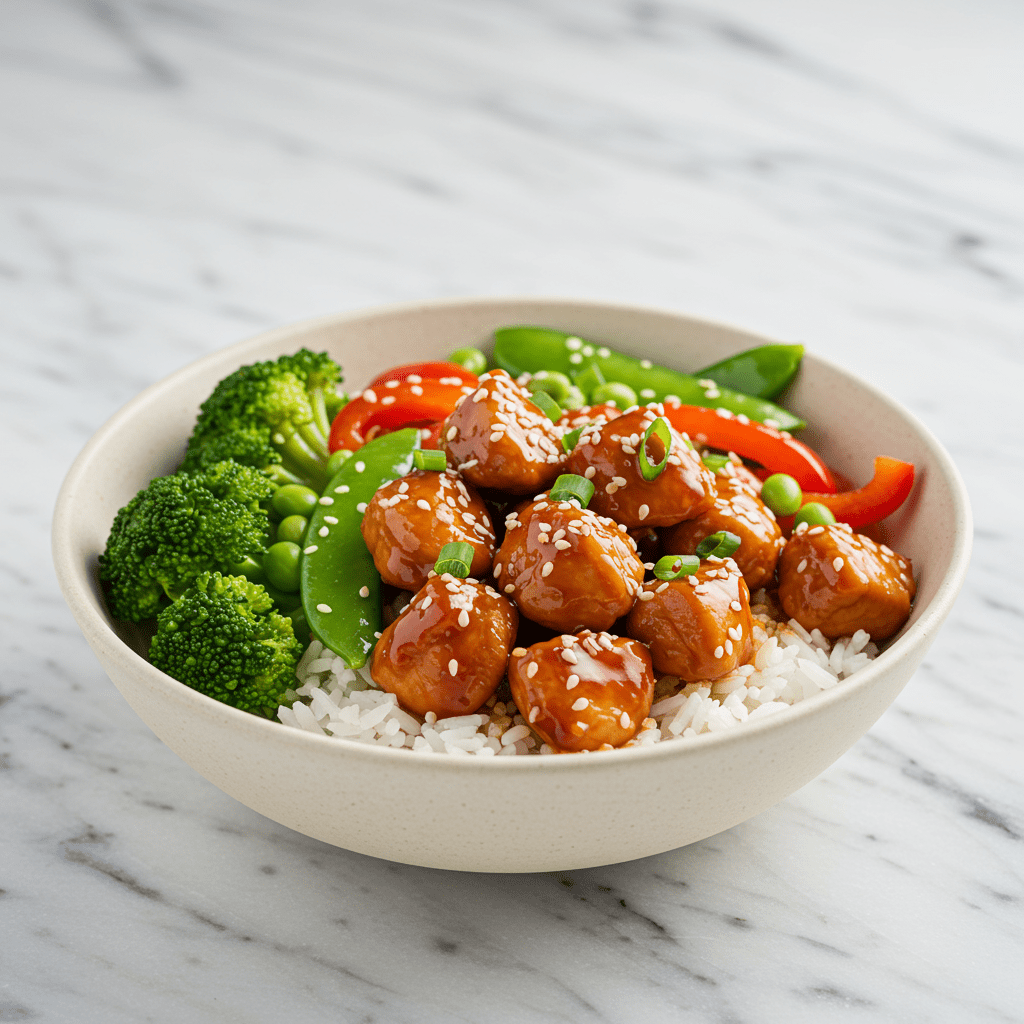
Now for the fun part—bringing it all together! This simple, methodical process ensures every component is perfectly cooked and the final bowl is a masterpiece of flavor and texture.
Full Recipe Card:
- Prep Time: 10 minutes
- Cook Time: 20 minutes
- Servings: 4
Ingredients:
- 1.5 lbs boneless, skinless chicken breast, cut into 1-inch cubes
- 1 tbsp avocado or olive oil
- 2 cups broccoli florets
- 1 red bell pepper, sliced
- 1 cup sugar snap peas
- 4 cups cooked brown rice, for serving
For the Homemade Teriyaki Sauce:
- 1/2 cup low-sodium soy sauce (or tamari for gluten-free)
- 1/4 cup water
- 2 tbsp honey
- 1 tbsp brown sugar
- 4 cloves garlic, minced or grated
- 1 tbsp fresh ginger, grated
- 1 tbsp cornstarch mixed with 2 tbsp cold water
Instructions:
- Prepare the Sauce: In a small bowl, whisk together the soy sauce, water, honey, brown sugar, garlic, and ginger. In a separate very small bowl, whisk the cornstarch and cold water to create a smooth slurry.
- Cook the Chicken: Heat the oil in a large skillet or wok over medium-high heat. Add the chicken in a single layer and cook for 5-7 minutes, turning occasionally, until golden brown and cooked through. Remove the chicken from the skillet and set aside.
- Cook the Veggies: In the same skillet, add the broccoli and bell pepper. Sauté for 3-4 minutes until they begin to soften. Add the snap peas and cook for another 1-2 minutes until all vegetables are tender-crisp.
- Combine and Thicken: Return the chicken to the skillet with the vegetables. Give the sauce a quick stir and pour it over the chicken and veggies. Bring to a simmer. Pour in the cornstarch slurry and stir continuously for 1-2 minutes until the sauce thickens and beautifully coats everything.
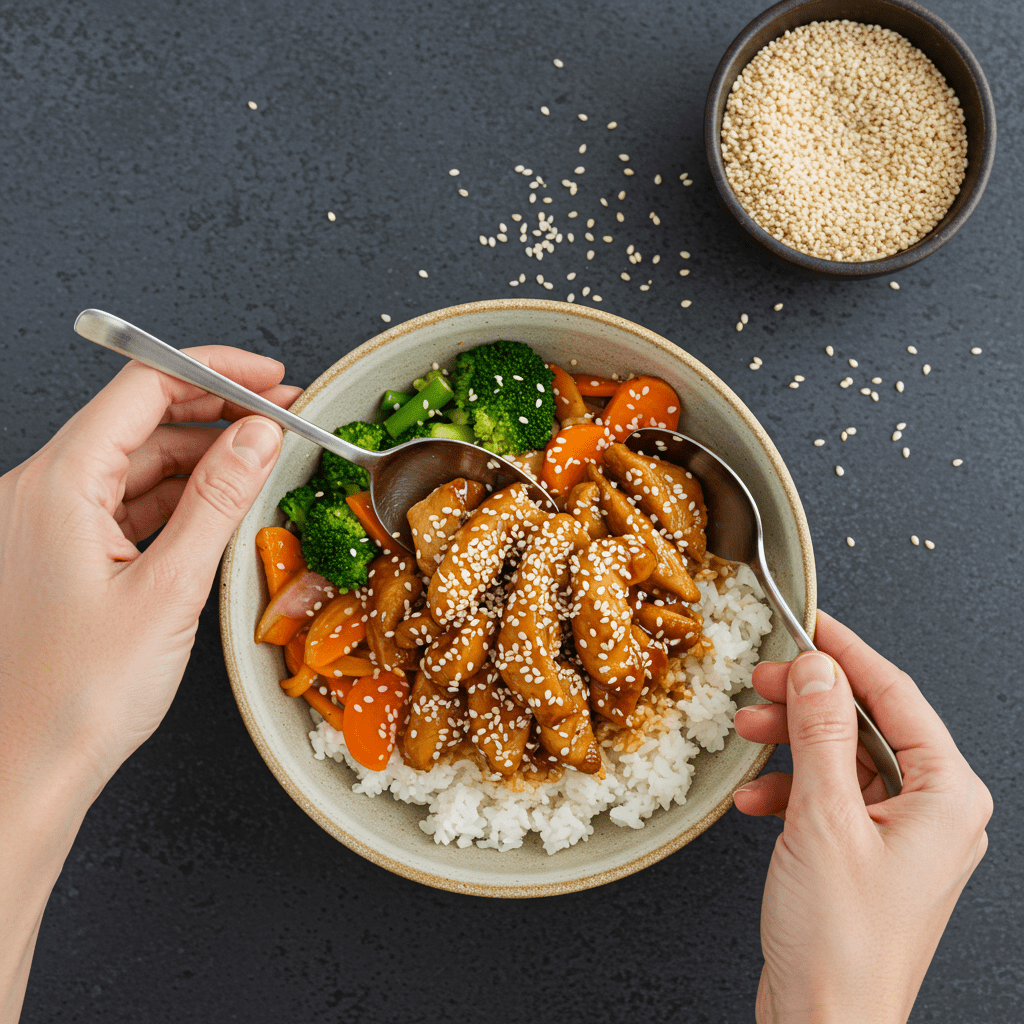
- Serve: Spoon a generous portion of the teriyaki chicken and vegetables over a bed of warm brown rice. Garnish as desired and serve immediately.
What Toppings Can Elevate Your Teriyaki Bowl
Toppings are where you can add another layer of personality, texture, and flavor to your bowl. Think beyond a simple garnish and consider what each element brings to the party.
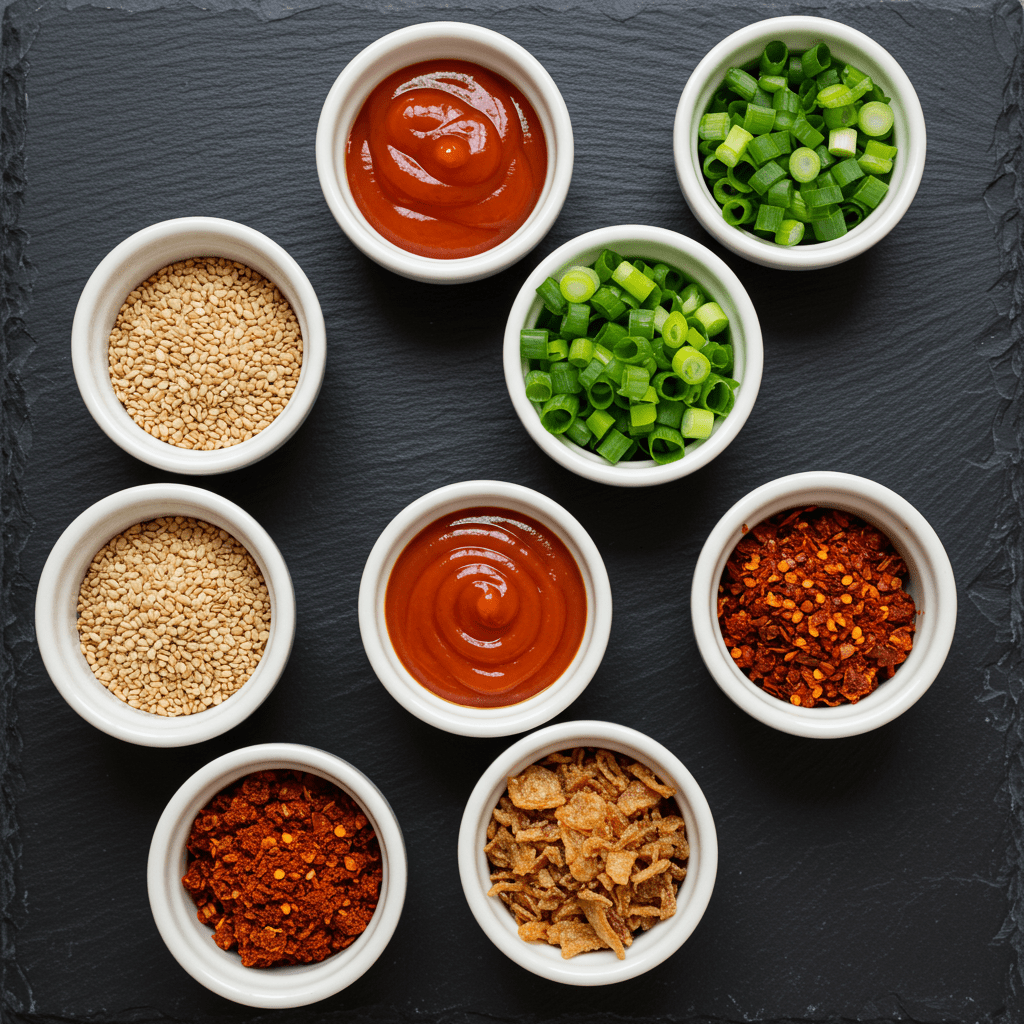
- For a Classic Touch: A sprinkle of toasted sesame seeds adds a nutty flavor, while thinly sliced green onions (scallions) provide a mild, fresh bite.
- For a Bit of Crunch: For an unexpected textural contrast, try adding some crispy fried onions or even a few chopped cashews or peanuts.
- For a Kick of Heat: If you like it spicy, a drizzle of sriracha is a great choice. For a more complex, textural heat, a spoonful of chili crisp is absolutely transformative.
- For a Burst of Freshness: A handful of fresh cilantro or some crisp bean sprouts can brighten up the whole bowl, adding a clean finish to the rich sauce.
How to Meal Prep These Bowls for the Week
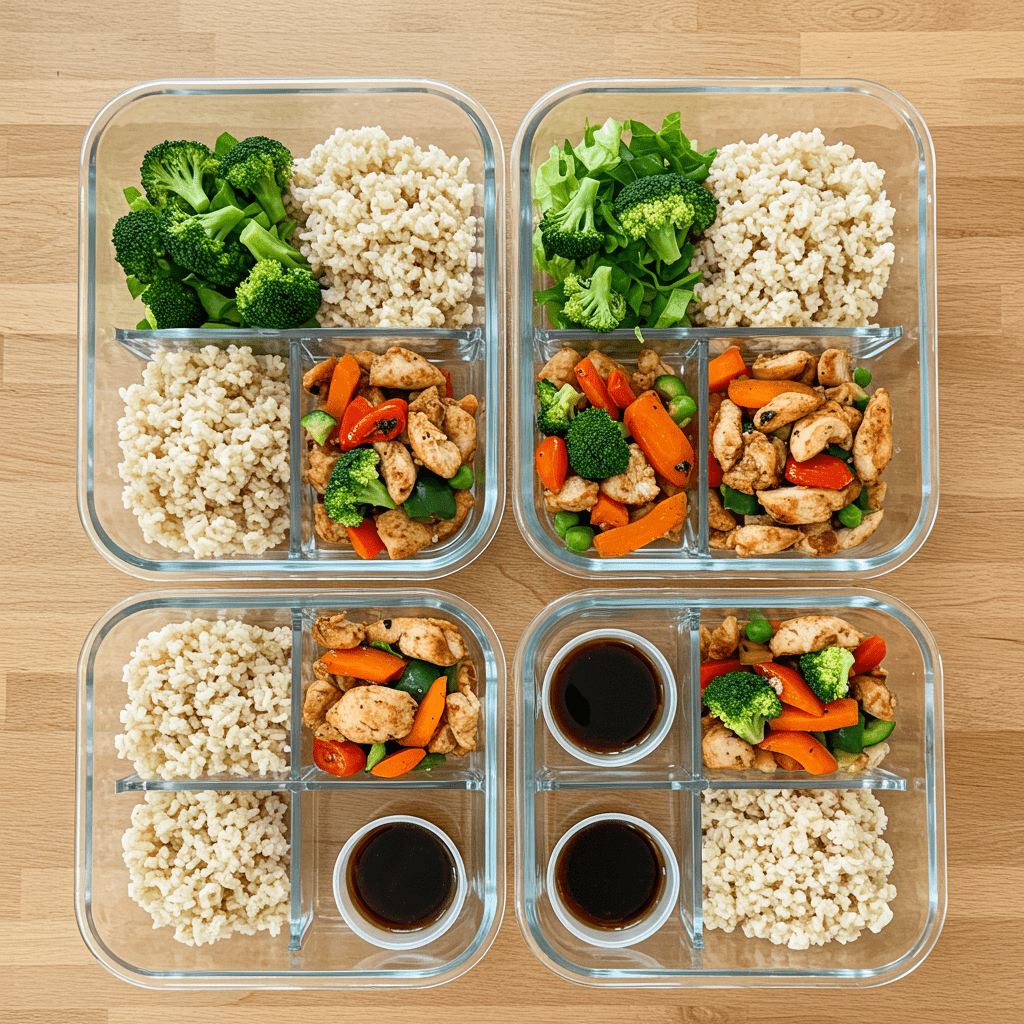
This bowl is a meal prepper’s dream, but the key to success is storing the components correctly to avoid a sad, soggy lunch. As recommended by food safety guidelines from the USDA, you can safely store this meal for up to 4 days in the refrigerator.
The Strategy:
- Cool Completely: Allow all cooked components (chicken, veggies, and rice) to cool down to room temperature before storing to prevent condensation.
- Store Separately: This is the most important step. Use airtight containers to store the rice, the chicken and vegetable mixture, and the teriyaki sauce separately. If you store them all together, the rice will absorb all the sauce, becoming mushy, and the veggies will lose their crispness.
- Portion for Success: Divide the rice and the chicken/veggie mix into individual meal prep containers. Store the sauce in small, lidded sauce containers or jars.
- Reheat and Combine: When you’re ready to eat, simply microwave the rice and the chicken/veggie container. Once hot, pour over your desired amount of sauce, give it a stir, and enjoy a perfect teriyaki bowl, even on day four.
Conclusion
Creating a restaurant-quality chicken teriyaki bowl at home is more than just a way to get dinner on the table; it’s an investment in your health and your palate. By taking control of the ingredients, you craft a meal that’s perfectly balanced, bursting with fresh flavor, and tailored exactly to your liking.
You’ve learned the secrets to a perfect homemade sauce, how to cook your protein and veggies to perfection, and how to pack it all up for delicious meals all week. Now you have the blueprint for a go-to weeknight dinner that the whole family will love.
So next time you’re tempted by takeout, remember the vibrant, satisfying, and wholesome bowl you can create right in your own kitchen.
