Perfectly Crispy Vegan Gluten Free Waffles (Oil-Free and Easy Recipe)
Imagine starting your day with a stack of waffles that are golden and crisp on the outside, fluffy and tender inside, all while being completely vegan, gluten-free, and oil-free. That’s the magic of this recipe!
As someone who’s navigated picky eaters and dietary restrictions in my own kitchen, I created these waffles to prove that you don’t have to sacrifice flavor or texture for health-conscious choices. Whether you’re avoiding gluten due to celiac disease, going dairy-free for ethical reasons, or just want a lighter breakfast option, these waffles fit seamlessly into your routine.
They’re ready in under 20 minutes, use pantry staples, and have been a hit with kids and adults alike in my taste tests. Let’s dive into why this recipe works so well and how you can make it your new go-to.
Why These Waffles Are a Breakfast Game-Changer

What sets these waffles apart is their perfect balance of crispiness and softness, achieved without eggs, butter, or oil—common culprits in traditional recipes that can make them heavy. The secret lies in almond flour, which provides natural fats and a nutty flavor that enhances texture while adding fiber and protein to keep you satisfied longer.
Studies show that almond flour can improve satiety due to its healthy fats and low glycemic index, helping stabilize blood sugar for a steady morning energy boost, according to research in the Journal of Food Science. Plus, being gluten-free, they’re safe for those with sensitivities; always opt for certified gluten-free flours to avoid cross-contamination, as recommended by the Celiac Disease Foundation.
No one in my family misses the ‘real’ thing—these are just as indulgent but better for you. With only 244 calories per serving and 5g of fiber, they align with sustainable, plant-based eating habits that support long-term wellness.
Key Ingredients and Smart Substitutions

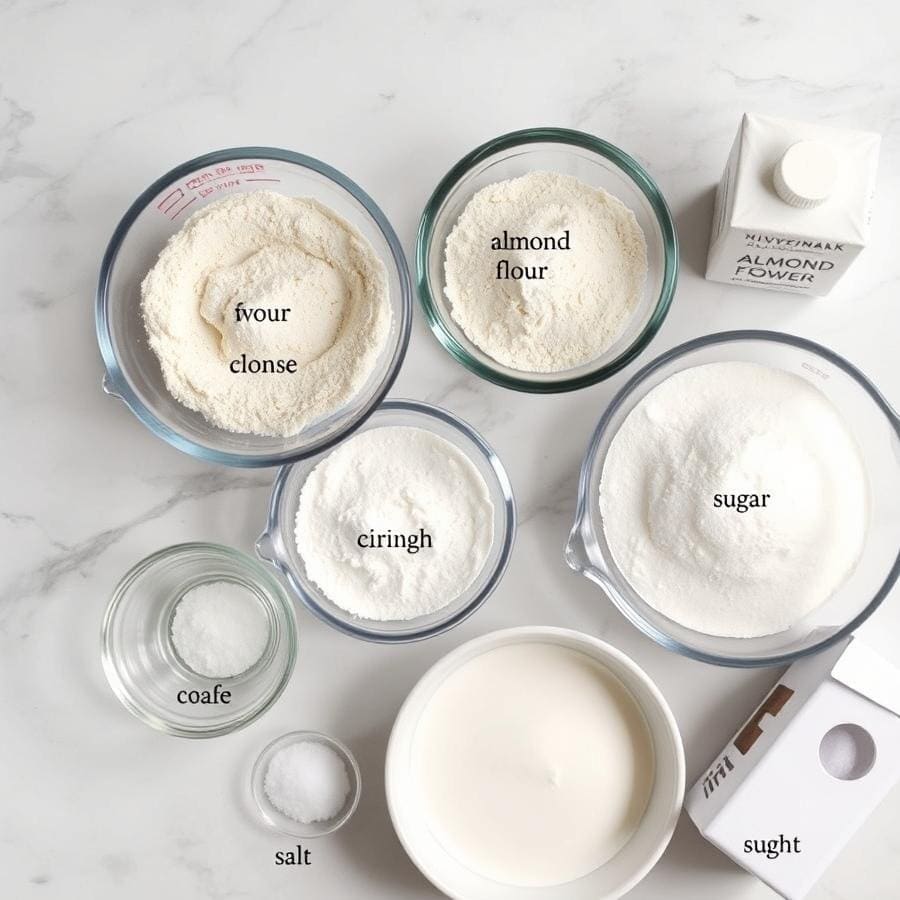
Gathering the right ingredients is key to success. Here’s what you’ll need for 10 servings:
- 2 cups gluten-free flour mix (King Arthur or Bob’s Red Mill 1:1 for reliable results; oat flour works if certified gluten-free).
- 2 cups almond flour (essential for crispiness and moisture—irreplaceable for nut-free, see my other recipe).
- 1 tablespoon baking powder (for lift).
- 2 tablespoons cornstarch (or arrowroot/tapioca for binding and extra crunch; cornstarch helps absorb moisture for that signature crisp, per baking science from King Arthur Baking).
- 4 tablespoons granulated sugar (coconut sugar or maple syrup for a natural twist).
- 1/2 teaspoon salt (enhances flavors).
- 3 cups almond milk (any plant-based milk like soy or oat; unsweetened for best control).
- 1 teaspoon pure vanilla extract (for warmth).
These 8 simple items come together in one bowl, minimizing cleanup.
If you’re new to gluten-free baking, note that blends with xanthan gum mimic gluten’s structure for better rise. For nut allergies, swap almond flour with more gluten-free flour, but expect a slightly denser texture—I’ve tested this variation successfully.
Essential Equipment for Waffle-Making
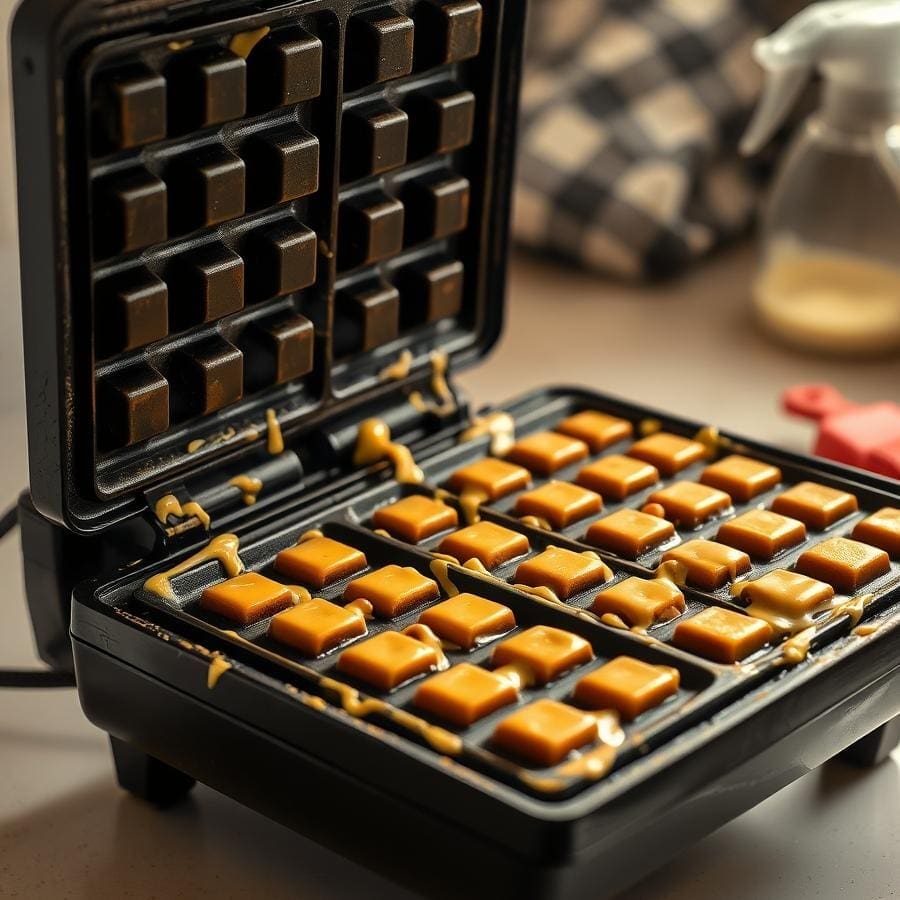
You don’t need fancy gadgets, but having the right tools ensures smooth sailing:
- Waffle iron (Belgian-style for thicker waffles or classic for thinner; preheat to medium-high).
- Large mixing bowl (for one-bowl ease).
- Whisk or spatula (for combining batter without overmixing).
- Measuring cups and spoons (accurate for dry/wet ingredients).
- Non-stick spray or brush (oil-free, but prevents sticking).
A good waffle iron is worth the investment—look for one with adjustable temperature to avoid burning.
If you lack one, these can be adapted into pancakes on a griddle, though the crispiness shines in the iron.
Step-by-Step Instructions

Making these waffles is straightforward and forgiving for beginners. Follow these steps for foolproof results:
- Prepare dry ingredients: In a large bowl, whisk together 2 cups gluten-free flour, 2 cups almond flour, 1 tablespoon baking powder, 2 tablespoons cornstarch, 4 tablespoons sugar, and 1/2 teaspoon salt. This ensures even distribution for uniform texture.
- Add wet ingredients: Pour in 3 cups almond milk and 1 teaspoon vanilla extract. Stir gently with a whisk until just combined—lumps are okay; overmixing deflates the batter and leads to tough waffles.
- Preheat waffle iron: Follow your model’s instructions, aiming for medium heat. Lightly spray with non-stick spray.
- Cook the waffles: Scoop 1/2-3/4 cup batter per waffle (depending on iron size). Close and cook 4-6 minutes until golden and crisp. Don’t peek early to avoid sticking—wait for the steam to subside.
- Serve immediately: Transfer to a wire rack to stay crisp. Repeat with remaining batter.
Total time: 20 minutes. The batter’s slightly thicker consistency from almond flour prevents sogginess.
Tips for Achieving Perfect Crispiness

To nail that enviable crunch every time:
- Use room-temperature almond milk for better emulsion and rise.
- Don’t skip cornstarch—it acts as a starch barrier for crisp exteriors.
- Ensure your waffle iron is fully hot; test with a drop of water—it should sizzle.
- Avoid overcrowding the iron; let each waffle cook fully before removing.
- For extra crunch, add a tablespoon of ground flaxseed to the dry mix for binding without eggs.
Common pitfalls: Soggy waffles often come from undercooking or wet toppings—drain fruit well.
If batter seems too thick, add a splash more milk, but keep it scoopable, not pourable. These tweaks, drawn from years of recipe testing, boost success rates dramatically.
Creative Serving and Topping Ideas
Elevate your waffles beyond basics:
- Classic: Maple syrup, vegan butter, and sliced bananas.
- Indulgent: Coconut whipped cream and chocolate chips.
- Savory twist: Top with avocado and everything bagel seasoning for brunch.
- Fruit-forward: Fresh strawberries, blueberries, and a dusting of powdered sugar.
Pair with my tofu scramble or a creamy peanut butter banana smoothie for a full vegan breakfast spread. These options keep things exciting and nutrient-dense—berries add antioxidants.
How to Store and Reheat Leftovers

These waffles store beautifully for meal prep:
- Fridge: Cool completely, then wrap individually in parchment and store in an airtight container for 3-4 days.
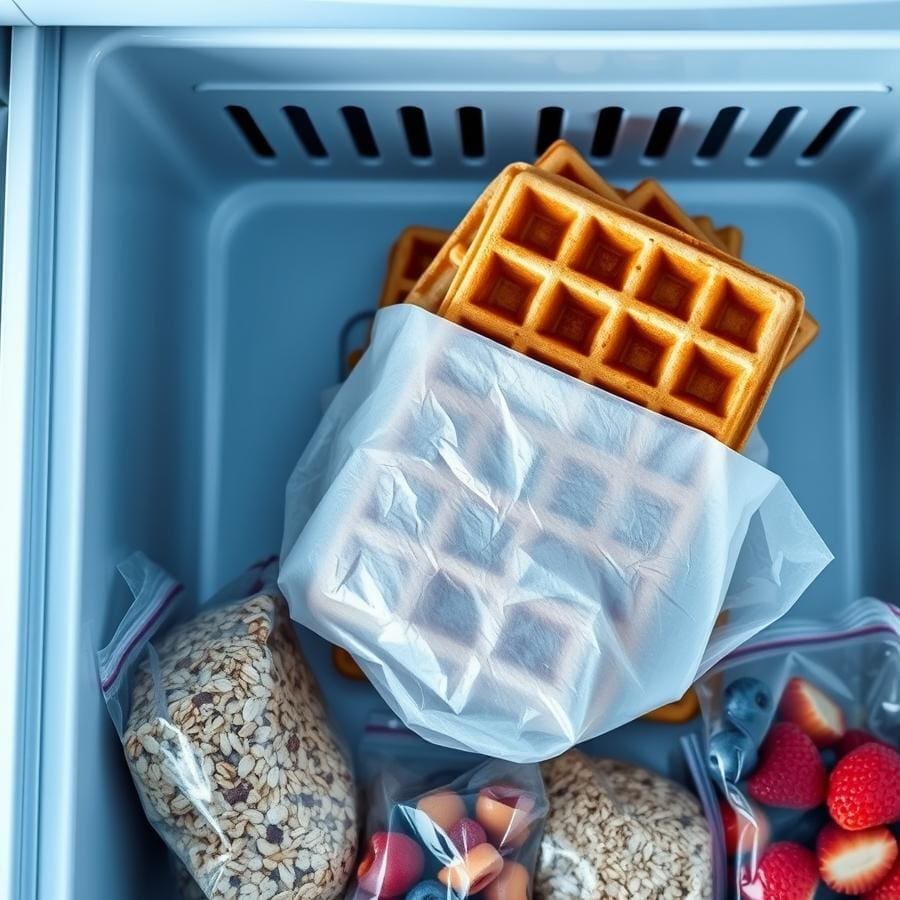
- Freezer: Stack with parchment between, place in a freezer bag for up to 3 months.
- Reheat: Toast directly from freezer or fridge for 2-3 minutes to restore crispiness—no microwave, as it steams them soft.
This method preserves texture, making weekday mornings effortless.
Pro tip: Portion batter ahead (store in fridge overnight) for fresh waffles anytime.
Frequently Asked Questions
Can I make these nut-free?
Yes, replace almond flour with gluten-free oat flour or more all-purpose mix, but they may be less crispy—try my other vegan waffles recipe.
Why are my waffles sticking?
Ensure the iron is well-sprayed and hot; cook until steam stops.
Can I prepare the batter ahead?
Mix dry ingredients up to a day in advance; add wet just before cooking to maintain leavening power.
Are these suitable for celiac disease?
Use certified gluten-free ingredients to prevent cross-contamination, as advised by organizations like the Celiac Disease Foundation.
How do I get them fluffier?
Don’t overmix, and let batter rest 5 minutes before cooking for better hydration.
Conclusion
These vegan gluten-free waffles aren’t just a recipe—they’re a simple way to bring joy and nourishment to your mornings without compromise. With their crispy edges and wholesome ingredients, they empower you to embrace plant-based eating confidently.
Give them a try this weekend, and tag me in your creations! Experiment with toppings to make them your own, and enjoy the satisfaction of a homemade breakfast that fuels your day.
