The Ultimate Fudgy Vegan Chocolate Mint Brownies
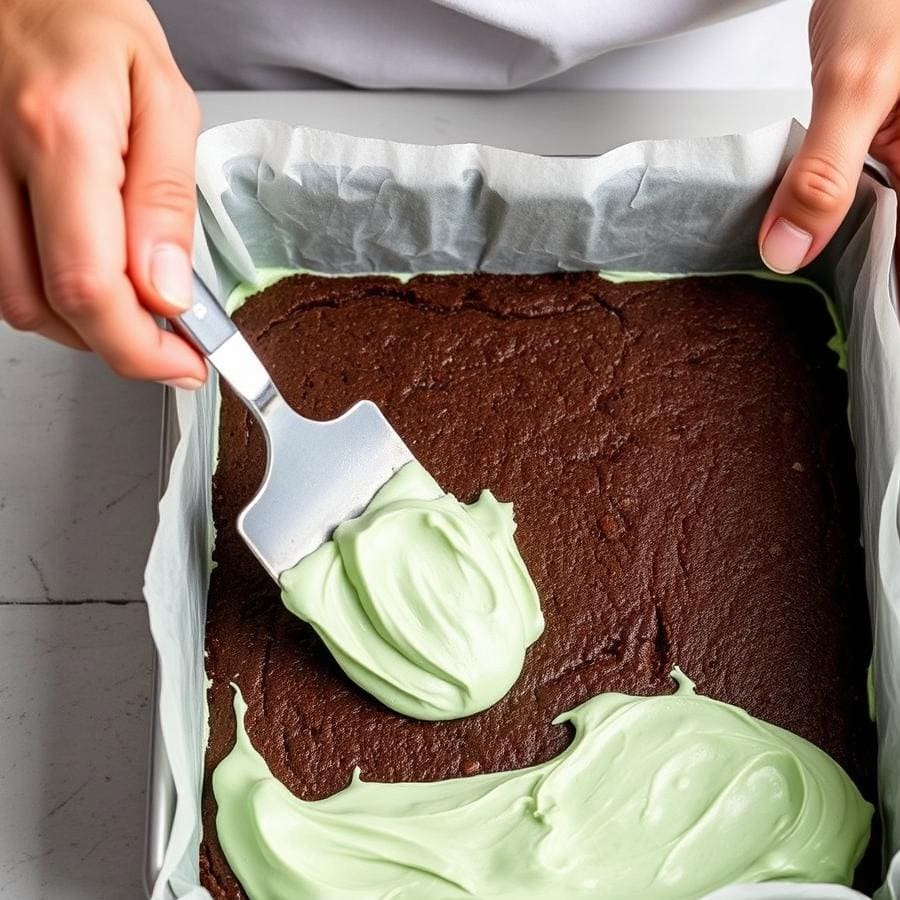
There are brownies, and then there are these brownies. Imagine a deep, intensely chocolatey, and fudgy base that melts in your mouth.
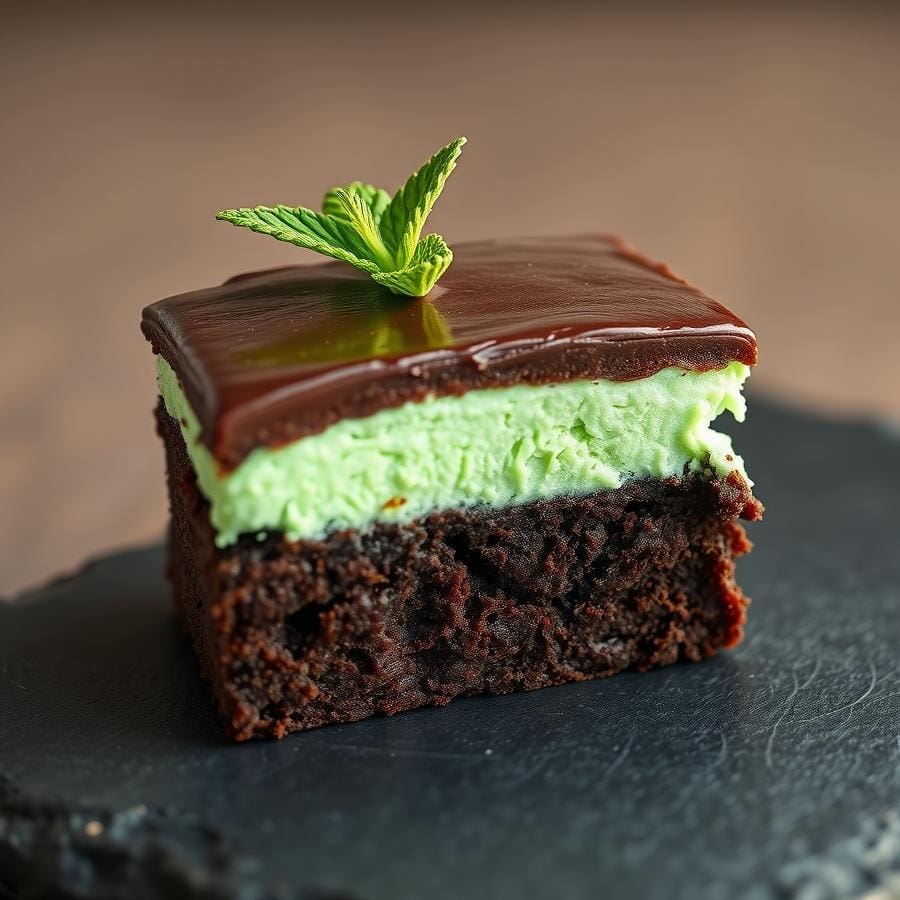
Now, picture a layer of cool, refreshing mint buttercream that cuts through the richness. Finally, top it all off with a smooth, decadent layer of chocolate ganache that provides the perfect snap.
This isn’t just a dessert; it’s an experience. We’ve perfected this vegan recipe to ensure every layer is distinct, every bite is balanced, and the entire process is surprisingly simple.
Get ready to create a dessert that will have everyone asking for the recipe.
- Why This Recipe Is a Must-Try
- Step 1: Creating the Fudgy Brownie Base
- Step 2: Whipping Up the Cool Mint Buttercream
- Step 3: Mastering the Silky Chocolate Ganache
- Step 4: Assembling Your Brownie Masterpiece
- Pro Tips for Flawless Results
- Creative Variations to Try Next
- Troubleshooting Common Brownie Problems
- How to Store and Freeze Your Brownies
- Conclusion
Why This Recipe Is a Must-Try

This recipe is meticulously designed to deliver a superior brownie experience every time. Here’s the science and strategy behind the magic:
- Unbelievably Fudgy Texture: We use melted vegan butter, which coats the flour proteins and inhibits excessive gluten development. This simple technique, combined with a precise sugar-to-fat ratio, is the secret to a dense, fudgy texture instead of a cakey one, a principle explained by baking experts at King Arthur Baking.
- Perfectly Distinct Layers: The key to those beautiful, clean layers isn’t just the ingredients; it’s the method. Chilling the brownie base before adding the frosting, and chilling the frosting before adding the ganache, is non-negotiable. This prevents bleeding and mixing, ensuring each flavor and texture stands on its own.
- Foolproof Chocolate Ganache: Our two-ingredient ganache uses full-fat coconut milk. The high fat content is essential for creating a stable emulsion that sets into a firm, yet sliceable, topping without being watery or greasy. It’s a simple, reliable method for a luxurious finish, a technique highlighted by publications like The Pioneer Woman.
Step 1: Creating the Fudgy Brownie Base
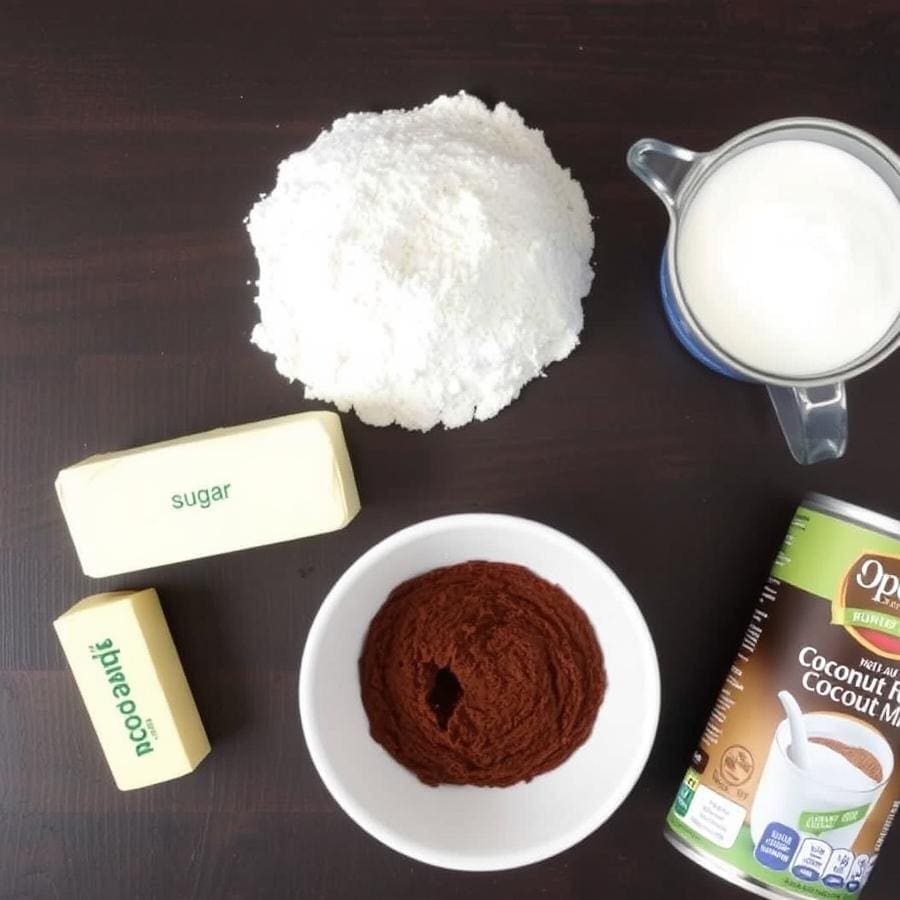
The foundation of our dessert is a rich, chewy brownie that’s intensely chocolatey. The key here is minimal mixing.
Once you add the dry ingredients (flour, cocoa powder, baking powder, salt) to the wet mixture (melted butter, sugar, vanilla, soy milk), stir only until you no longer see dry streaks. The batter will be very thick and glossy—this is exactly what you want!
Over-mixing develops gluten, which leads to tough, cake-like brownies. Spread this thick batter into your prepared pan; it might feel stiff, but trust the process.
Bake until the edges are set but the center is slightly jiggly. It will firm up perfectly as it cools, locking in that fudgy texture.
Step 2: Whipping Up the Cool Mint Buttercream
While the brownies cool completely, it’s time to make the vibrant middle layer. The goal is a light, fluffy, and smooth buttercream.
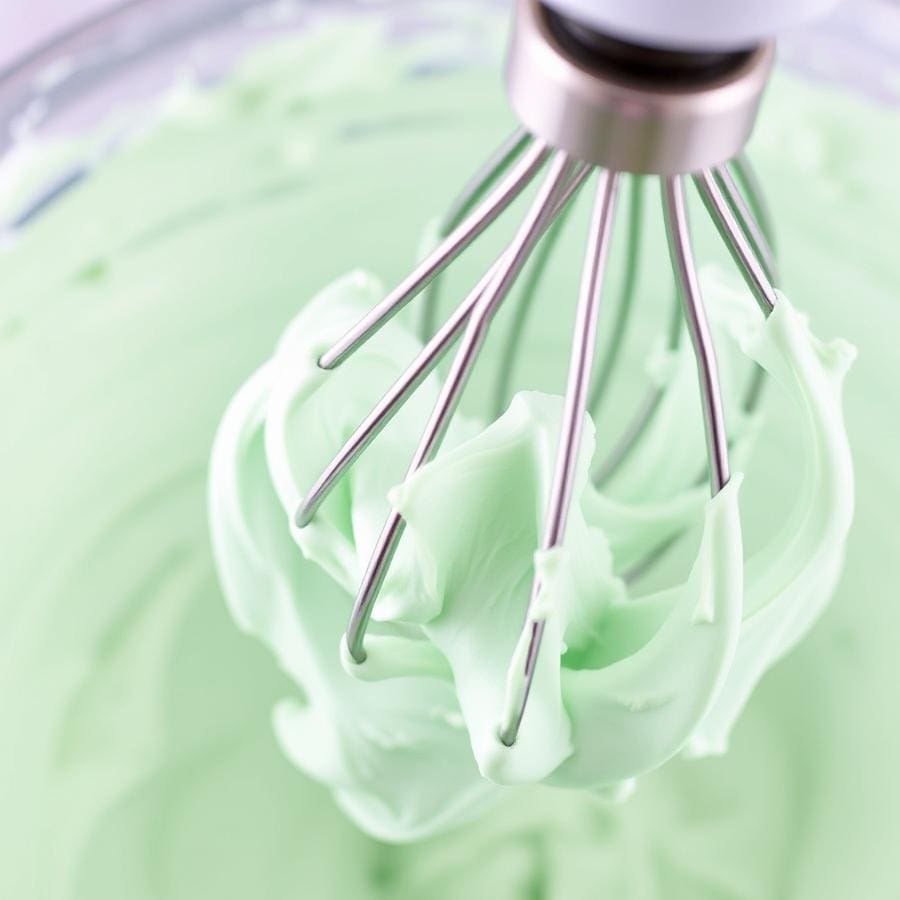
Start with room-temperature vegan butter, as it will whip up much better than cold butter. Using a handheld or stand mixer, beat the butter and powdered sugar until it’s light and creamy.
This incorporates air, giving the frosting its delightful texture. Then, add the peppermint extract and a few tablespoons of non-dairy milk.
Add the milk one tablespoon at a time until you reach a smooth, spreadable consistency. Finally, add a few drops of green food coloring for that classic mint-chocolate look, mixing until the color is uniform.
Step 3: Mastering the Silky Chocolate Ganache
The final layer is a simple yet elegant chocolate ganache that provides a rich, glossy finish. The trick is patience.
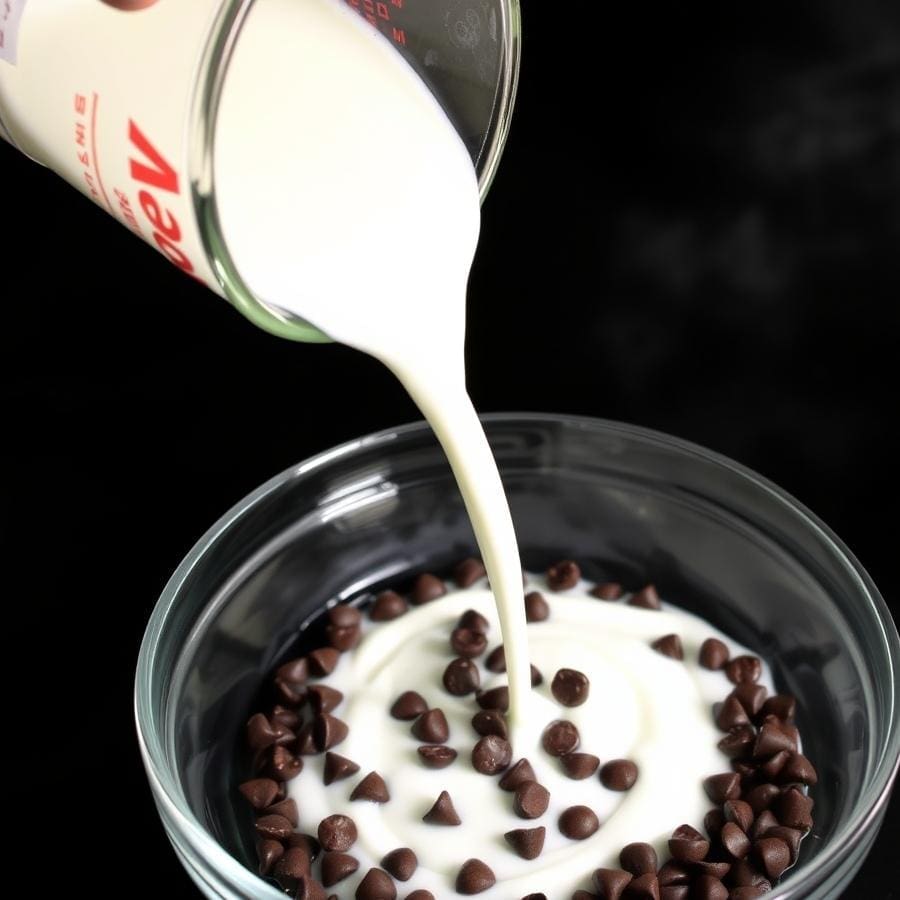
Place your vegan chocolate chips in a heat-proof bowl. Gently heat the full-fat coconut milk until it’s steaming but not boiling—this prevents the chocolate from seizing.
Pour the hot milk directly over the chocolate chips and do not stir. Let it sit for 3-5 minutes.
This allows the heat from the milk to gently and evenly melt the chocolate from the inside out. After the waiting period, start whisking from the center of the bowl, slowly working your way out.
The mixture will come together into a perfectly smooth, glossy, and luscious ganache.
Step 4: Assembling Your Brownie Masterpiece
With all your components ready, it’s time for assembly. Ensure your brownie base is completely cool to the touch.
Spread the mint buttercream evenly over the top, reaching all the corners. Now, for the most important step: refrigerate the frosted brownies for at least one hour.
This solidifies the frosting, creating a firm base for the ganache. Once chilled, pour the slightly cooled ganache over the mint layer.
Gently tilt the pan to let the ganache flow evenly to the edges. Return the pan to the refrigerator for another 1-2 hours, or until the ganache is fully set and firm.
Pro Tips for Flawless Results
A few extra tips can take your brownies from great to unforgettable.
- Use a Parchment Sling: Leave extra parchment paper hanging over the sides of your baking pan. This creates handles, allowing you to lift the entire block of brownies out easily for clean slicing.
- Don’t Rush the Cooling: We can’t stress this enough. Each cooling and chilling stage is vital for creating clean, separate layers. Patience is your best friend in this recipe.
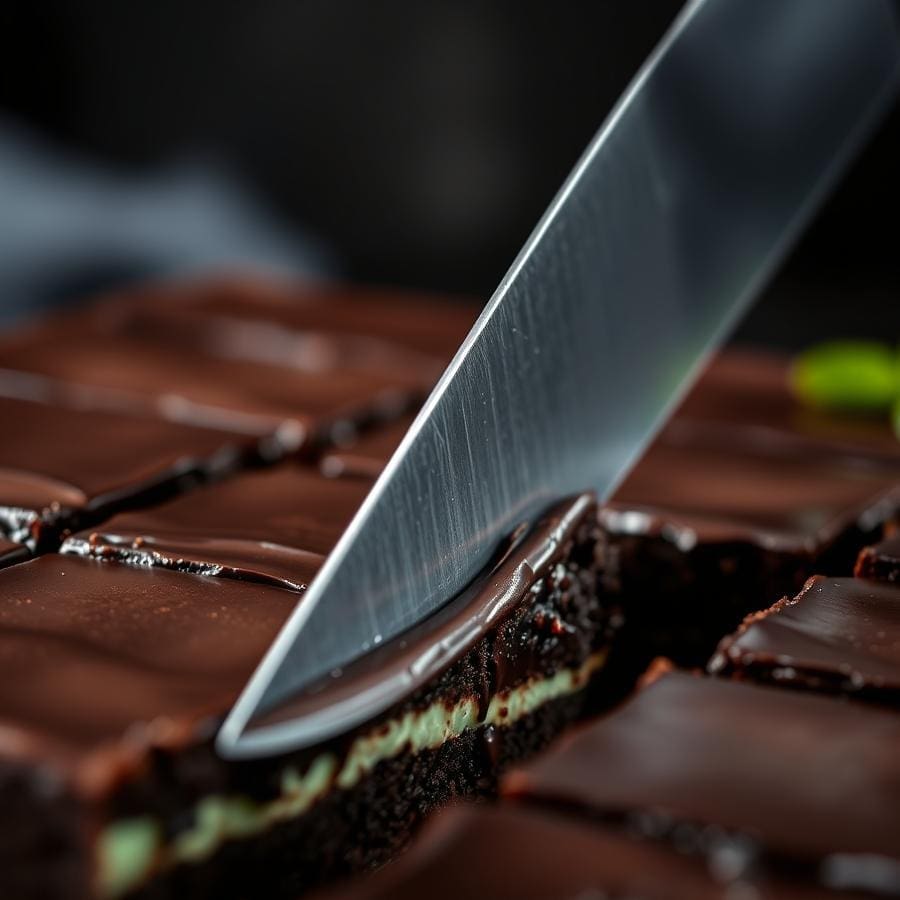
- The Hot Knife Trick for Clean Slices: For those perfect, bakery-style squares, fill a tall glass with hot water. Dip a large, sharp knife into the water, wipe it dry, and make one slice. Repeat this process for every single cut. The warm blade melts through the ganache and frosting, preventing smearing, a pro tip often shared by the Good Housekeeping Institute.
Creative Variations to Try Next
Once you’ve mastered the classic recipe, feel free to get creative! Here are a few tested ideas to inspire your next batch:
- Mint Cookie Crunch: Fold a half-cup of crushed vegan chocolate sandwich cookies (like Oreos) into the brownie batter for added texture.
- Andes Mint Inspired: Finely chop vegan mint chocolate candies and sprinkle them over the ganache before it sets for a decorative and flavorful crunch.
- White Chocolate Swirl: Melt some vegan white chocolate and drizzle it over the set ganache, then drag a toothpick through it to create an elegant marbled pattern.
- Citrus Twist: Swap the peppermint extract for orange extract in the frosting for a bright and sophisticated chocolate-orange flavor profile.
Troubleshooting Common Brownie Problems
Even the best bakers run into issues sometimes. Here’s how to solve common problems with this recipe.
- Why did my layers blend together? This is almost always due to insufficient chilling time. If the frosting isn’t firm, the warm ganache will melt it, causing them to mix. Make sure the frosted brownies are cold and firm to the touch before adding the final layer.
- Why is my ganache grainy or oily? This can happen if your milk was too hot or if you stirred it too soon. This causes the fat to separate from the cocoa solids, breaking the emulsion. You can sometimes fix this by adding a tablespoon of warm non-dairy milk and whisking vigorously to bring it back together.
- Why are my brownies cakey instead of fudgy? This is a classic sign of either over-mixing the batter, which develops too much gluten, or over-baking. Remember to pull them from the oven when the center is still a little underdone.
How to Store and Freeze Your Brownies

To maintain the perfect texture and flavor, proper storage is key. Due to the buttercream and ganache, these brownies should be stored in the refrigerator.
Refrigeration: Place the sliced brownies in an airtight container, separating any layers with parchment paper to prevent sticking. They will stay fresh and delicious for up to one week.
For the best texture, let them sit at room temperature for 15-20 minutes before serving to allow the frosting to soften slightly.
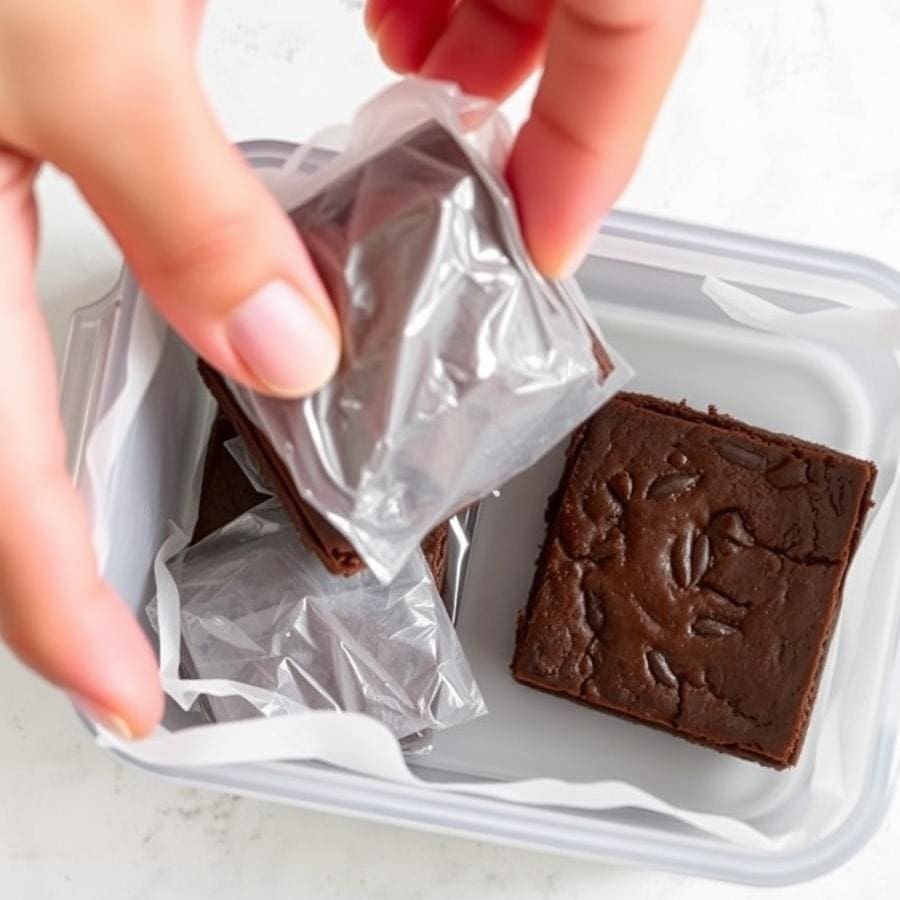
Freezing: These brownies freeze beautifully! For best results, wrap each brownie square individually in plastic wrap, then place them in a freezer-safe bag or container. They can be frozen for up to 3 months.
To thaw, simply leave them in the refrigerator overnight or on the counter for about an hour.
Conclusion
Creating these layered vegan chocolate mint brownies is more than just baking; it’s a rewarding project that results in a truly show-stopping dessert. By understanding the role of each ingredient and respecting the chilling times, you can consistently produce perfect, professional-looking brownies.
Whether for a special occasion or just a weekend treat, this recipe is a guaranteed crowd-pleaser that proves that vegan desserts, from brownies to simple peanut butter chocolate chip cookies, can be every bit as decadent and delicious.
