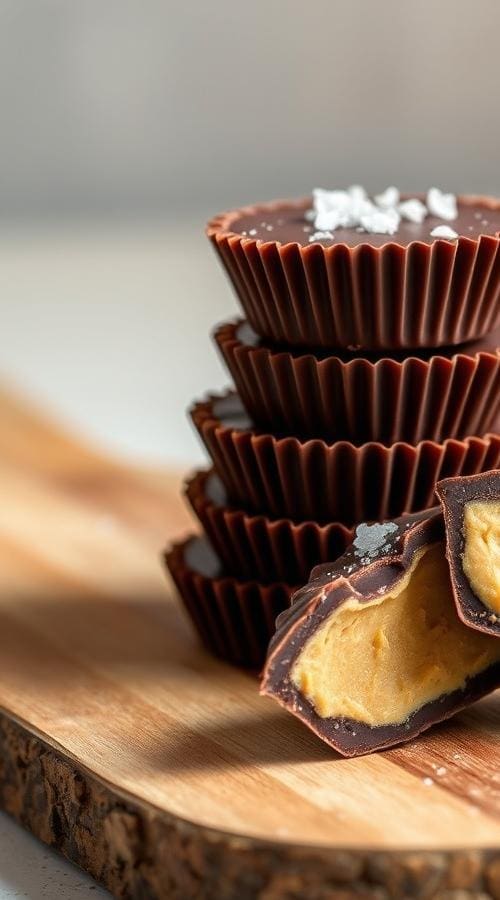
Easy 4-Ingredient Vegan Peanut Butter Cups (Better Than the Store-Bought Kind!)

There’s something universally loved about the perfect pairing of chocolate and peanut butter. For many of us, peanut butter cups were a treasured part of childhood, a go-to treat from a Halloween bag or an Easter basket.
But when you switch to a vegan or dairy-free lifestyle, you quickly realize that milk is a hidden ingredient in most classic candies. While some specialty brands offer vegan options, they can be expensive and hard to find.
The good news? It’s incredibly easy to make your own, and dare I say, they taste even better.
This recipe gives you complete control over the quality of your ingredients, creating a richer, more satisfying treat that will blow the original out of the water.
- Why This Recipe Works So Well
- The Key Ingredients for Perfect Peanut Butter Cups
- How to Make Vegan Peanut Butter Cups Step-by-Step
- Step 1: Create the Chocolate Base
- Step 2: Mix the Perfect Peanut Butter Filling
- Step 3: Assemble and Chill Your Cups
- Expert Tips for the Best Results
- Fun Variations to Try Next Time
- How to Store Your Homemade Treats
- Frequently Asked Questions
- Conclusion
Why This Recipe Works So Well

Before we dive in, let’s talk about what makes this specific recipe a winner. It’s been tested and refined to be as simple and delicious as possible.
- Only 4 Simple Ingredients: You likely have everything you need in your pantry right now.
- No-Bake and Beginner-Friendly: No oven required! The steps are straightforward, making this a perfect recipe for all skill levels.
- Perfectly Balanced Flavor: The combination of rich dark chocolate, creamy peanut butter, a touch of sweetness, and a sprinkle of sea salt hits all the right notes.
- Customizable: You can easily adjust the sweetness, swap the nut butter, or add fun mix-ins.
The Key Ingredients for Perfect Peanut Butter Cups

The magic of this recipe lies in its simplicity. Here’s a closer look at what you’ll need and why each component is chosen.
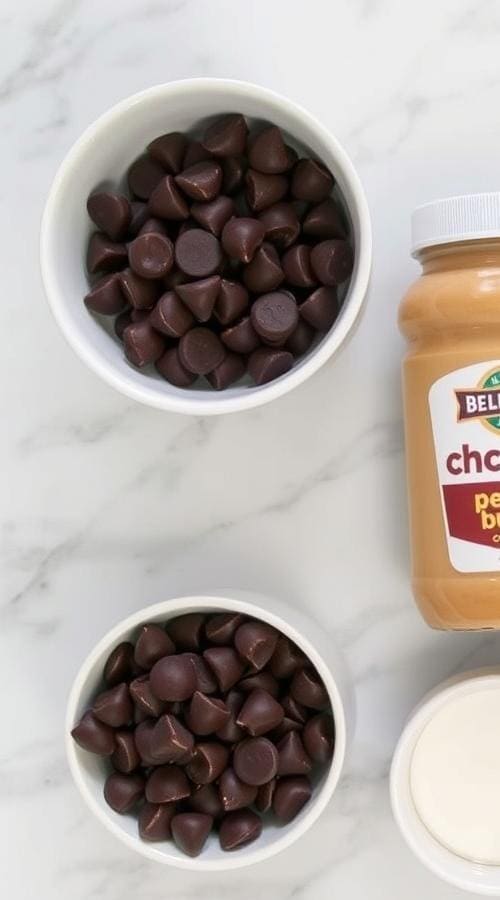
- Vegan Chocolate Chips: The quality of your chocolate makes a huge difference. You don’t need fancy, expensive brands.
- Brands like Guittard, Trader Joe’s, and Kirkland Signature semi-sweet often contain no milk products.
- Chopped vegan chocolate bars work perfectly as well.
- Refined Coconut Oil: This is my secret weapon for creating a smooth, glossy chocolate shell that has a satisfying snap but isn’t too hard. I specifically recommend refined coconut oil because, as explained by Serious Eats, it has a neutral flavor, unlike unrefined (or virgin) coconut oil, which carries a distinct coconut taste. If you prefer your cups to be completely shelf-stable, you can omit this, but the chocolate will be harder.
- Creamy Peanut Butter: For the best results, use a conventional creamy peanut butter (like Skippy or Jif) rather than a natural-style one. Natural peanut butter, while great for sandwiches, can be oily and inconsistent in texture, sometimes separating or creating a gritty filling. A no-stir, emulsified peanut butter ensures a smooth, dough-like center that holds its shape perfectly. If you must use natural, make sure it’s extremely well-stirred.
- Powdered Sugar: This dissolves instantly into the peanut butter, creating a smooth, creamy filling without any graininess that granulated sugar might leave behind. It also helps thicken the peanut butter to the perfect consistency.
How to Make Vegan Peanut Butter Cups Step-by-Step

This process is simple and fun. We’ll break it down into three easy phases.
First, line a 12-cup standard muffin tin with paper liners and have it ready to go.
Step 1: Create the Chocolate Base

In a microwave-safe bowl, combine 1 cup of the vegan chocolate chips and 1 tablespoon of the coconut oil. Microwave in 30-second intervals, stirring in between, until the chocolate is fully melted and smooth.
Be careful not to overheat it, as this can cause the chocolate to seize. Alternatively, you can use a double boiler.
Spoon about half a tablespoon of the melted chocolate into each muffin liner. Use the back of the spoon to gently push the chocolate up the sides of the liner, creating a small cup shape.
Place the muffin tin in the freezer for 10-15 minutes for the chocolate to set completely.
Step 2: Mix the Perfect Peanut Butter Filling

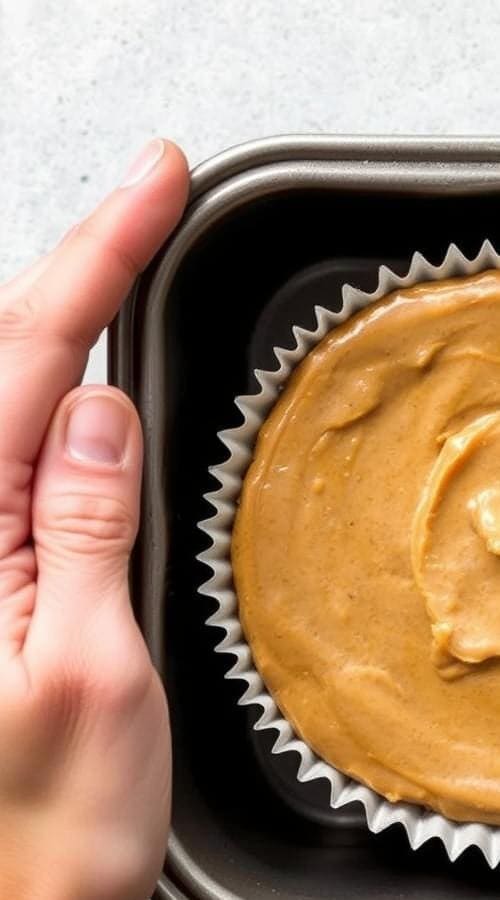
While the chocolate bases are chilling, prepare the filling. In a separate bowl, combine 1/2 cup of creamy peanut butter and 4 tablespoons of powdered sugar.
Mix with a fork or spoon until it’s fully combined and forms a thick, dough-like consistency. If your peanut butter is unsalted, add a small pinch of salt here.
Taste the filling and add more powdered sugar if you prefer a sweeter center.
Step 3: Assemble and Chill Your Cups

Remove the muffin tin from the freezer. The chocolate should be hard to the touch.
Scoop about a tablespoon of the peanut butter mixture and roll it into a small ball, then flatten it into a disc that fits inside the chocolate base. Press it down gently.
Next, melt the remaining 1 cup of chocolate chips and 1 tablespoon of coconut oil. Spoon this melted chocolate over the peanut butter layer, spreading it gently to the edges to seal the cup.
If you’re using it, now is the time to sprinkle a little coarse sea salt on top. Place the tin back in the freezer for a final 10-15 minutes to let the top layer set.
Expert Tips for the Best Results

These simple tricks will take your homemade peanut butter cups from good to absolutely amazing.
- For Ultra-Smooth Chocolate: To prevent your chocolate from getting grainy or ‘seizing,’ melt it gently. The microwave method is fast, but make sure to use short intervals and stir frequently. The chocolate should be mostly melted, not piping hot, when you take it out for the final stir.
- Getting Clean Edges: Use the back of a small spoon to ensure the first layer of chocolate goes slightly up the sides of the paper liner. This creates a sturdier cup and ensures the peanut butter filling is fully encased.
- Don’t Overfill: It’s tempting to load up on chocolate and peanut butter, but leaving a little space at the top of the liner prevents the final chocolate layer from spilling over and creating a mess.
- Tap to Settle: After adding the final layer of melted chocolate, gently tap the muffin tin on the counter a few times. This will smooth out the top and remove any air bubbles for a professional finish.
Fun Variations to Try Next Time

Once you’ve mastered the classic version, feel free to get creative! This recipe is a fantastic base for experimentation.
- Add Some Crunch: Mix 1/4 cup of rice crisp cereal or crushed pretzels into the peanut butter filling for a delightful crunchy texture.
- Switch Up the Nut Butter: This recipe works beautifully with almond butter, cashew butter, or even sunflower seed butter for a nut-free option.
- Add a Layer of Jam: Before adding the peanut butter filling, spread a thin layer of raspberry or strawberry jam on the bottom chocolate shell for a PB&J inspired treat.
- White Chocolate Drizzle: Once the cups are fully set, melt some vegan white chocolate and drizzle it over the tops for an elegant look.
- Go All-In on Peanut Butter: If you can’t get enough, use this recipe as inspiration and then try making our ultra-moist vegan peanut butter cake!
How to Store Your Homemade Treats

Because of the coconut oil in the chocolate, these peanut butter cups will soften at room temperature. For the best taste and texture, they need to be kept cool.
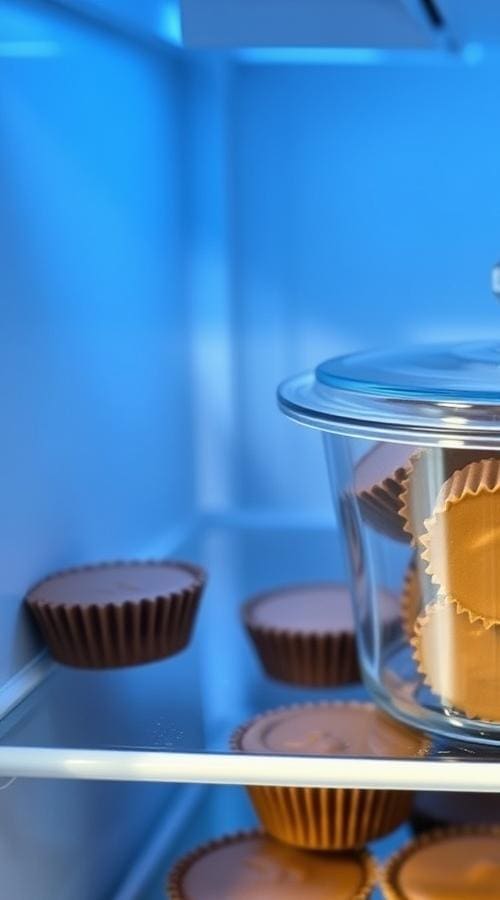
- Refrigerator: Store them in an airtight container in the fridge for up to two weeks. This keeps them firm but still easy to bite into.
- Freezer: For longer storage, keep them in a freezer-safe container or bag for up to 3 months. They are delicious straight from the freezer for a firmer, colder treat!
If you want a more shelf-stable candy that won’t melt as quickly, you can substitute the coconut oil with an equal amount of melted vegan butter or simply omit it. The chocolate won’t be quite as smooth, but the cups will hold up better outside the fridge.
Frequently Asked Questions

- Can I use a different sweetener instead of powdered sugar?
I highly recommend powdered sugar for the smoothest texture. However, you could try using a few tablespoons of pure maple syrup. You may need to add a bit of coconut flour or almond flour (1 tablespoon at a time) to the filling to help it thicken to a dough-like consistency. - Why did my chocolate get thick and grainy?
This phenomenon, known as seizing, usually happens when chocolate is either overheated or comes into contact with a tiny drop of water, a problem detailed by The Spruce Eats. Melt your chocolate gently and ensure all your bowls and utensils are perfectly dry. - Can I make these with almond butter or another nut butter?
Absolutely! Creamy almond butter or cashew butter are excellent substitutes. For a nut-free version, creamy sunflower seed butter works great. Just make sure you’re using a ‘no-stir’ variety for the best filling texture. - How can I make mini peanut butter cups?
This recipe adapts perfectly for minis! Simply use a mini muffin tin and mini paper liners. The yield will be higher (around 24-30 mini cups), and you’ll need less filling and chocolate for each one.
Conclusion
Making your own vegan peanut butter cups is one of those simple kitchen projects that delivers huge rewards. In just about 30 minutes, you can create a batch of treats that are healthier, tastier, and more satisfying than anything you can buy. Enjoying delicious, homemade treats is a key part of maintaining a sustainable, healthy path to eating that you can stick with long-term.
Whether you’re making them for yourself, your family, or to share with friends, this recipe is sure to become a new favorite. Enjoy every bite!
