How to Make the Absolute Best Chopped Italian Sliders
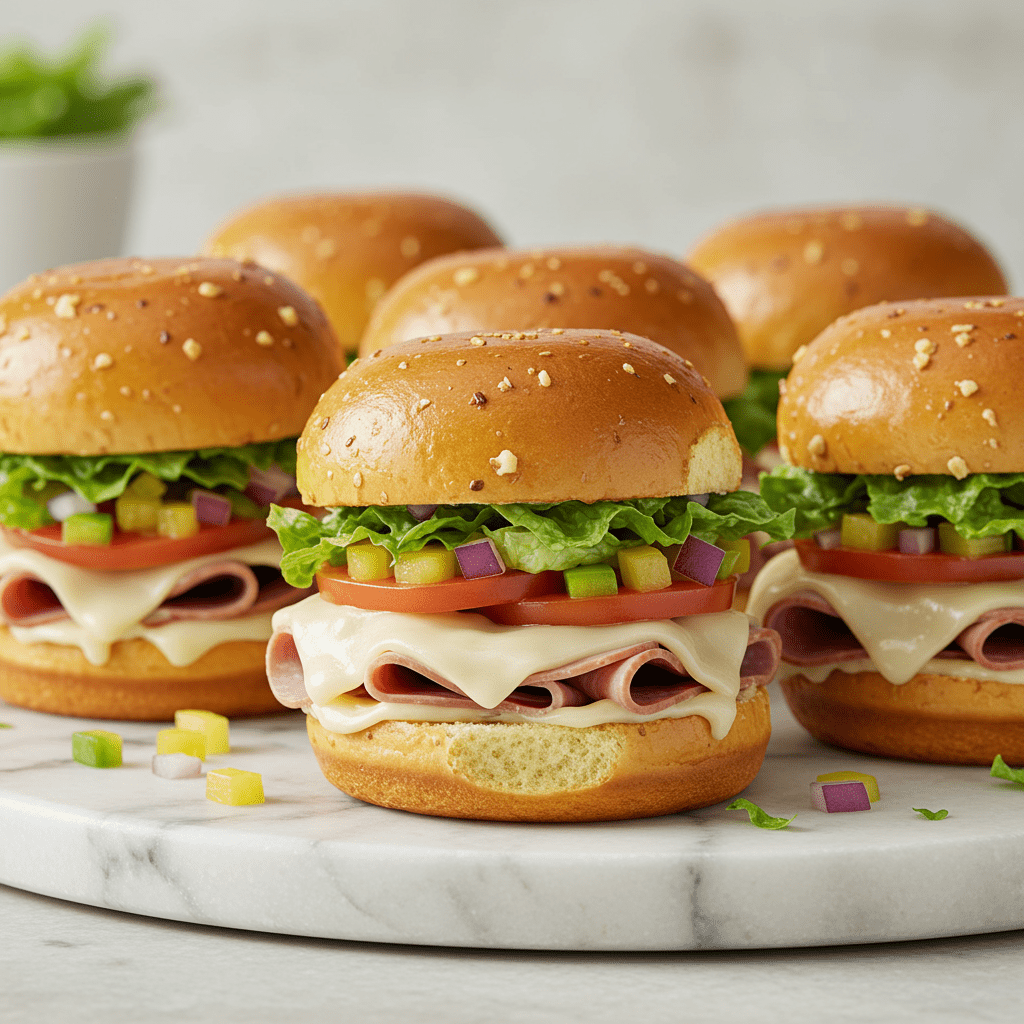
If you’re looking for a recipe that’s guaranteed to disappear from the plate in minutes, you’ve found it. These Chopped Italian Sliders take everything you love about a classic grinder sandwich and elevate it.
The secret is in the ‘chop’—finely dicing the meats, cheese, and veggies ensures you get that perfect, flavor-packed bite every single time. As a Registered Dietitian, my goal is to create food that’s not only crave-worthy but also thoughtfully constructed.
We brush the buns with just enough garlic butter for that irresistible toasted finish and lighten up the classic oily dressing with a creamy, protein-rich Greek yogurt base. They’re incredibly simple to make and perfect for game day, a quick weeknight dinner, or your next party appetizer.
Prepare for these to become your new go-to.
What Makes These Sliders a Smarter Choice?
What makes these sliders so special isn’t just the taste—it’s the smart combination of ingredients that delivers on satisfaction. As a Registered Dietitian, I love that this recipe balances indulgent flavors with nutritional benefits.
The lean turkey and ham provide high-quality protein, which is essential for muscle maintenance and helps keep you feeling full and satisfied long after your meal. We also pack in a generous amount of fresh vegetables like romaine, bell peppers, and onions.
According to the Harvard T.H. Chan School of Public Health, a diet rich in vegetables provides essential vitamins and fiber, which supports digestive health.
The dressing gets a healthy makeover too. By using Greek yogurt as a base, we add a boost of protein and probiotics while cutting back on oil, making for a creamy and tangy vinaigrette that doesn’t feel heavy.
How to Choose the Best Ingredients
The magic of this recipe lies in using quality ingredients. Here’s a breakdown of what you’ll need and why it works, with tips for making the best choices at the store.
For the Slider Base:
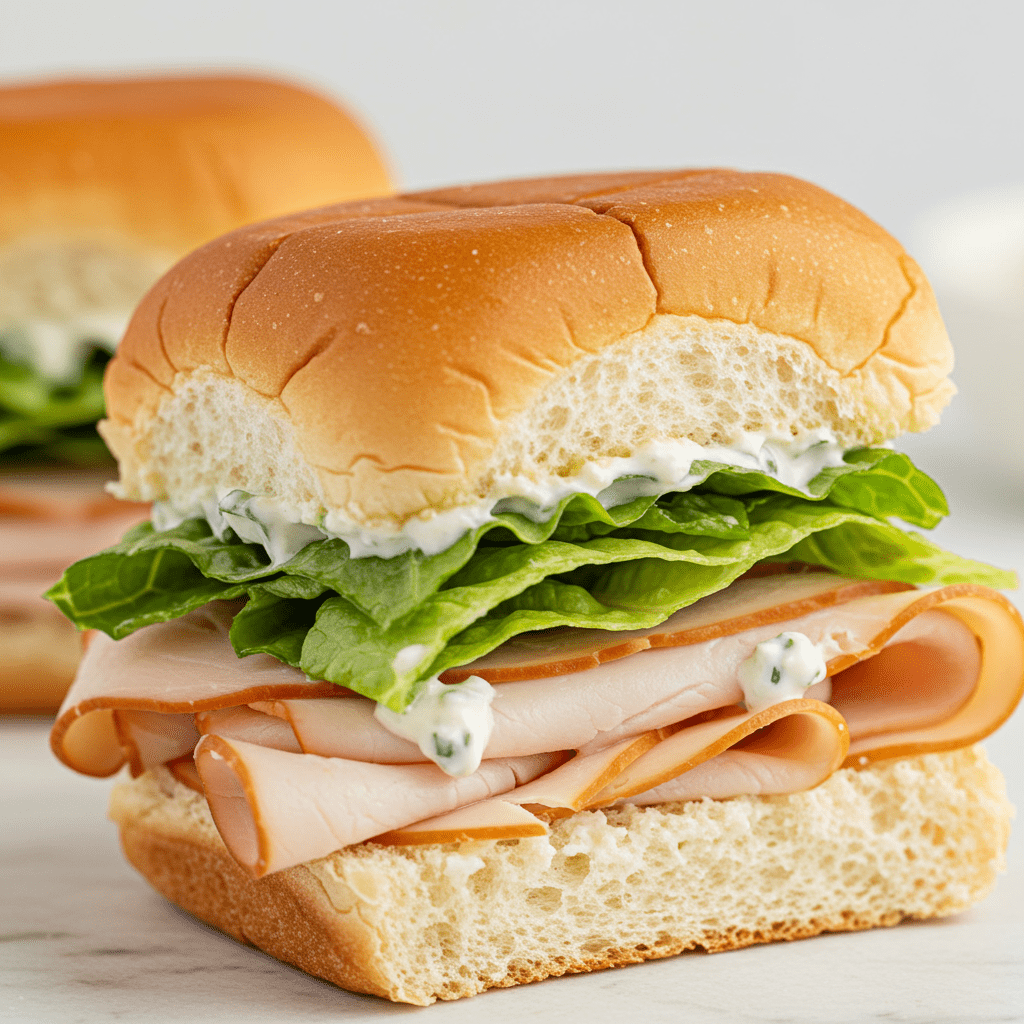
- Deli Meats (Turkey, Ham, Salami): A classic Italian combo. I opt for lower-sodium turkey and ham as the primary meats. When shopping, it’s wise to compare brands. The American Heart Association advises monitoring sodium intake, and deli meats can be a significant source. Look for labels that say ‘low-sodium’ or check the nutrition panel.
- Provolone Cheese: This is the classic choice for a reason. It’s a semi-hard cheese that melts beautifully without becoming greasy, and its mild, slightly salty flavor complements the other ingredients perfectly.
- Slider Buns: Soft sweet Hawaiian rolls are a popular choice because their sweetness balances the savory fillings. However, any soft dinner roll or small brioche bun works great.
For the Chopped Salad Topping:
- Romaine Lettuce, Red Onion & Bell Pepper: This trio forms the crunchy, fresh base of our salad. They provide texture and a host of micronutrients. Don’t be afraid to add other veggies like chopped tomatoes or cucumbers.
- Banana Peppers: These are non-negotiable for that classic grinder taste! They add a tangy, slightly sweet heat. Use mild for a gentle flavor or hot if you like a spicy kick.
For the Creamy Italian Vinaigrette:
- Greek Yogurt: My secret weapon for a healthier creamy dressing. It replaces a large portion of the oil and mayonnaise found in traditional recipes. Research confirms that protein is the most satiating macronutrient, and adding Greek yogurt contributes to this.
- Olive Oil & Red Wine Vinegar: You still need a touch of good quality extra virgin olive oil for its fruity flavor and healthy monounsaturated fats, and red wine vinegar for that signature tang.
- Parmesan Cheese, Garlic & Seasoning: These are your flavor powerhouses, adding salty, umami depth and that unmistakable Italian aroma.
The Step-by-Step Guide to Assembling Your Sliders
Ready to assemble? Following these steps ensures your sliders come out perfectly toasted, cheesy, and delicious every time.
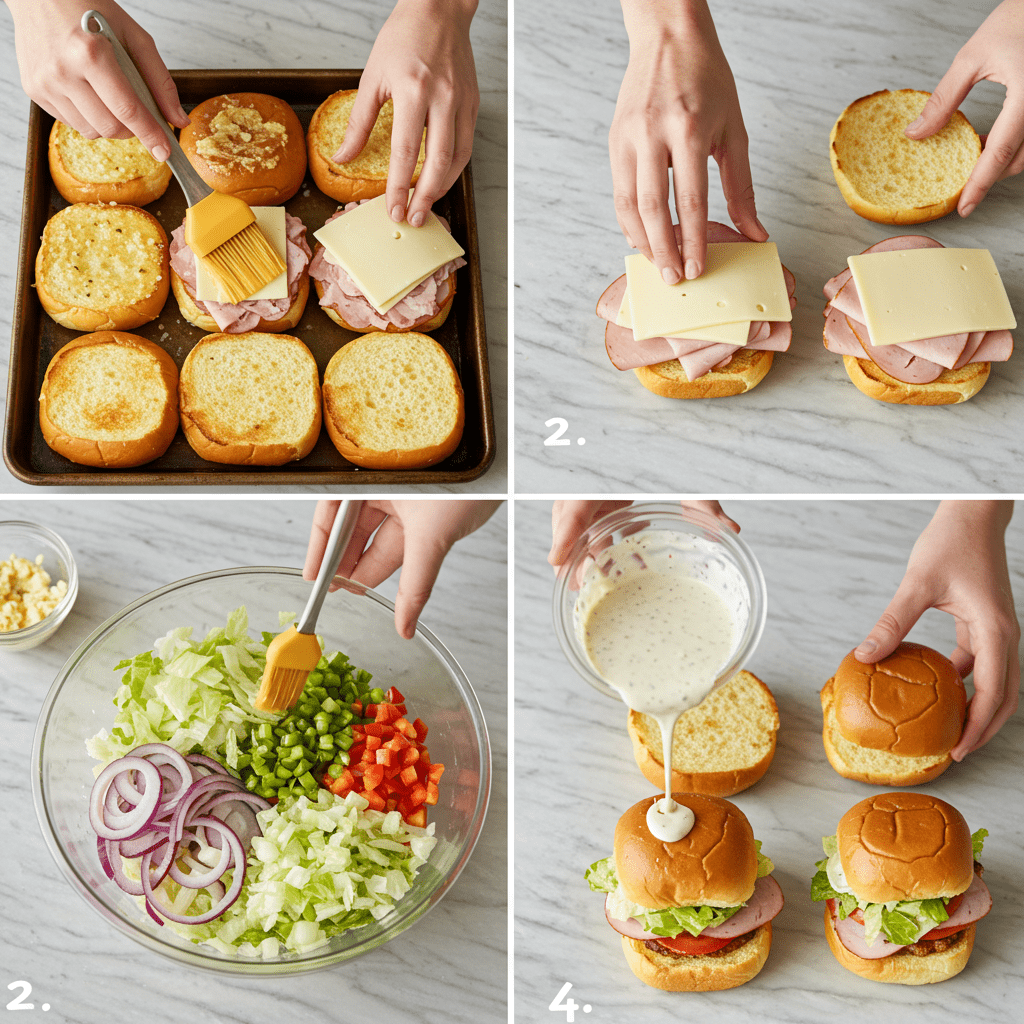
- Prepare Your Buns: Preheat your oven to 350°F (175°C). Slice the entire slab of slider buns in half horizontally, keeping them connected. Place both the top and bottom sections on a baking sheet, cut-side up. In a small bowl, mix the melted butter with one minced garlic clove. Brush this mixture lightly over the tops of the slider buns. This step is crucial for getting that golden, fragrant crust.
- Layer the Meats and Cheese: On the bottom half of the buns, evenly distribute your chopped deli meats. Don’t be shy here—a good layer is key. Next, place the provolone slices over the meat, ensuring it covers the entire surface.
- Toast to Perfection: Place the baking sheet in the preheated oven. Toast for about 10 minutes, or until the cheese on the bottom is perfectly melted and gooey, and the tops of the buns are golden brown and fragrant.
- Mix the Chopped Salad: While the buns are toasting, it’s time to make the topping. On a large cutting board, finely chop the romaine lettuce, red onion, bell pepper, and banana peppers. The key is to get a consistent, fine chop so the salad is easy to pile on and eat. Place it all in a medium bowl.
- Whisk the Dressing: In a separate small bowl, whisk together the Greek yogurt, olive oil, red wine vinegar, grated parmesan, the second minced garlic clove, and Italian seasoning. Season with salt and pepper to taste.
- Toss and Assemble: Pour the dressing over your chopped vegetable mixture and toss well to coat everything evenly. Once the sliders are out of the oven, pile the dressed salad mixture generously onto the melted cheese and meat layer. Place the toasted top buns on top, press down gently, and you’re ready to serve. For easier serving, use a large serrated knife to cut them into individual sliders.
Why Does Chopping the Fillings Make a Difference?

There’s a reason the ‘chopped’ method has become so popular for sandwiches and salads—it’s all about creating the perfect bite, similar to what makes the viral healthy grinder salad so crave-worthy.
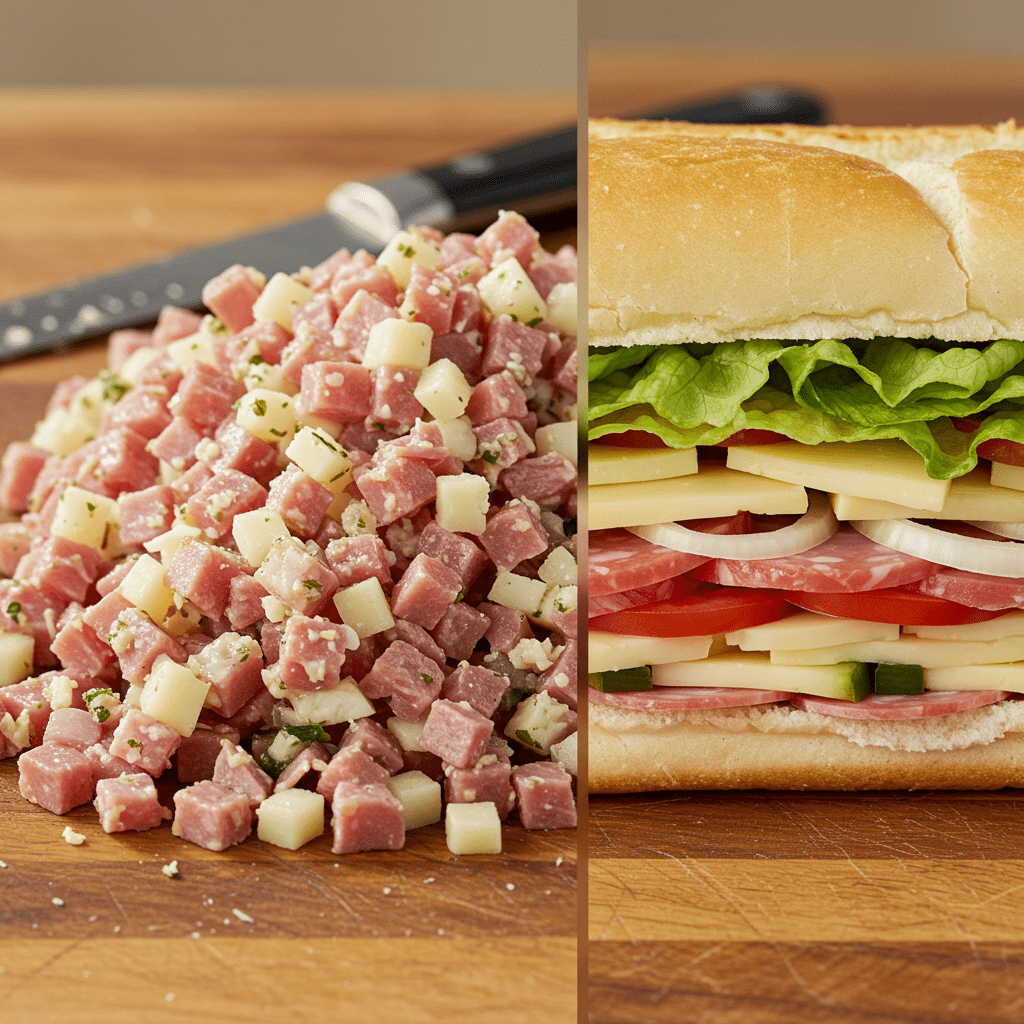
When you finely chop and mix ingredients, you ensure that every mouthful contains a harmonious blend of every component—the savory meat, the creamy cheese, the crisp lettuce, and the tangy dressing. This contrasts with a traditionally layered sandwich, where you might get one bite of mostly meat and another of mostly lettuce.
The chopped method distributes flavor and texture evenly, creating a more cohesive and satisfying eating experience. It transforms the sandwich from a collection of ingredients into a single, integrated dish.
Can I Prepare These Sliders Ahead of Time?

These sliders are definitely best enjoyed fresh right out of the oven to get the full experience of the warm, melted cheese and the cool, crisp salad. However, you can absolutely prep all the components ahead of time to make assembly a breeze.
As a dietitian, I’m a huge fan of this strategy for stress-free hosting.
- For the Meats: Chop your deli meats and store them in an airtight container in the refrigerator for up to 3 days.
- For the Salad: Chop the romaine, onion, and bell pepper. Store them in a separate airtight container, placing a paper towel on top to absorb excess moisture and keep them crisp. They will stay fresh for 1-2 days. Keep the banana peppers separate until you’re ready to mix.
- For the Dressing: Whisk the dressing together and store it in a sealed jar or container in the refrigerator. It will keep for up to 5 days.
When you’re ready to eat, just assemble and toast as directed. This makes the recipe achievable in under 15 minutes for a weeknight dinner or party.
I do not recommend assembling the entire slider ahead of time, as the dressing will make the buns soggy.
How to Serve Sliders for a Balanced Meal
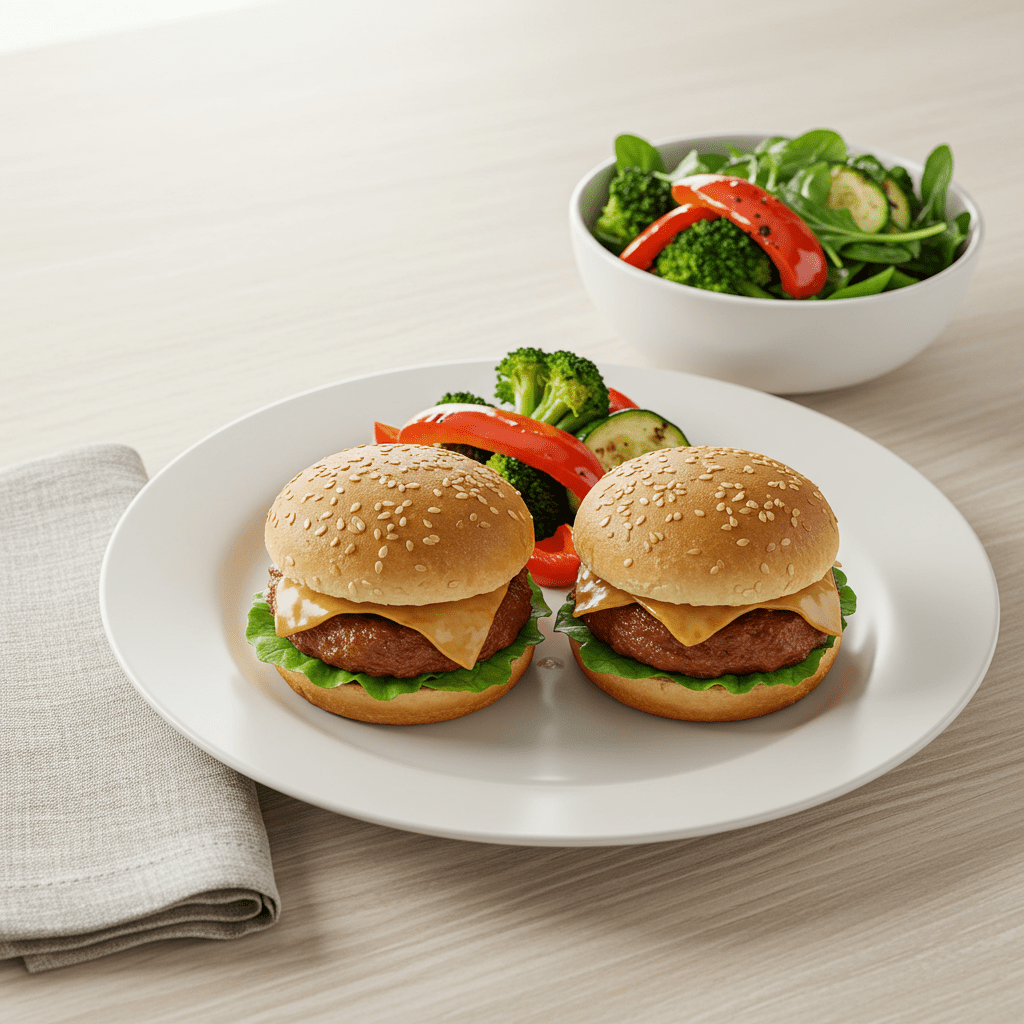
While these sliders are a fantastic appetizer, you can easily turn them into a well-rounded meal with the right accompaniments. To build a balanced plate, you want to think about adding extra fiber and nutrients, as research from Johns Hopkins shows high-fiber diets are crucial for overall health.
Here are a few dietitian-approved serving suggestions:
- With a Simple Green Salad: Double down on the veggies. A simple arugula or mixed green salad with a light lemon vinaigrette can cleanse the palate and add more vitamins.
- With a Side of Roasted Vegetables: For a more substantial meal, serve the sliders with a side of roasted broccoli, asparagus, or a colorful bell pepper medley. Roasting brings out their natural sweetness and adds a lovely texture contrast.
- With a Bean Salad: A three-bean salad or a chickpea salad would complement the flavors beautifully and add an extra dose of plant-based protein and fiber, making the meal even more filling.
- With a Healthy Soup: On a cooler day, pairing these sliders with a cup of vegetable minestrone or a creamy tomato soup makes for an incredibly comforting and complete meal.
The USDA’s MyPlate guidelines encourage making half your plate fruits and vegetables, and these pairings help you achieve that easily.
Easy Variations and Custom Swaps

One of the best things about this recipe is how easy it is to customize. You can tweak it to fit your preferences or use up ingredients you have on hand.
Here are a few variations to inspire you:
- Spice It Up: If you love heat, add a pinch of red pepper flakes to the dressing and swap the mild banana peppers for hot pepperoncinis or chopped jalapeños. A slice of spicy pepper jack cheese instead of provolone also works wonders.
- Change the Meat: Feel free to use other classic Italian meats like capicola or soppressata. You could also make a non-pork version with smoked turkey and sliced roast chicken.
- Different Dressings: While the creamy Italian vinaigrette is fantastic, you could also use a classic pesto sauce or even experiment with another healthy homemade sauce as the base for your chopped salad.
- Make It a Low-Carb Bowl: Skip the buns entirely! Prepare the meat and melt the cheese in a skillet or oven-safe dish. Serve the warm meat and cheese mixture in a bowl, topped with a generous portion of the chopped salad for a delicious, low-carb grinder bowl.
- Add More Veggies: Feel free to bulk up the salad with other chopped ingredients like cucumbers, tomatoes, olives, or even artichoke hearts for an extra Mediterranean flair.
Conclusion
These Chopped Italian Sliders are more than just a quick meal; they’re a perfect example of how to combine incredible flavor with smart nutrition. By chopping the ingredients, you get a perfect blend of tastes and textures in every single bite.
They are endlessly customizable, simple to prepare, and a guaranteed hit for any occasion, from game days to easy family dinners. Give this recipe a try, and you’ll see why it’s a staple in my own home.
Enjoy!

[…] personal favorite is using it to dress a ‘grinder salad’—a chopped salad with all the fixings of an Italian […]