How to Make the Creamiest Banana Ice Cream in Your Ninja Creami
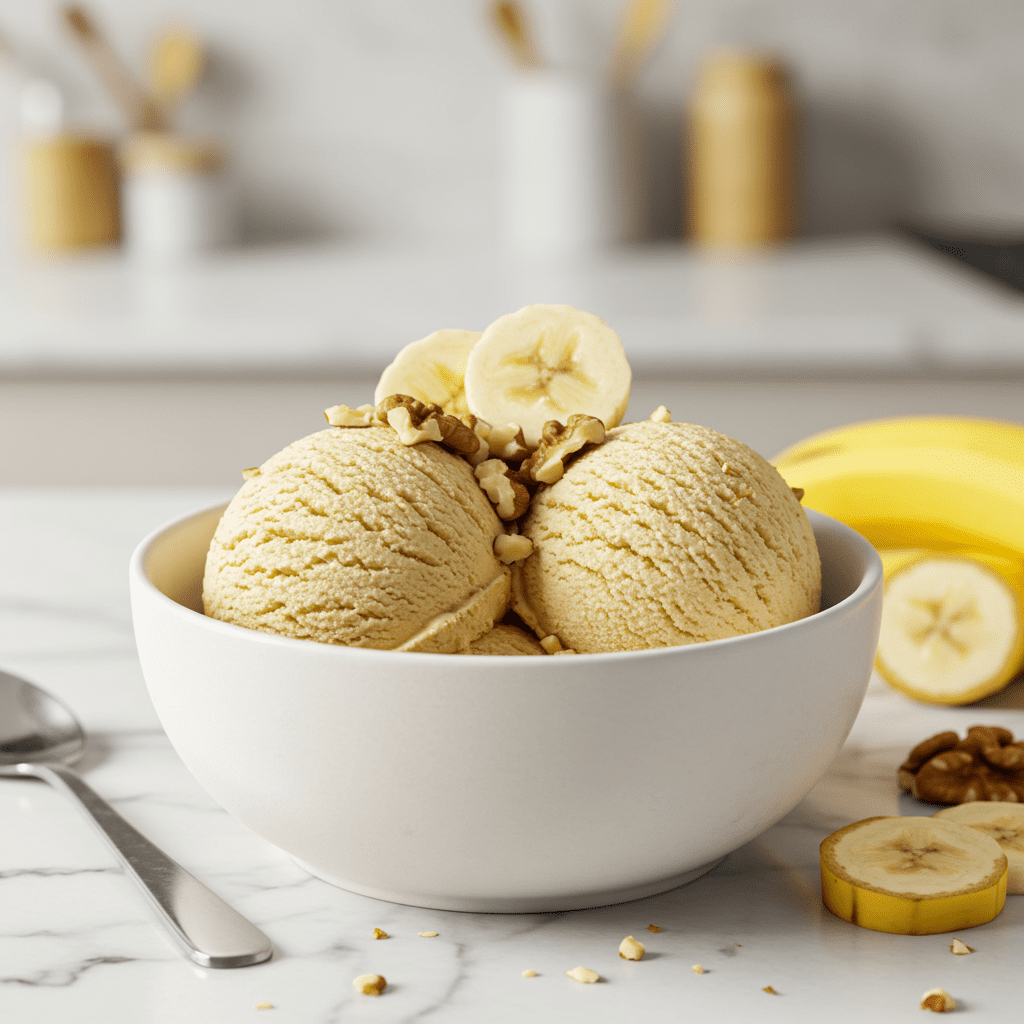
Craving a scoop of cold, sweet ice cream but want to stick to your health goals? You’re in the right place.
As a registered dietitian, I’m always looking for ways to make favorite treats both delicious and nutritious. This Ninja Creami banana ice cream is a perfect example.
It’s not your typical ‘nice cream’—it’s a truly creamy, satisfying dessert that packs a nutritional punch. We’ll use just four simple ingredients to create a treat that’s naturally sweet, full of flavor, and so easy to whip up.
Let’s get blending!
- What Makes This Banana Ice Cream So Good?
- The Simple Ingredients You Will Need
- Why Ripe Bananas Are a Must for Flavor
- Your Step-by-Step Guide to Creamy Perfection
- Is Your Ice Cream Crumbly? Here’s the Easy Fix
- A Dietitian’s View on This Healthy Dessert
- How to Customize Your Banana Ice Cream
- How Do I Store Leftovers?
- Can I Make This Without Added Sugar?
- Conclusion
What Makes This Banana Ice Cream So Good?

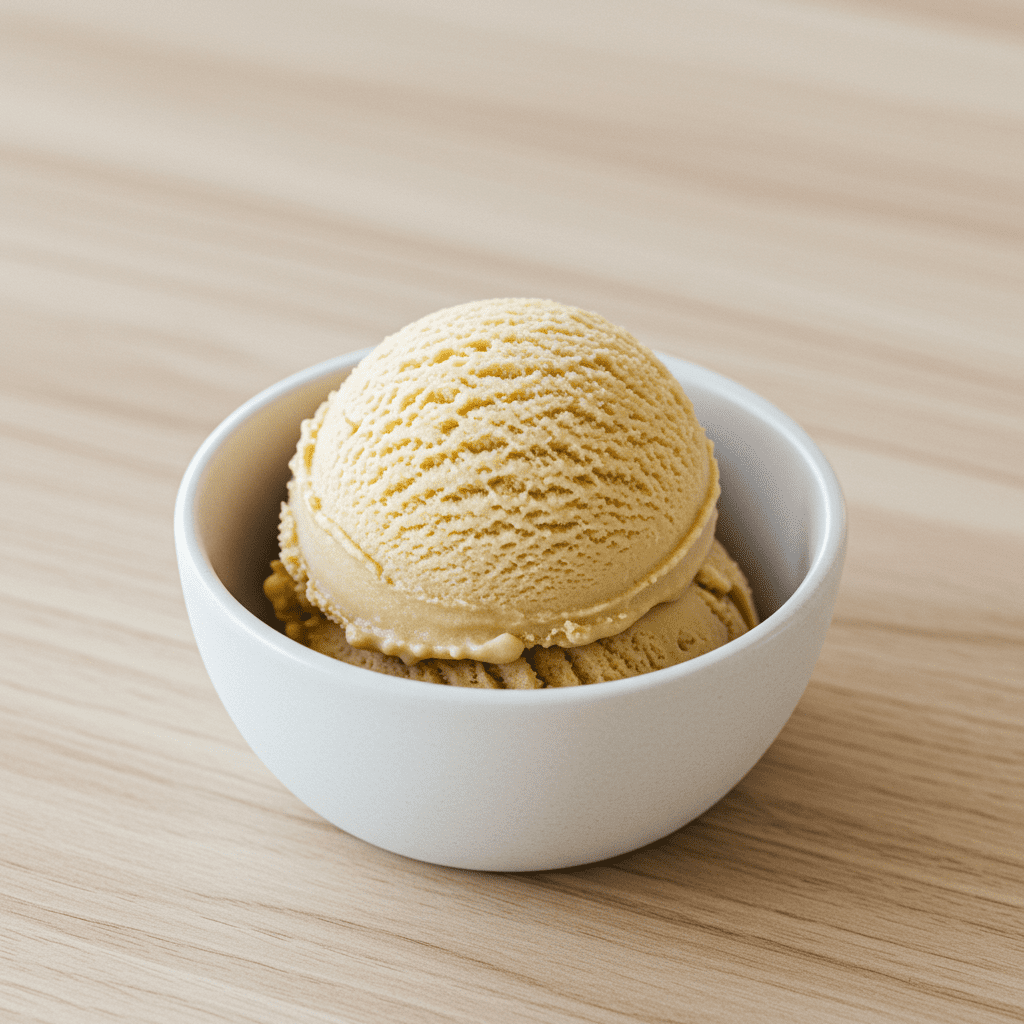
You might be familiar with basic banana ‘nice cream,’ but this Ninja Creami version takes it to a whole new level. The magic lies in how the machine processes the frozen base, shattering ice crystals into microscopic particles to create an unbelievably smooth texture.
This recipe gives you that classic ice cream mouthfeel without the heavy creams and long list of additives. Each serving is packed with an entire banana, offering 5 grams of protein and 3 grams of fiber to keep you full and satisfied.
It’s a dessert that truly works for your body, not against it.
The Simple Ingredients You Will Need
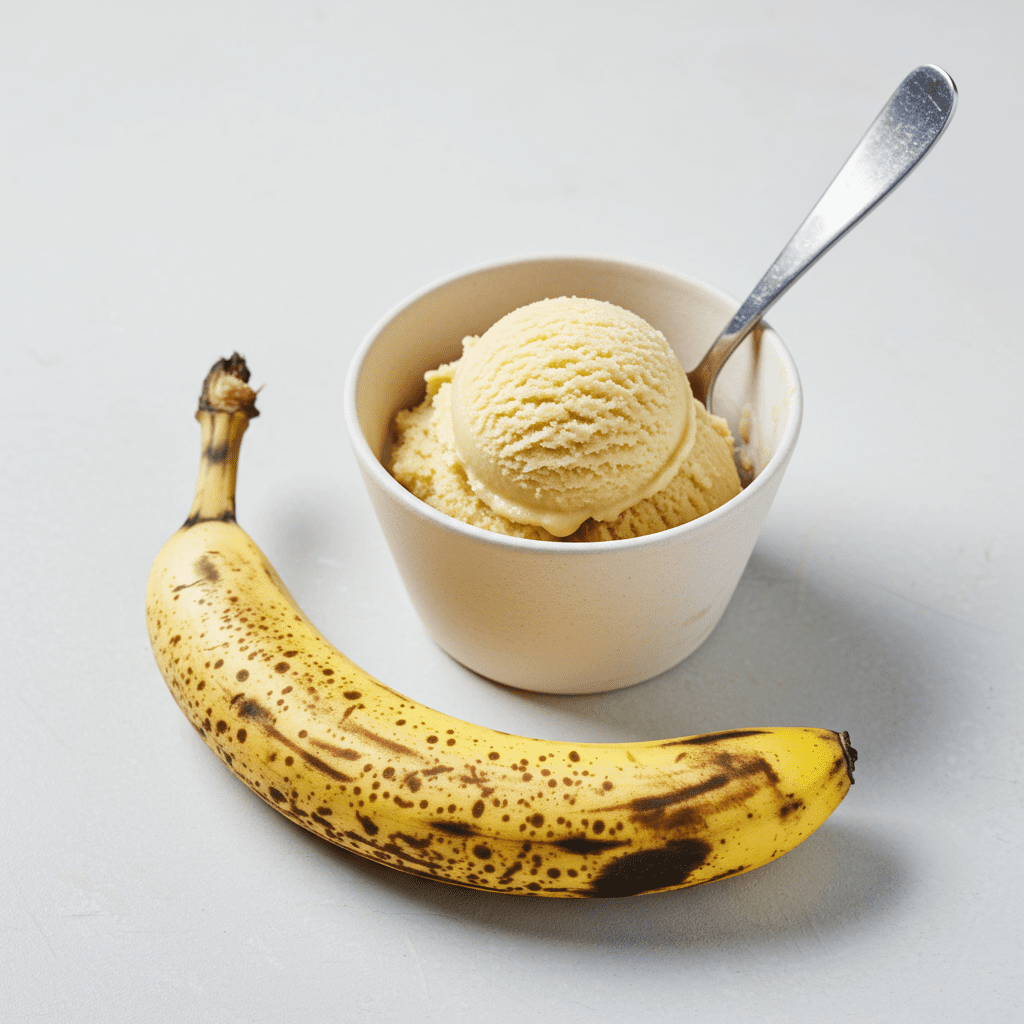
Beauty lies in simplicity, and this recipe is proof. You only need four basic items to create this masterpiece.
- Ripe Bananas: This is the star of the show. The riper the banana, the sweeter your ice cream will be, thanks to the natural sugars that develop as the fruit matures.
- Milk: I recommend Fairlife 2% milk because its higher protein content contributes to a creamier result. However, any milk, from whole milk to plant-based options like oat or almond, will work.
- Vanilla Extract: A small splash enhances the banana’s flavor and adds a touch of warmth, making it taste like a premium dessert.
- Maple Syrup: This is optional for a touch of extra sweetness and flavor depth. You can also use honey or leave it out entirely if your bananas are very ripe.
Why Ripe Bananas Are a Must for Flavor
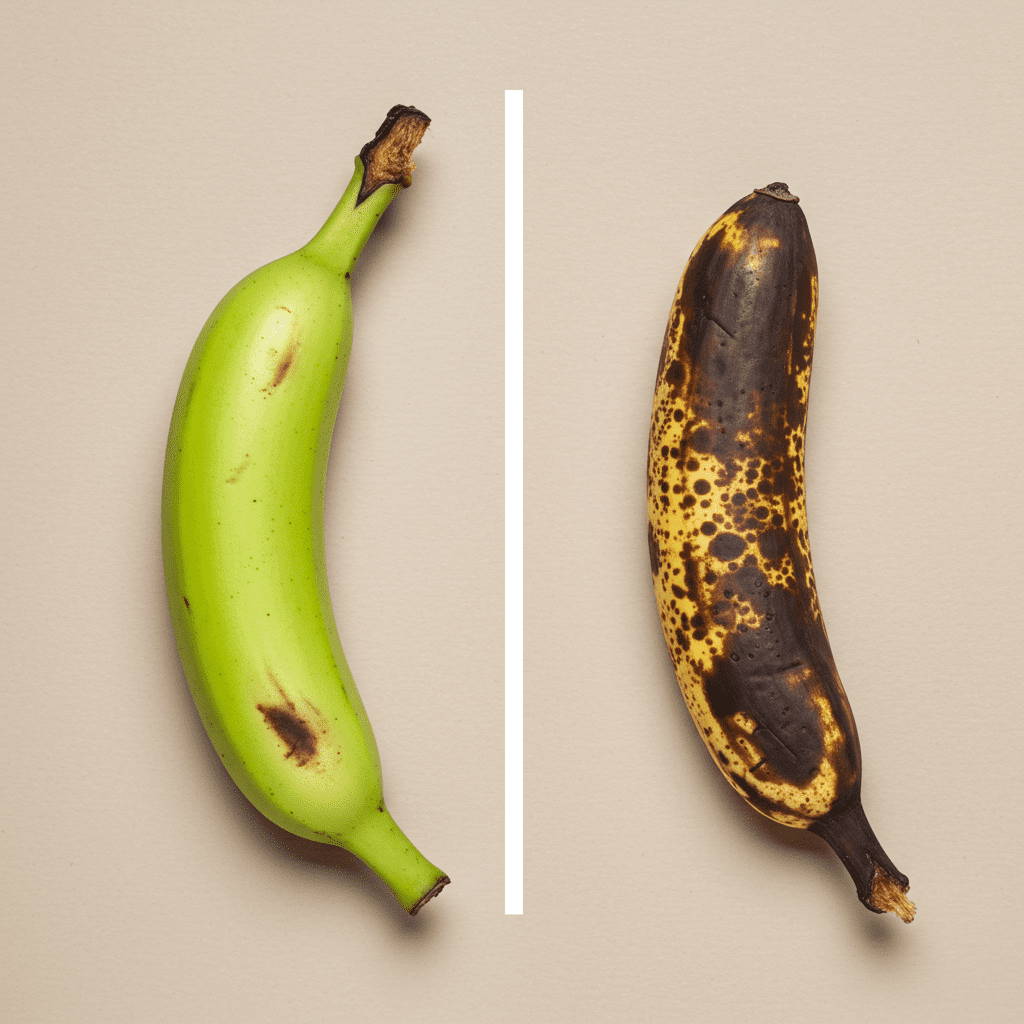
The key to deeply flavorful banana ice cream isn’t an additive—it’s patience. Using bananas with plenty of brown spots is non-negotiable.
As a banana ripens, its starches convert into simple sugars, making it significantly sweeter and more aromatic. According to the Harvard T.H. Chan School of Public Health, this natural ripening process is what gives bananas their characteristic sweetness. Trying to make this recipe with green or barely-yellow bananas will result in a bland, starchy, and far less creamy ice cream.
For the best results, let those bananas get nice and spotty on your counter first.
Your Step-by-Step Guide to Creamy Perfection

Making this is a simple process. Just follow these steps for a flawless result every time.
- Combine: Place your ripe bananas, milk, vanilla extract, and maple syrup into the Ninja Creami pint container.
- Blend: Use an immersion blender to blend the mixture until it’s completely smooth. This step is crucial to prevent the ingredients from separating and ensures a consistent texture. If you don’t have one, mash the banana very thoroughly with a fork before whisking vigorously.
- Freeze: Secure the lid and place the pint on a level surface in your freezer for at least 24 hours.
- First Spin: Once frozen solid, remove the lid, place the pint in the outer bowl, and lock it into your Ninja Creami machine. Press the ‘Lite Ice Cream’ button.
- Re-Spin for Creaminess: After the first cycle, the mixture will likely look crumbly or powdery. This is normal! Simply place it back in the machine and press the ‘Re-spin’ button.
- Serve and Enjoy: After one re-spin, it should be thick, smooth, and creamy. Scoop it out and enjoy immediately!
Is Your Ice Cream Crumbly? Here’s the Easy Fix
Don’t panic if your ice cream looks like a dry, powdery sandcastle after the first spin. This is the most common issue with Ninja Creami recipes and it has a simple solution.
A crumbly texture just means the base is a little too cold and needs a bit more moisture to come together. The fix is a two-step process: add a tablespoon of milk, then run the ‘Re-spin’ cycle again.
This extra liquid helps the blades process the frozen base into the ultra-creamy texture you’re looking for. Sometimes a second re-spin is all it takes, but adding a splash of liquid almost always guarantees success.
A Dietitian’s View on This Healthy Dessert
As a dietitian, I’m thrilled when a dessert can be both delicious and beneficial. This banana ice cream is a fantastic source of key nutrients.
Bananas are celebrated for their potassium content, an essential mineral and electrolyte that’s vital for heart health and blood pressure regulation. In fact, the National Institutes of Health highlights potassium’s role in maintaining fluid balance and supporting muscle contractions.
Furthermore, the 3 grams of fiber per serving contribute to digestive wellness. The Mayo Clinic notes that dietary fiber can help maintain bowel health and lower cholesterol levels.
This treat is a perfect way to satisfy your sweet cravings while nourishing your body, much like our other favorite dietitian-approved healthy snack.
How to Customize Your Banana Ice Cream

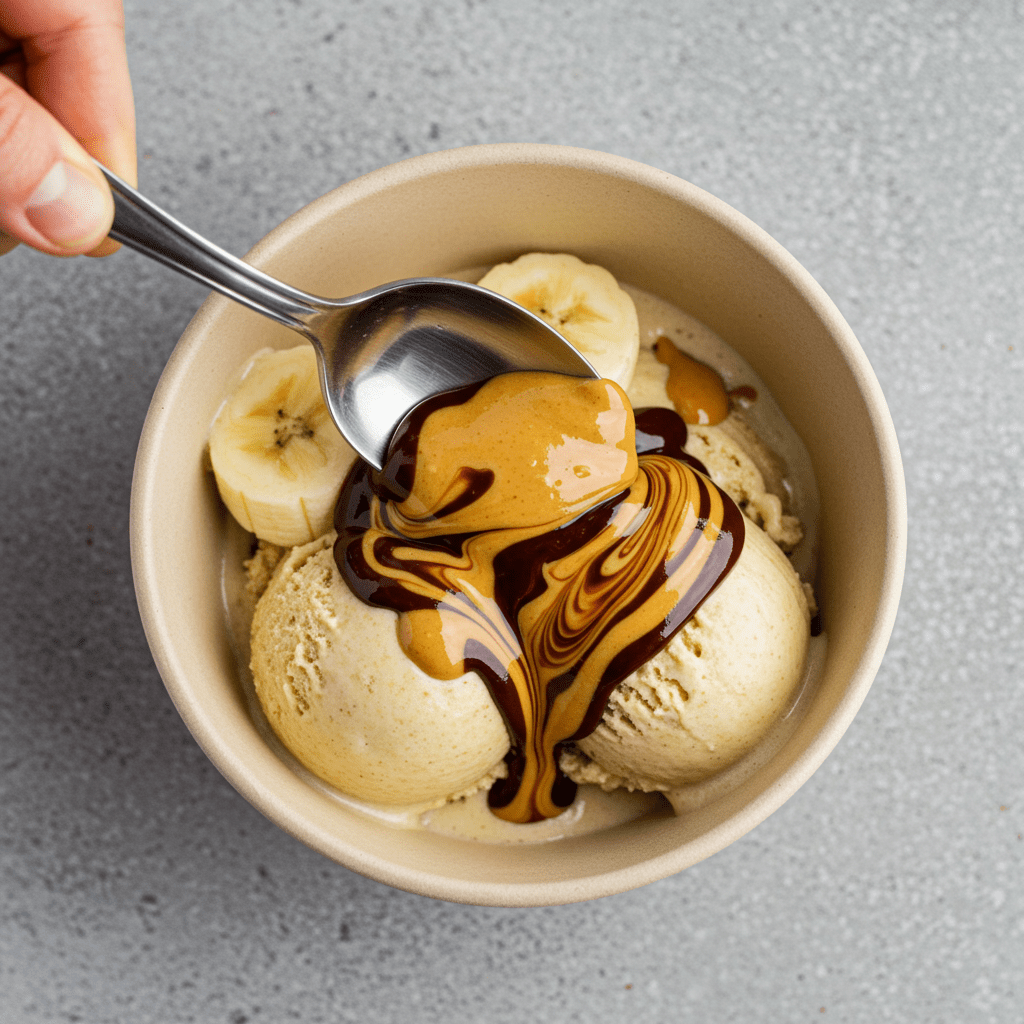
This recipe is a blank canvas for your creativity. Once the ice cream is smooth, create a small well in the center, add your mix-ins, and use the ‘Mix-in’ function for perfect distribution. And once you get the hang of the banana base, you’ll be ready to try other delicious variations, like our unbelievably creamy coffee ice cream.
- Peanut Butter Cup: Add a tablespoon of peanut butter and a handful of dark chocolate chips.
- Chocolate Banana Swirl: Mix in 1-2 tablespoons of unsweetened cocoa powder to the base before freezing for a rich, chocolatey flavor.
- Cinnamon Graham Cracker: Add a teaspoon of cinnamon and a handful of crushed graham crackers for a comforting, spiced treat.
- Tropical Twist: Mix in shredded coconut and small chunks of pineapple for a piña colada vibe.
How Do I Store Leftovers?

If you have leftovers, smooth the top of the ice cream in the pint container and place it back in the freezer. Because it’s made without stabilizers and preservatives found in store-bought ice cream, it will freeze very hard.
You’ll need to re-process it in the Ninja Creami to get that creamy texture back. Just pop it back in the machine and run the ‘Lite Ice Cream’ or ‘Re-spin’ cycle again before serving.
Can I Make This Without Added Sugar?

Absolutely! The sweetness of this ice cream comes primarily from the bananas.
If you use very ripe, brown-spotted bananas, you’ll likely find that it’s plenty sweet on its own. The maple syrup adds a layer of flavor, but it’s not essential for the recipe’s success.
Feel free to omit it completely for a delicious, no-added-sugar dessert that you can feel great about.
Conclusion
This Ninja Creami banana ice cream is more than just a recipe; it’s a versatile, healthy, and incredibly satisfying way to enjoy a frozen treat. It proves that you don’t need a long list of ingredients or a ton of sugar to create something truly special.
By understanding the simple science behind it—from using ripe bananas to knowing how to get that perfect creamy spin—you can whip up a dessert that fits your lifestyle and delights your taste buds every time. So go ahead, embrace those brown bananas and make a treat that’s as nourishing as it is delicious.
