How to Make Unbelievably Creamy Coffee Ice Cream in Your Ninja Creami
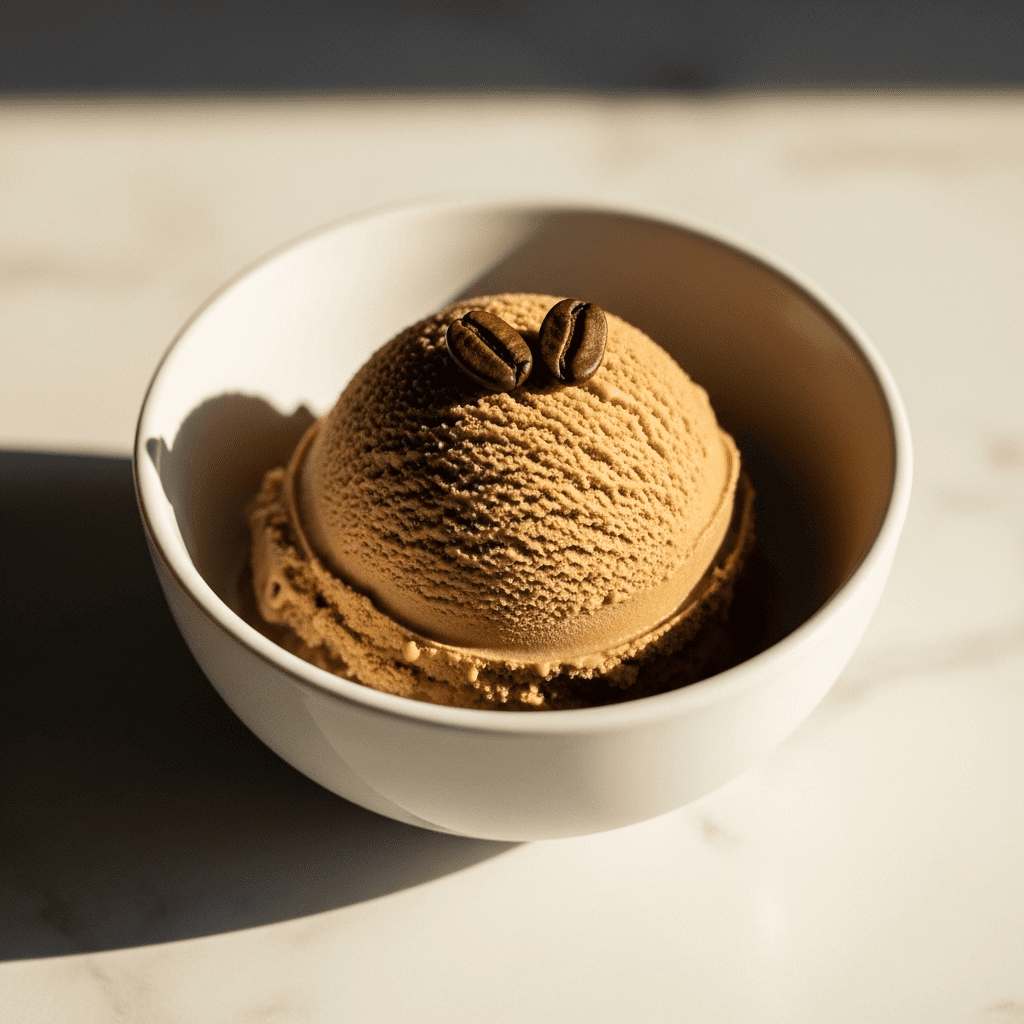
If the rich aroma of coffee and the creamy delight of ice cream are two of your favorite things, you’re in the right place. We’re moving beyond the basic recipe to show you how to craft the perfect pint of Ninja Creami coffee ice cream.
It’s surprisingly simple to achieve a texture that’s incredibly smooth and a flavor that’s deeply satisfying. Forget the icy or chalky results you might have experienced before.
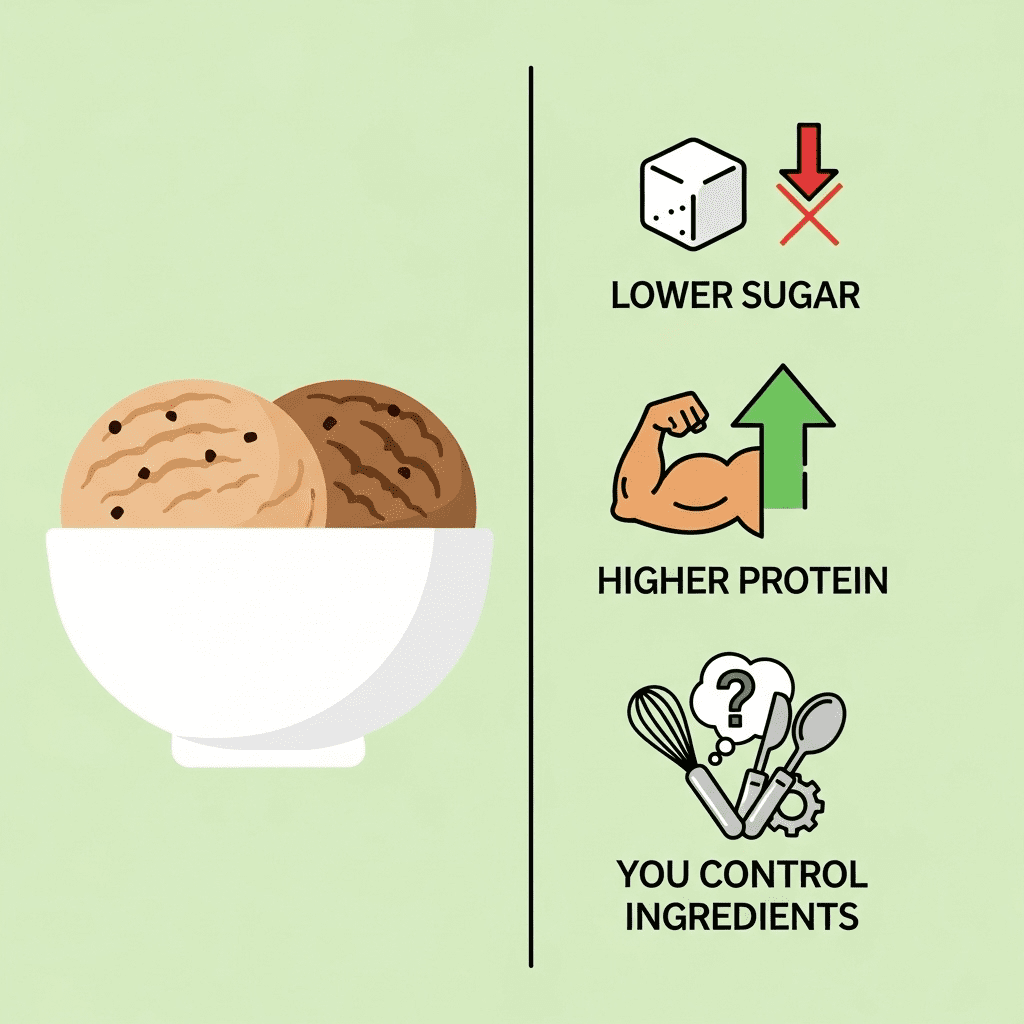
As a dietitian, I love how this method lets you control the ingredients, from the type of milk to the amount of sugar, creating a treat that fits your lifestyle. Let’s unlock the secrets to making your new favorite frozen dessert.
- What Makes the Ninja Creami So Different?
- Which Coffee Gives the Best Flavor?
- Does the Type of Milk and Sweetener Matter?
- A Step-by-Step Guide to the Perfect Pint
- What Do I Do If My Ice Cream Is Crumbly?
- Is This Homemade Ice Cream a Healthy Choice?
- How Can I Customize My Coffee Ice Cream?
- What’s the Best Way to Store and Re-Serve It?
- Conclusion
What Makes the Ninja Creami So Different?
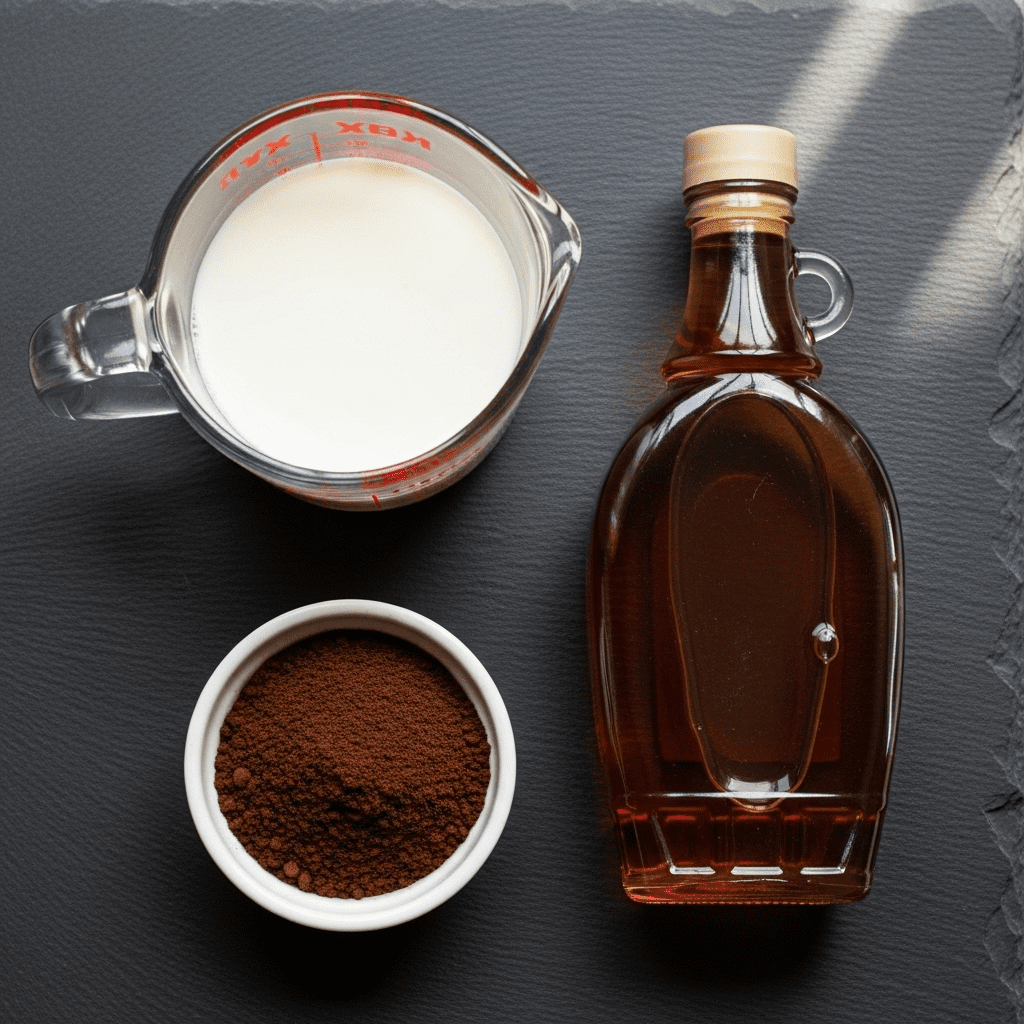
The magic of the Ninja Creami isn’t really magic at all—it’s science. Traditional ice cream makers work by churning a liquid base in a frozen bowl, gradually freezing it while incorporating air.
This process can sometimes lead to larger ice crystals, which result in a less-than-smooth texture. With the Creami, you freeze the entire base into a solid block first.
Then, a specialized paddle with high-speed blades spins down through the frozen block, shaving microscopic ice particles off the top. This process creates exceptionally small ice crystals, which the tongue perceives as a dense, smooth, and creamy texture.
It’s this unique shaving and processing technology that allows you to create ice cream from a wider variety of bases, including those with lower fat and sugar, which would be difficult to churn traditionally.
Which Coffee Gives the Best Flavor?
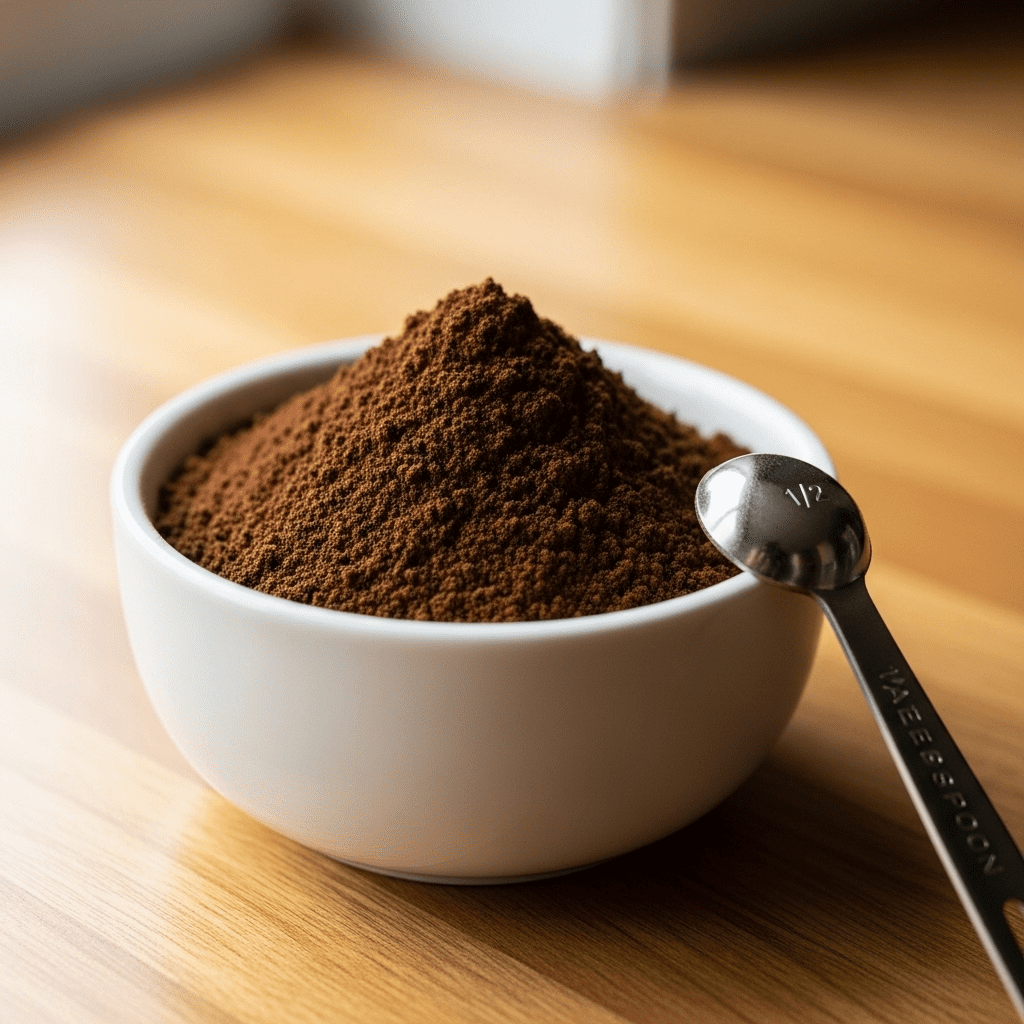
The foundation of your ice cream’s flavor starts with your coffee choice. While you can use strongly brewed and chilled coffee, I’ve found that high-quality instant espresso powder yields the most reliable and robust flavor.
Brands like Café Bustelo or Medaglia D’Oro dissolve completely into the base, ensuring a consistent coffee taste without adding extra water, which can create iciness. The fine powder integrates seamlessly, providing that deep, roasted flavor you expect from good coffee ice cream.
For those sensitive to caffeine, using a decaf instant espresso powder works just as well without compromising the taste. As a starting point, one tablespoon of instant powder is great for a classic flavor, but if you’re a true coffee aficionado, don’t hesitate to increase it to your liking.
Does the Type of Milk and Sweetener Matter?
The creaminess of your ice cream is largely determined by its fat and sugar content. These ingredients do more than just add flavor—they interfere with the formation of large ice crystals.
As a Registered Dietitian, I recommend using Fairlife 2% or whole milk for a great balance of creaminess and nutrition. Fairlife milk is ultra-filtered, which concentrates the protein and results in a naturally creamier texture.
Whole milk, with its higher fat content, also produces a wonderfully smooth result. You can use lower-fat milks, but the result will be less creamy and may require an extra re-spin.
For sweeteners, maple syrup offers a lovely complementary flavor, but you can use an equal amount of granulated sugar or a sugar substitute like erythritol or allulose. Just be aware that sugar-free sweeteners can sometimes freeze harder, potentially requiring an extra splash of milk during the re-spin phase to achieve that perfect scoopable consistency. If you’re exploring other natural sweeteners, it’s helpful to know the real differences between options like figs and dates.
As food science experts explain, fat and sugar are crucial for a smooth mouthfeel by physically getting in the way of ice crystal growth.
A Step-by-Step Guide to the Perfect Pint
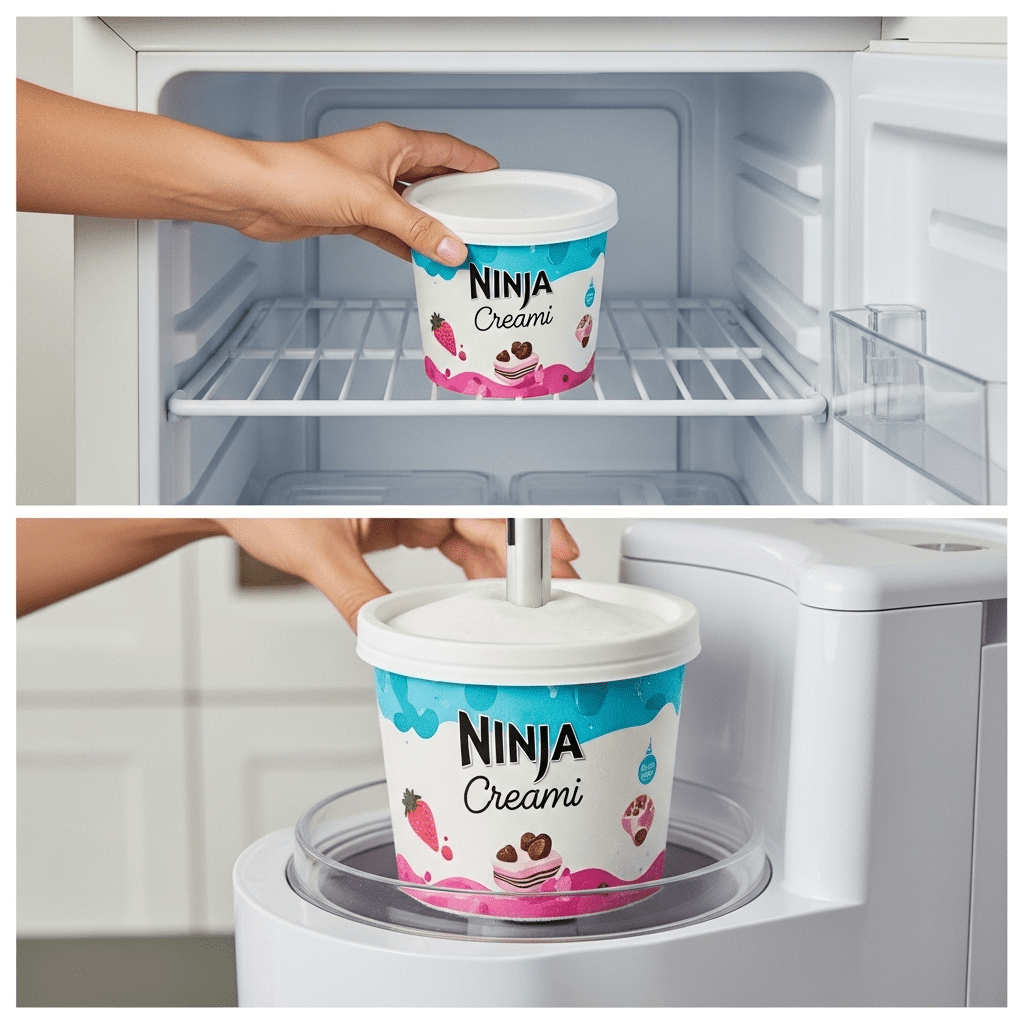
Ready to make it? Here’s the simple process for one perfect pint.
- Combine Ingredients: In your Ninja Creami pint, add 1 ¾ cups of Fairlife or whole milk, 3 tablespoons of maple syrup, 1 tablespoon of instant espresso powder, and 1 teaspoon of vanilla extract.
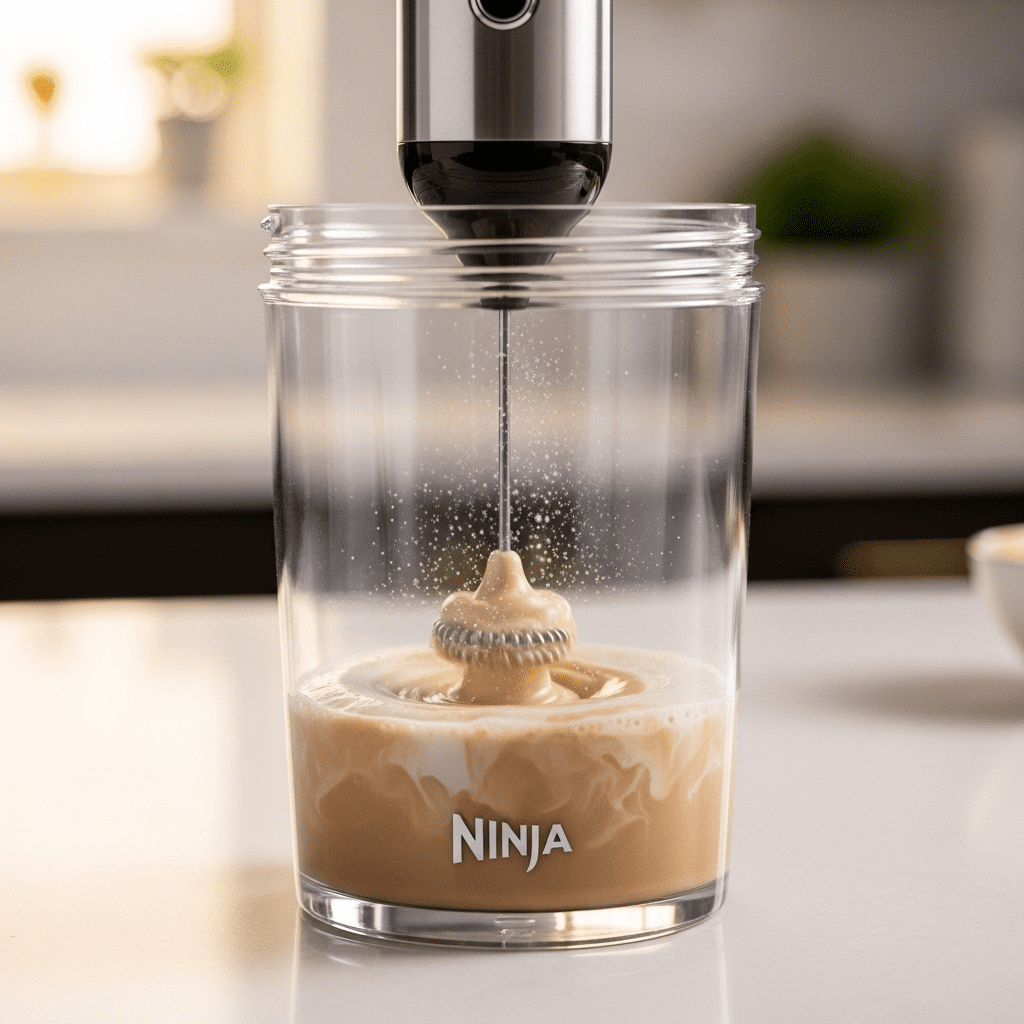
- Mix Thoroughly: Use a milk frother or a small whisk to blend the ingredients until the espresso powder and syrup are completely dissolved. You shouldn’t see any clumps or grains at the bottom. This step is crucial for a smooth final product.
- Freeze Solid: Screw the lid on tightly and place the pint on a level surface in your freezer. Let it freeze for a full 24 hours. It needs to be frozen solid all the way through for the machine to work correctly.
- First Spin: Once frozen, remove the lid and place the pint in the outer bowl. Secure the Creamerizer™ Paddle, lock it into the machine, and press the ‘LITE ICE CREAM’ button.
- Check and Re-spin: After the first cycle, your ice cream will likely look dry and crumbly. This is completely normal! Simply place it back in the machine and press the ‘RE-SPIN’ button.
- Final Spin for Perfection: After the first re-spin, check the texture. It should be much improved, but might need one more cycle. Press ‘RE-SPIN’ one last time. Now, you should have a thick, smooth, and perfectly scoopable coffee ice cream. If it’s still a bit crumbly, add one tablespoon of milk and re-spin one more time.
What Do I Do If My Ice Cream Is Crumbly?

One of the biggest concerns for new Creami users is opening the machine to find a pint of powdery, crumbly dust instead of creamy ice cream. Don’t panic—this is an expected part of the process, especially with lower-fat recipes.
The first spin is designed to break down the solid frozen block into a fine powder. The subsequent ‘RE-SPIN’ cycles are what transform that powder into a creamy delight.
Each re-spin further refines the ice crystals and incorporates air, smoothing out the texture. Most milk-based recipes require two re-spins.
If after two re-spins it still isn’t perfectly smooth, adding a single tablespoon of milk before the final spin provides just enough liquid to help the mixture emulsify into that silky texture you’re looking for. Patience and re-spinning are the true secrets.
Is This Homemade Ice Cream a Healthy Choice?
Compared to many store-bought options, this homemade version is a nutritional win. A typical serving of a premium coffee ice cream can pack over 300 calories and 30 grams of sugar.
This recipe, using Fairlife 2% milk and maple syrup, contains approximately 199 calories and 29 grams of sugar per serving (though the sugar is from a natural source, your body processes it similarly). The key benefit here is control.
You can reduce the maple syrup or use a sugar-free alternative to significantly cut down on sugar. The American Heart Association recommends limiting added sugars to no more than 36 grams per day for men and 25 grams for women.
By making it yourself, you can create a treat that easily fits within these guidelines. Furthermore, using a higher-protein milk like Fairlife gives this ice cream a satisfying protein boost, with around 7 grams per serving, which can help with satiety.
How Can I Customize My Coffee Ice Cream?
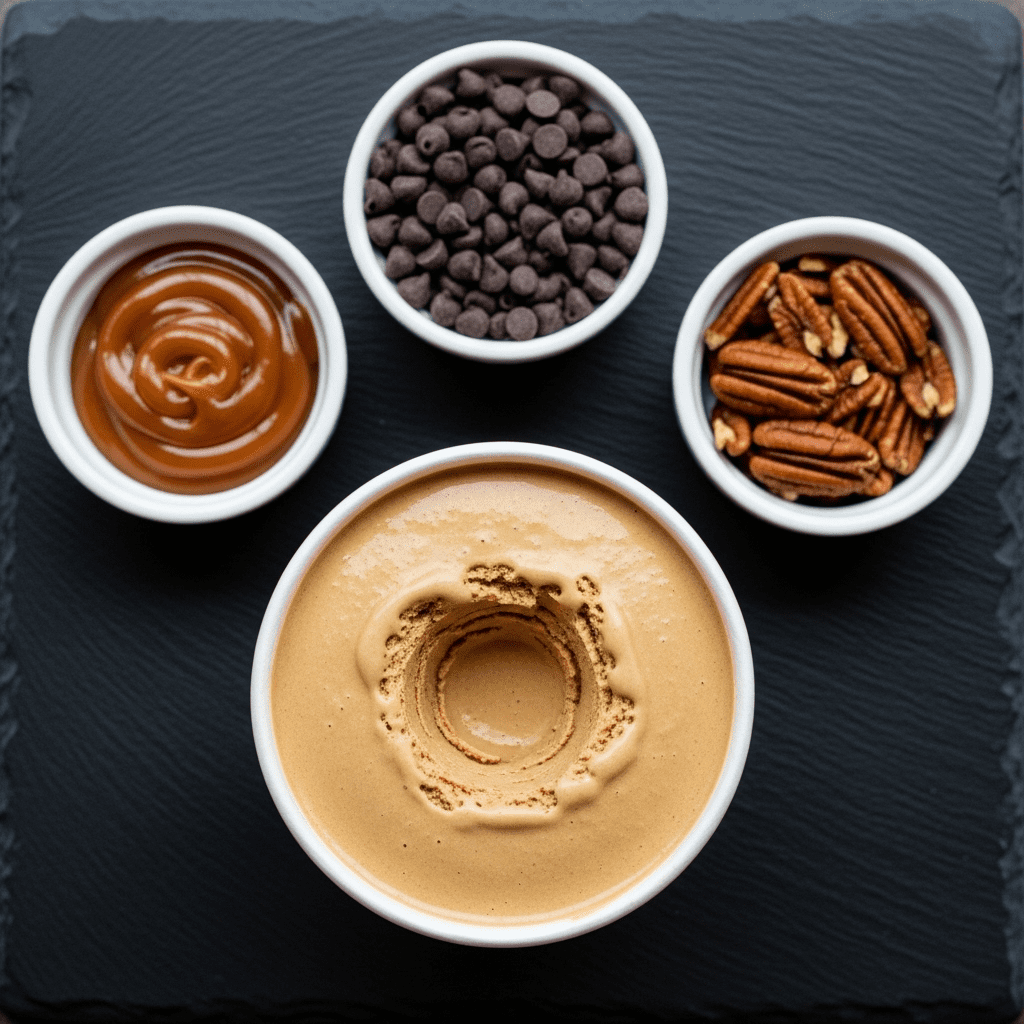
This recipe is a fantastic starting point. Here are a few ways to make it your own after the final spin, using the ‘MIX-IN’ function:
- Mocha Fudge: Drizzle in a tablespoon of sugar-free chocolate syrup or add a handful of mini chocolate chips for a classic mocha flavor. For a satisfying crunch, you could also mix in some dark chocolate walnuts.
- Caramel Macchiato: Swirl in a tablespoon of thick caramel sauce. For a salted caramel version, add a tiny pinch of flaky sea salt.
- Affogato Style: Don’t use the mix-in function for this one. Simply scoop your freshly made ice cream into a bowl and pour a hot, freshly brewed shot of espresso over the top for an incredible dessert.
- Protein Power-Up: For an even bigger protein boost, you can add half a scoop of a vanilla or unflavored collagen or whey protein powder to the base before freezing. Just be sure it’s one that dissolves well.
- Cinnamon Spiced Coffee: Add a quarter teaspoon of ground cinnamon to the base before freezing for a warm, spiced flavor note that pairs beautifully with coffee.
What’s the Best Way to Store and Re-Serve It?

If you have leftovers, the best way to store them is right in the Ninja Creami pint. Simply smooth the top of the ice cream with a spoon to make it level, secure the storage lid, and place it back in the freezer.
Because it contains less sugar and fat than commercial ice creams, it will freeze quite hard again. When you’re ready to enjoy it, you’ll need to re-process it.
Just take the pint out of the freezer, place it back in the machine, and select the ‘LITE ICE CREAM’ or ‘RE-SPIN’ function. It should return to its original creamy texture after one spin, allowing you to enjoy it just as you did the first time.
Avoid storing it in a different container, as you’ll lose the ability to easily re-spin it back to perfection.
Conclusion
Making your own coffee ice cream with the Ninja Creami isn’t just about following a recipe; it’s about taking control of your treats. You get to decide the intensity of the coffee flavor, the level of sweetness, and the creaminess of the final product.
It’s a simple process that opens up a world of delicious possibilities, turning your kitchen into a gourmet ice cream parlor. So go ahead, freeze that first pint, and get ready to enjoy what is sure to be one of the best cups of coffee you’ve ever had—in ice cream form.
