My Foolproof 5-Ingredient Vegan Toffee Recipe (No Thermometer Needed!)
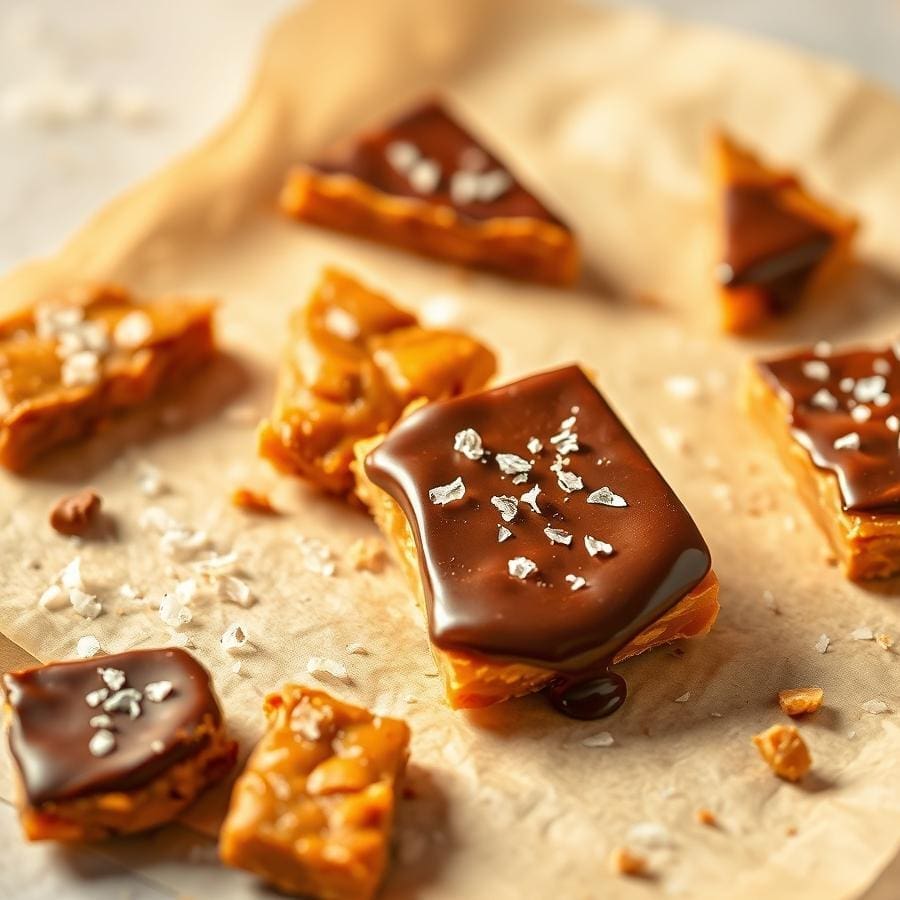
Have you ever craved that satisfying snap of perfect toffee, but felt intimidated by the candy-making process? Worries about fussy thermometers, complex steps, and dairy-filled ingredients can make homemade toffee seem out of reach.
But what if I told you that you could create the most incredibly rich, buttery, and crunchy vegan toffee with just five simple ingredients you probably already have? This recipe is my go-to for holiday gifts, dessert toppings, and anytime treats because it’s practically foolproof and delivers amazing results every single time.
It’s time to demystify candy making, right in your own kitchen. (On a tight schedule?
Why You’ll Love This Simple Toffee Recipe
This isn’t just another candy recipe; it’s a game-changer for your vegan baking adventures. Here’s why it consistently earns rave reviews:
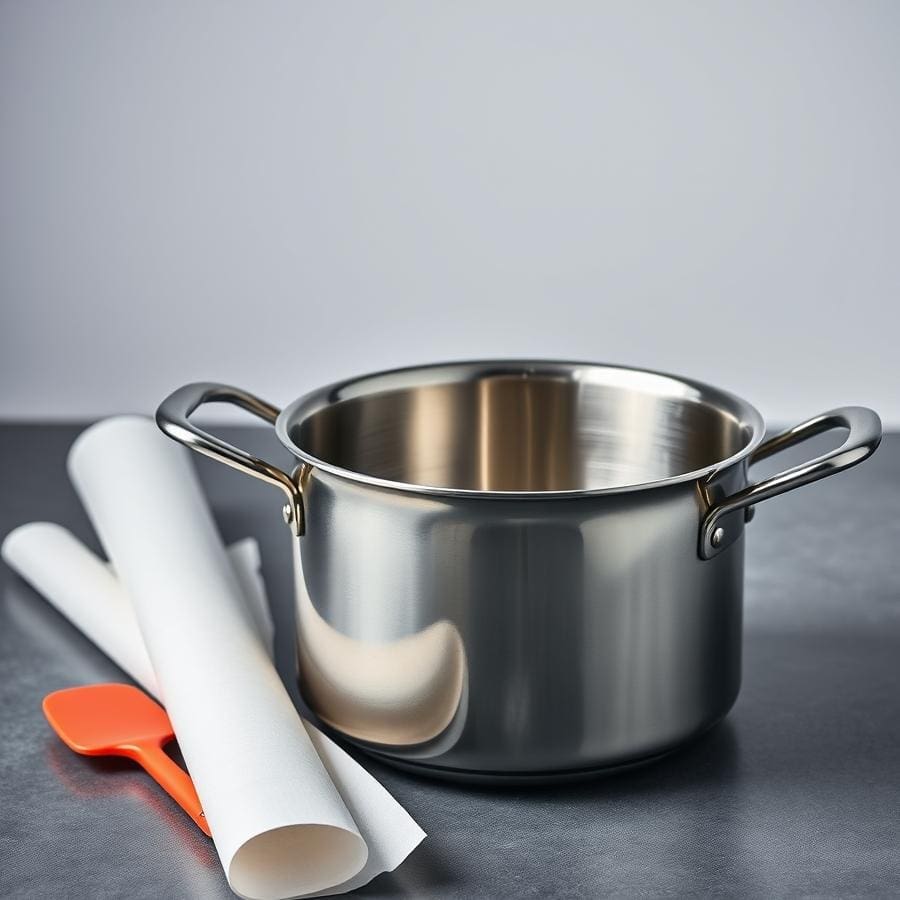
- Perfectly Uncomplicated: You don’t need any special equipment. No candy thermometer, no marble slab—just a good saucepan and a spatula. We rely on visual cues, making this an accessible recipe for cooks of all skill levels.
- Minimal Ingredients, Maximum Flavor: With only vegan butter, sugar, salt, nuts, and optional chocolate, this recipe proves that you don’t need a long shopping list to create something spectacular. The flavor is pure, rich, and deeply satisfying.
- Endlessly Versatile: While fantastic on its own, this toffee is a powerhouse ingredient. Chop it up and fold it into cookie dough, sprinkle it over ice cream, or press it onto the sides of a frosted cake. It adds a delightful crunch and buttery flavor to almost any dessert.
The Secret Science to Perfect Toffee (No Thermometer Required!)
The magic of toffee making lies in understanding how sugar behaves when heated. While a candy thermometer is precise, your eyes are your best tool here.
The process involves two key scientific reactions: caramelization and the Maillard reaction, which food scientists explain are responsible for developing complex flavors and colors. In simple terms, as you cook the sugar and vegan butter, the mixture will progress through several color stages.
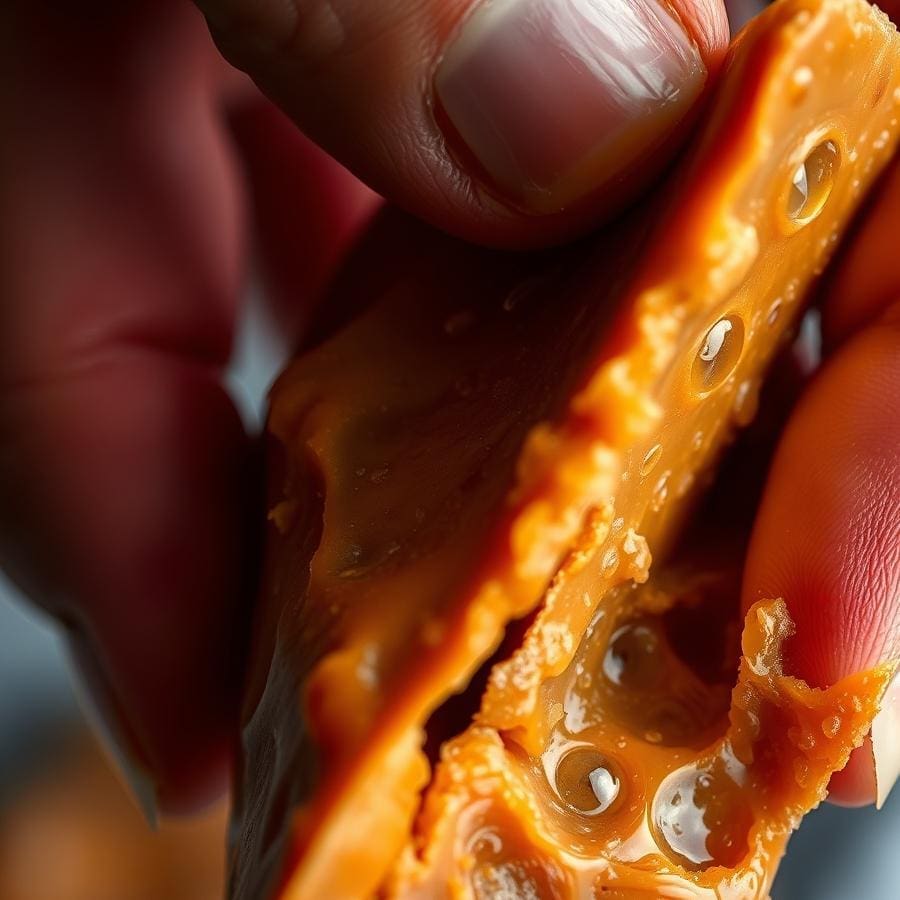
Initially, it will be a pale, creamy yellow. As the water cooks off and the temperature rises, it will slowly transform into a light tan, then a deeper gold, and finally, a beautiful, rich amber color—similar to a copper penny.
This amber stage, which typically occurs between 290-300°F (143-149°C), is what we’re looking for. It’s the ‘hard crack’ stage, ensuring your toffee will be brittle and crunchy, not soft and chewy.
Pulling it from the heat at the perfect amber moment is the key to that signature snap. This visual method is reliable and empowering, turning you into a more intuitive cook.
A Visual Guide to Making Vegan Toffee
Ready to get started? Here’s a breakdown of the key moments in the process. Following these steps closely will ensure a perfect batch every time.
- Preparation is Key: Before you turn on the stove, line your 9-inch square baking dish with parchment paper, leaving some overhang on the sides to act as handles. This makes removal effortless. Sprinkle your chopped nuts evenly across the bottom.
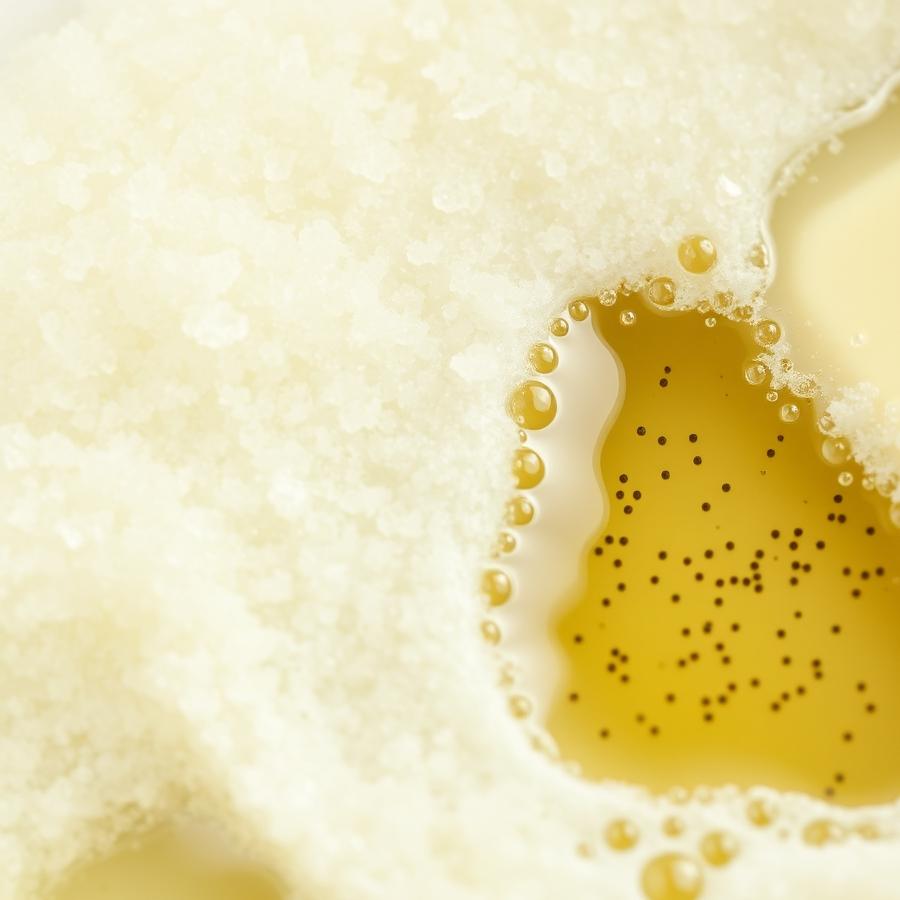
- The Gentle Melt: In a heavy-bottomed saucepan, combine the vegan butter, sugar, and salt over low-medium heat. Stir gently until the butter is completely melted and the sugar is dissolved. Don’t rush this part.
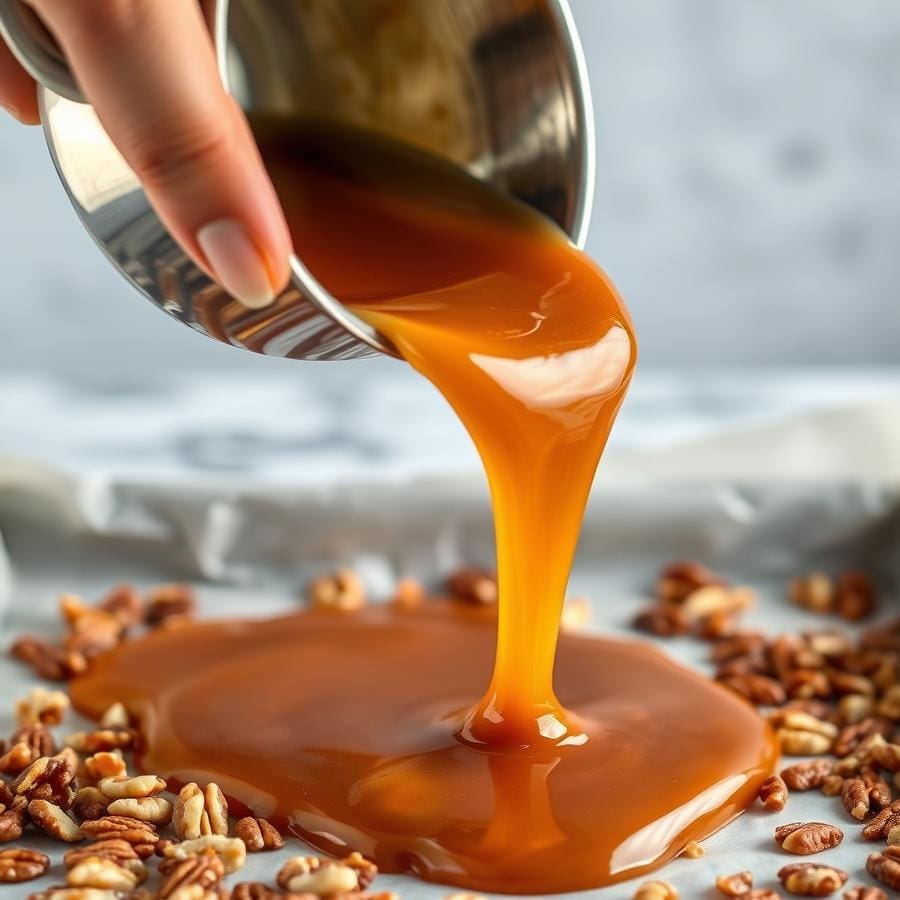
- The Patient Boil: Increase the heat to medium-high and bring the mixture to a steady boil. Now, the watching begins. Stir occasionally and evenly, watching as the color slowly deepens from pale cream to a rich, coppery amber. This can take anywhere from 15-25 minutes depending on your stove. Patience is your best friend here.
- Pour and Set: As soon as you reach that perfect amber color, immediately remove the pan from the heat. Carefully and quickly pour the molten toffee over the nuts in your prepared dish. Be very careful, as the mixture is extremely hot.
- The Chocolate Finish: Sprinkle the vegan chocolate chips over the hot toffee. Let them sit for 5 minutes to melt and soften from the residual heat. Then, use an offset spatula to spread the melted chocolate into a smooth, even layer. Top with more nuts or a sprinkle of flaky sea salt if you wish.
- Chill Out: Place the pan in the refrigerator for at least an hour, or until the toffee is completely firm and hardened. Once solid, use the parchment handles to lift the slab out, place it on a cutting board, and break it into rustic pieces.
Expert Tips for Candy-Making Success
These small details make a big difference between good toffee and great toffee.
- Use a Heavy-Bottomed Pan: A heavy, thick-bottomed saucepan distributes heat more evenly, which is crucial for preventing the sugar from scorching in hot spots, a non-negotiable for candy making according to King Arthur Baking. Stainless steel or enamel cast iron works beautifully.
- Stir Smartly: When the recipe says ‘stir occasionally,’ it means you should stir slowly and deliberately every few minutes to ensure even cooking. Avoid vigorous, constant whisking, which can incorporate too much air or encourage crystallization. When you do stir, make sure to scrape the bottom of the pan to prevent sticking and burning.
- Trust Your Senses: Pay attention to more than just the color. As the toffee cooks, it will smell nutty and caramelized. If it starts to smell acrid or burnt, it’s likely gone too far. Your nose is an excellent backup timer.
- Brand Matters: Different vegan butters have varying water and fat contents, which can affect the outcome. I’ve had the most consistent and best-tasting results with Miyoko’s Kitchen Cultured Vegan Butter due to its flavor profile and fat composition. Earth Balance sticks also work well.
Troubleshooting Common Toffee Troubles
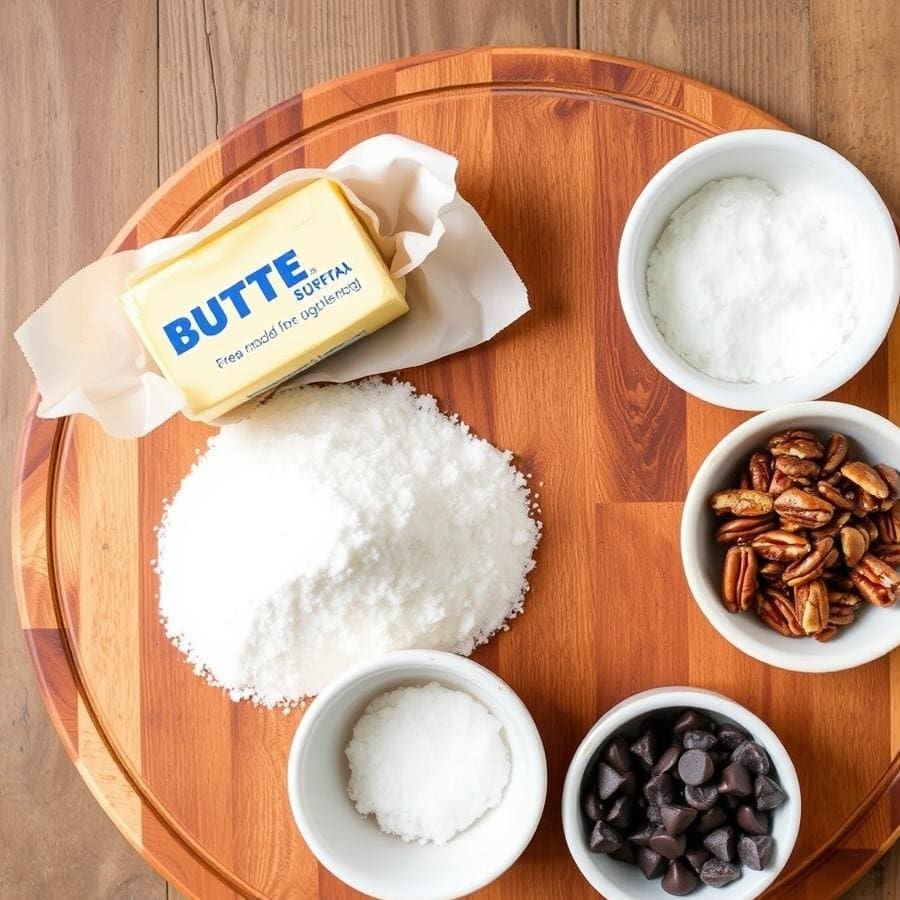
Candy making can sometimes be finicky. If you run into an issue, don’t panic! Here’s how to solve the most common problems.
- Problem: My toffee separated and looks greasy! This usually happens if the mixture gets too hot too quickly or if it’s shocked by a sudden temperature change. The Fix: Immediately remove the pan from the heat. Add a tablespoon of very hot water and whisk vigorously but carefully until it emulsifies and comes back together. Then, return it to the heat and continue cooking.
- Problem: My toffee is grainy, not smooth. This is due to sugar crystallization. It can happen if there are sugar crystals stuck to the side of the pan that get stirred back in. The Fix: To prevent this, you can use a wet pastry brush to wipe down the inside of the pan just above the liquid line during the initial melting phase. Also, avoid scraping the sides of the pan once the mixture is boiling.
- Problem: My toffee is chewy instead of crunchy. This is a clear sign it was undercooked. It didn’t reach the ‘hard crack’ stage (around 290°F). The Fix: Unfortunately, you can’t fix this once it has cooled. Next time, be sure to cook it until it reaches that deep amber, coppery color before pouring.
- Problem: My toffee tastes bitter or burnt. This means it was cooked for too long. The line between perfect amber and dark brown (burnt) is very fine, and the toffee will continue to cook from residual heat even after you remove it from the stove. The Fix: Always err on the side of pulling it from the heat a moment sooner than you think you need to. Pour it immediately to stop the cooking process.
Creative Ways to Use Your Homemade Toffee
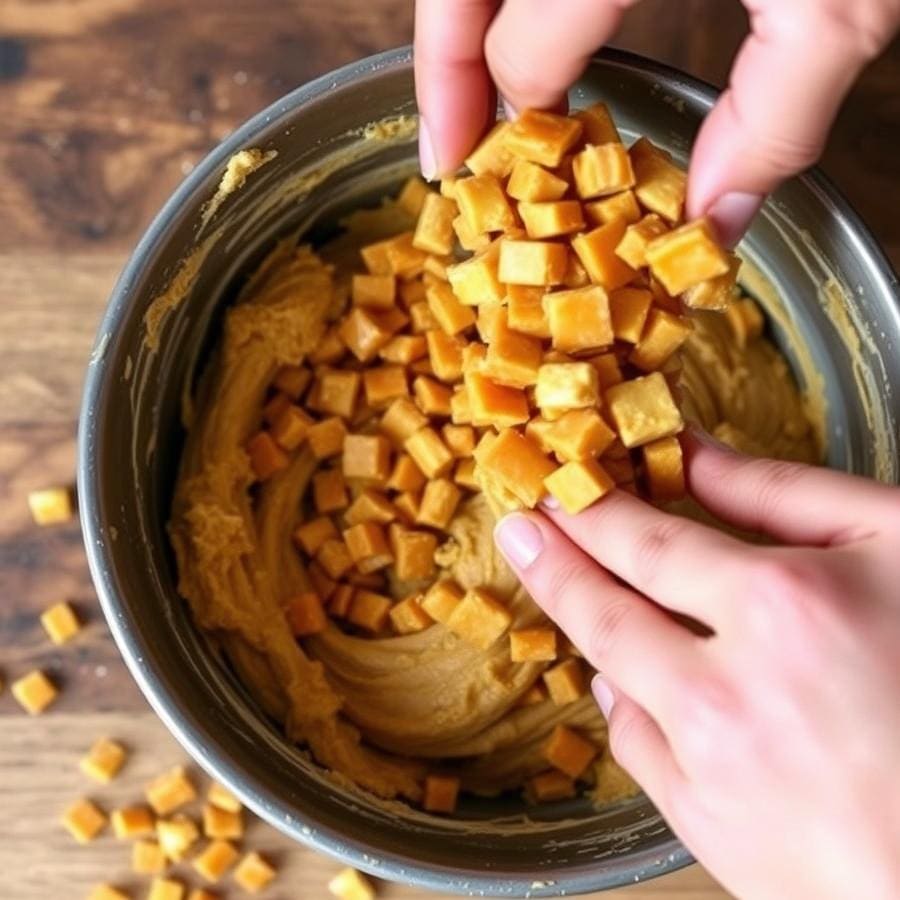
Think of this toffee as a secret weapon for your desserts. Breaking up a batch into smaller bits opens up a world of delicious possibilities.
- The Ultimate Cookie Mix-In: Move over, chocolate chips. Adding a cup of chopped toffee bits to your favorite vegan chocolate chip cookie or peanut butter cookie dough creates pockets of crunchy, caramelized flavor that are simply irresistible.
- Elevated Ice Cream Topping: Sprinkle generously over scoops of creamy vegan vanilla bean or coffee ice cream. The contrast between the cold, smooth ice cream and the crunchy, buttery toffee is pure bliss.
- Decadent Dessert Garnish: Use toffee pieces to decorate the top and sides of a vegan chocolate cake or press them into the frosting of pumpkin cupcakes for a beautiful and delicious finish.
- Homemade Chocolate Bark: Melt down your favorite vegan dark chocolate and spread it thinly on a parchment-lined baking sheet. Sprinkle with toffee bits, flaky sea salt, and perhaps some toasted nuts before chilling to create a gourmet-quality bark.
How to Store Your Vegan Toffee
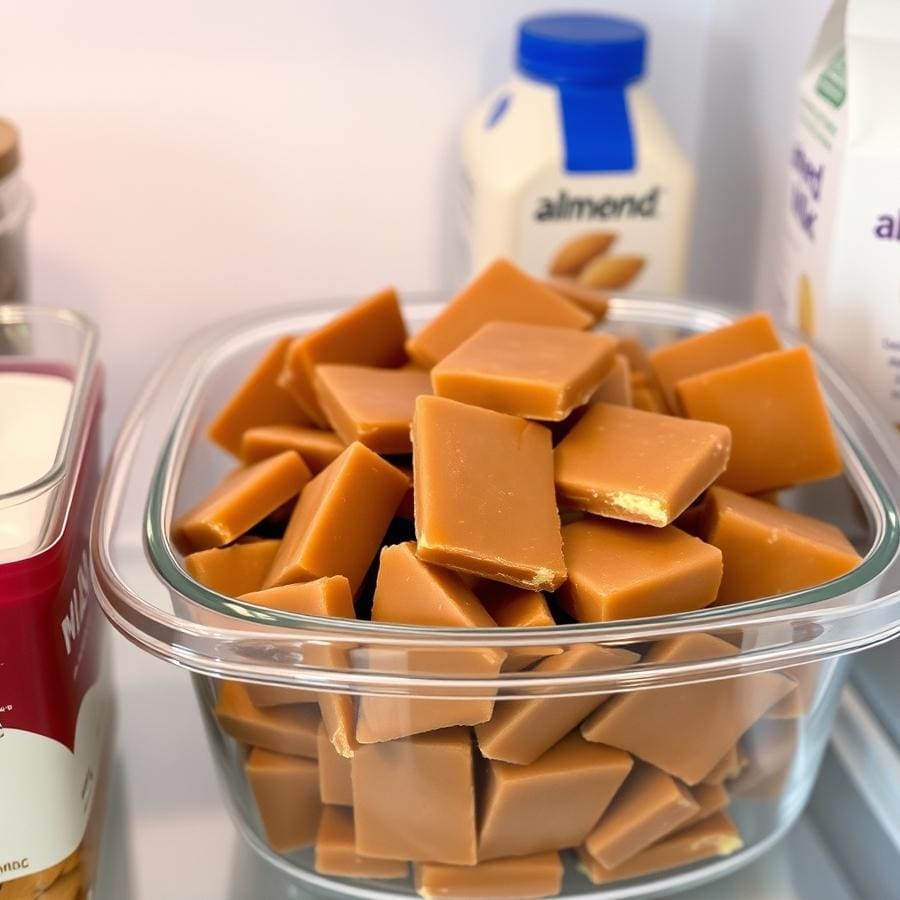
Proper storage is essential to maintain that signature crunch. Due to the nature of vegan butter (especially those with a coconut oil base), this toffee is happiest when kept cool.
Store the pieces in an airtight container in the refrigerator for up to three weeks. The cold temperature keeps the fats solid and ensures the toffee remains perfectly crisp and snappy.
While it can be stored at a cool room temperature for a few days, refrigeration provides the best texture.
Conclusion
Creating delicious, high-quality vegan candy at home is not only possible but also incredibly rewarding. This simple toffee recipe proves that with a handful of basic ingredients and a little bit of patience, you can produce a treat that’s better than anything you can buy at the store.
Whether you’re making it as a gift, a baking ingredient, or just a treat for yourself, you’re now equipped with the tips and techniques to nail it every time. Happy cooking!
