The Best Crunchy Vanilla Nut Granola (A Dietitian’s Recipe)

Have you ever looked at the ingredient list on a box of store-bought granola? It can be shocking to see how much sugar, unhealthy oils, and unnecessary additives are packed into something that’s marketed as a health food.
The truth is, most commercial granolas are closer to dessert than a nutritious breakfast. That’s why I’m so passionate about this homemade Vanilla Nut Granola.
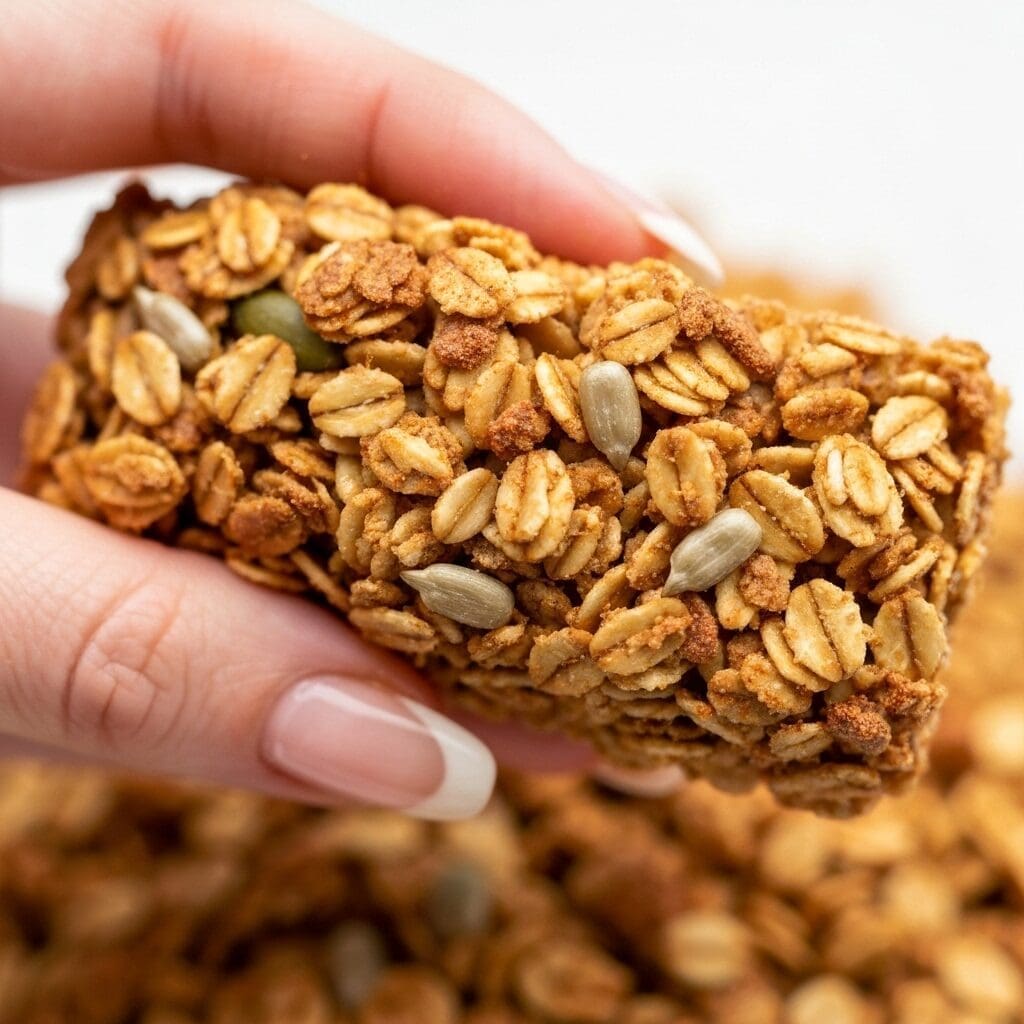
It’s incredibly simple, endlessly customizable, and puts you back in the driver’s seat of your nutrition. In just about 30 minutes, you can have a batch of crunchy, golden, and genuinely wholesome granola ready for the week ahead.
It’s perfect for topping yogurt, eating like cereal, or just grabbing by the handful for a quick, energy-boosting snack.
A Dietitian’s Take on Your Granola Ingredients

Before we jump into the recipe, let’s break down why these specific ingredients work so well together from a nutritional standpoint. As a dietitian, I believe that understanding the ‘why’ behind a recipe helps you make smarter choices in the kitchen every day.
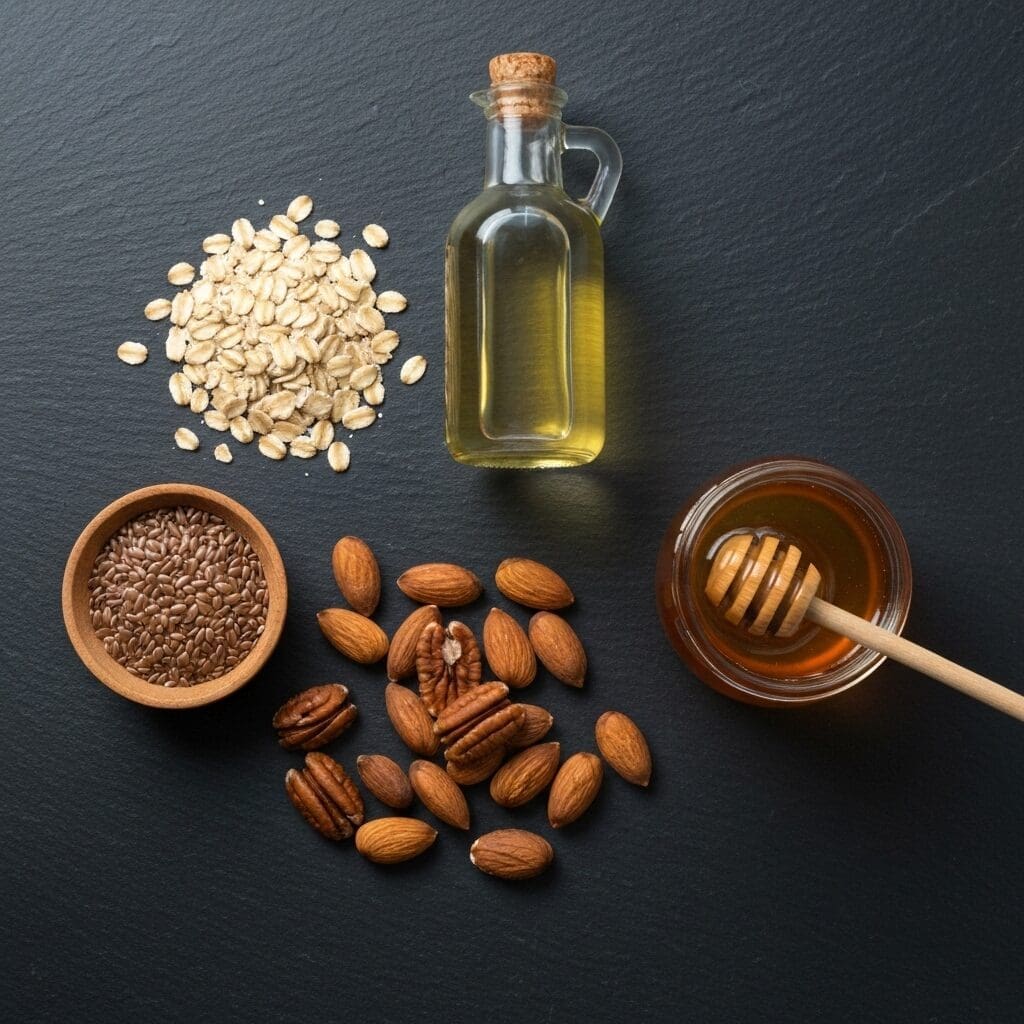
- Old-Fashioned Rolled Oats: These are the star of the show for a reason. Oats are packed with a type of soluble fiber called beta-glucan, which has been shown in studies to help lower cholesterol levels and improve blood sugar control. This fiber also helps you feel full and satisfied, preventing overeating later in the day.
- Nuts (Pecans & Almonds): This duo provides a fantastic combination of flavor, texture, and nutrition. They are rich in heart-healthy monounsaturated fats, protein, and essential micronutrients. Research from the H. Chan School of Public Health highlights that regular nut consumption is linked to a lower risk of chronic disease.
- Flax Seeds: Don’t underestimate these tiny seeds! They are one of the best plant-based sources of alpha-linolenic acid (ALA), a type of omega-3 fatty acid that is crucial for heart health. They also provide an extra boost of fiber, further supporting digestive regularity.
- Avocado Oil: I recommend avocado oil here because it’s rich in monounsaturated fats and has a neutral flavor, allowing the vanilla and nuts to shine. Unlike some other oils, it’s very stable at baking temperatures.
- Honey: While still a sugar, honey is a natural sweetener that contains small amounts of antioxidants and has a lower glycemic index than table sugar. The key is using just enough to add flavor and help bind the granola clusters together.
What You’ll Need for This Recipe

You only need a handful of simple, wholesome ingredients to create this delicious granola. This recipe is all about quality basics.
- Old-Fashioned Oats: Use rolled oats, not quick-cook or steel-cut, to get the best texture. For a gluten-free version, be sure to use certified gluten-free oats.
- Raw Pecans & Almonds: Chopping them roughly creates a nice, varied texture. Using raw nuts is key, as they will toast perfectly in the oven.
- Whole Flax Seeds: These add a lovely crunch and a powerful nutritional punch.
- Avocado Oil: You can also use melted coconut oil or another neutral-flavored oil.
- Honey: For a vegan alternative, pure maple syrup works beautifully.
- Pure Vanilla Extract: Don’t skimp here! Good quality vanilla is essential for the best flavor.
- Salt: A fine sea salt helps to balance the sweetness and enhance all the other flavors.
How to Make Perfect Vanilla Nut Granola Every Time

Making granola from scratch is a simple process of mixing, baking, and cooling. The most important step for getting those coveted crunchy clusters is the cooling process!
Step 1: Prepare Your Oven and Wet Ingredients
First, adjust your oven rack to the lower third position and preheat to 325°F (165°C). Line a large, rimmed baking sheet with parchment paper for easy cleanup.
In a large mixing bowl, combine the honey, avocado oil, vanilla extract, and salt. Whisk them together until they form a smooth, cohesive mixture.
Step 2: Add the Dry Ingredients
Pour the old-fashioned oats, chopped pecans, chopped almonds, and whole flax seeds into the bowl with the wet ingredients. Use a spatula to stir everything together until every oat and nut is evenly coated.
Step 3: Bake to Golden Perfection
Spread the granola mixture onto the prepared baking sheet in a thin, even layer. Bake for 25-30 minutes.
It’s important to stir the granola at the 10-minute and 20-minute marks to ensure it bakes evenly. After each stir, use your spatula to gently press the granola back into an even layer. This pressure is what helps create large clusters. Keep a close eye on it during the last 5-10 minutes, as it can go from golden to burnt quickly.
Step 4: The Crucial Cooling Stage
This is the most important step for a crunchy final product. Once the granola is a beautiful golden-brown, remove it from the oven and let it cool completely on the baking sheet without touching it.
This could take up to an hour. As the honey and oil cool, they will harden and bind the oats and nuts into those large, irresistible clusters. Once it’s fully cooled, you can break it apart into your desired cluster size.
Troubleshooting Your Homemade Granola

Even with a simple recipe, things can sometimes go sideways. Here are a few common issues and how to fix them, ensuring your granola comes out perfectly every time.
Why isn’t my granola crunchy?
The most common culprit is not letting it cool completely and undisturbed on the baking sheet. The magic of cluster formation happens as the sugars cool and harden. If you stir it or put it away while it’s still warm, it will lose its crispness and result in a softer, more muesli-like texture. Another reason could be too much moisture from an excess of wet ingredients; be sure to measure accurately.
How do I get those big granola clusters?
There are two secrets. First, after you stir the granola part-way through baking, gently press down on it with the back of a spatula. This compacts the mixture and encourages it to stick together. Second, as mentioned above, let it cool completely on the pan without touching it. It will feel like a single sheet of granola, which you can then break up into large chunks.
My granola burned on the bottom. What happened?
This usually happens if the oven temperature is too high or the baking sheet was placed too close to the heating element. Baking granola on a lower rack at a moderate temperature of 325°F (165°C) allows it to toast slowly and evenly without burning the sugars in the honey. Also, using a light-colored aluminum baking sheet can help, as dark pans absorb more heat and can lead to burning.
Easy Variations and Customizations

One of the best things about this recipe is its versatility. Think of this as a base recipe and feel free to experiment with your favorite flavors and ingredients.
- Switch Up the Nuts & Seeds: Walnuts, cashews, pumpkin seeds, or sunflower seeds are all fantastic additions or substitutions.
- Add Dried Fruit: To prevent burning, always add dried fruit after the granola has been baked and cooled. Try cranberries, raisins, chopped apricots, or cherries.
- Introduce Spices: A teaspoon of cinnamon, cardamom, or pumpkin pie spice added to the dry ingredients can create a wonderfully warm and aromatic granola.
- Make it Chocolatey: For a decadent treat, stir in some dark chocolate chips or cacao nibs after the granola has completely cooled.
- Try Different Extracts: Swap the vanilla for a quarter teaspoon of almond extract for a delicious vanilla-almond flavor, or try maple extract for a different profile.
My Favorite Ways to Serve Granola

This granola is fantastic on its own, but it truly shines as a component in other meals and snacks. Here are a few of my favorite ways to enjoy it:
- Yogurt Parfait: Layer the granola with Greek yogurt and fresh berries for a protein-packed breakfast that feels like a treat.
- As Cereal: Simply pour it into a bowl and add your favorite milk or plant-based alternative.
- Smoothie Bowl Topper: Sprinkle it over a thick smoothie bowl for a satisfying crunch that contrasts beautifully with the creamy base.
- Healthy Dessert: Use it as a topping for baked apples or a scoop of frozen yogurt for a healthier dessert option.
- On-the-Go Snack: Portion it out into small bags for a convenient and energizing snack to take to work, school, or on a hike.
How to Store Your Granola for Lasting Freshness

Proper storage is key to keeping your granola fresh and crunchy for as long as possible. Once the granola is completely cool, transfer it to an airtight container. A large glass mason jar or any other sealed container works perfectly.
- At Room Temperature: Stored in a cool, dry place like a pantry, your granola will stay fresh for up to 2 weeks.
- In the Freezer: For longer-term storage, you can freeze granola for up to 3 months. Place it in a freezer-safe zip-top bag or container. It thaws quickly at room temperature.
Meal Prep Tip: This recipe is perfect for batching. Simply double or triple the ingredients and use multiple baking sheets. It’s a fantastic way to spend an hour on the weekend to ensure you have healthy breakfasts and snacks ready for the busy weeks ahead.
Conclusion
Making your own granola is one of the simplest and most rewarding kitchen projects you can tackle. It puts you in complete control of the ingredients, sweetness, and nutritional profile, allowing you to create a breakfast and snack staple that truly nourishes your body.
This recipe isn’t just about making food; it’s about making a smarter, healthier choice that doesn’t sacrifice flavor or that satisfying crunch. If you’re looking for other dietitian-approved recipes, our kale and pomegranate winter salad is another fantastic option. Enjoy crafting your perfect batch!
