The Creamiest Dairy-Free Mac and Cheese You’ll Ever Make

If you’ve been searching for a dairy-free mac and cheese that is genuinely, unbelievably creamy and cheesy, your search is over. This isn’t another recipe that tastes like vegetables or has a gritty, disappointing texture.
This is the real deal—a luscious, savory, and deeply satisfying comfort food that will win over even the most skeptical dairy-lovers. Best of all, it comes together in under 30 minutes using simple, nut-free ingredients.
It’s the perfect quick and easy meal for a busy weeknight that the whole family will adore, similar to other quick vegan dinners we love.
Why This Is the Only Recipe You’ll Need

What makes this recipe stand out from the rest? It’s all about the synergy between a few key ingredients and a simple technique that guarantees a velvety, rich sauce every single time. Here’s why it works so well:
- Classic Roux Base: We start with a traditional roux (vegan butter + flour), which creates a stable, thick, and genuinely creamy foundation that prevents the sauce from being grainy or thin.
- The Miso Magic: A spoonful of mellow white miso is the secret weapon. It doesn’t make the sauce taste like miso; instead, it provides a deep, savory, umami flavor that mimics the aged complexity of real cheddar cheese.
- Smart Cheese Selection: By using a combination of meltable vegan cheddar and mozzarella (like Violife), we get both a sharp flavor and that glorious, gooey cheese pull.
- Allergy-Friendly by Design: This recipe is intentionally developed to be nut-free, and it can easily be made gluten-free, making it a safe and delicious option for almost everyone.
Choosing Your Ingredients for the Best Results
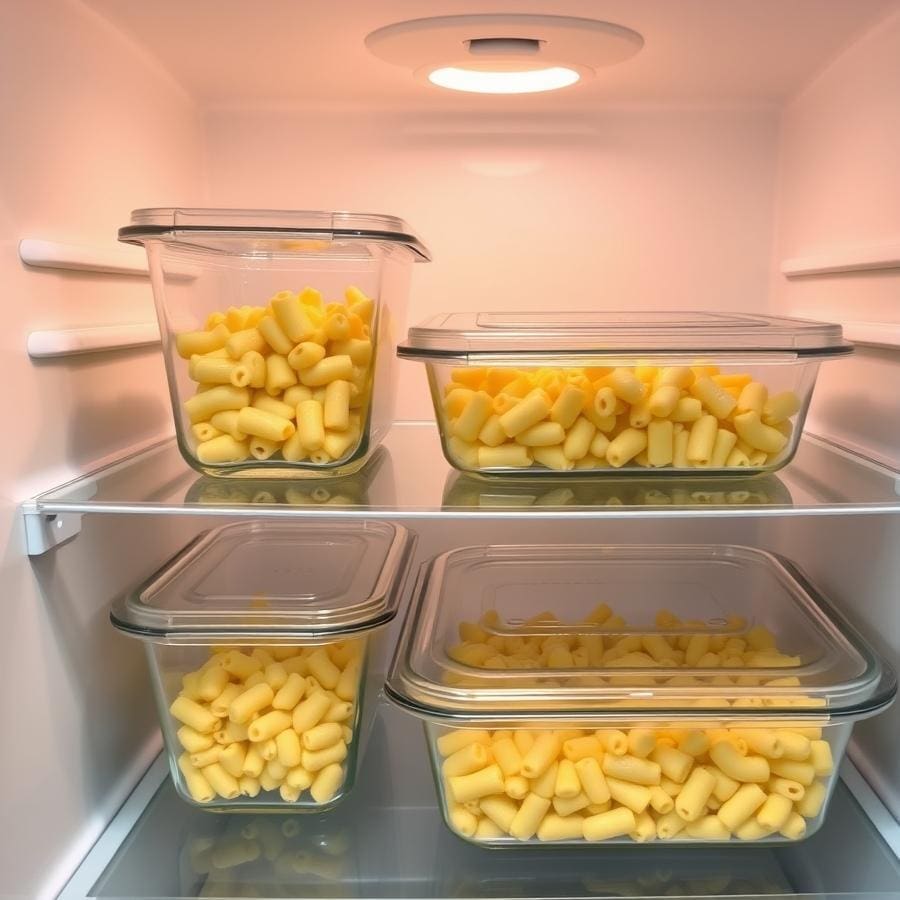
The key to a truly great dairy-free mac and cheese lies in using the right ingredients. Each component plays a specific role in building the perfect flavor and texture.
- Elbow Pasta: The classic choice for its ability to hold lots of sauce. Feel free to use shells or any small pasta shape. For a gluten-free version, use your favorite GF-certified pasta.
- Vegan Butter: This creates the rich base for our roux. Use a good quality brand that you enjoy the taste of.
- All-Purpose Flour: This thickens the sauce. You can easily substitute a 1:1 gluten-free all-purpose blend, a technique we also use in our popular one-bowl vegan gluten-free cake.
- Unsweetened Soy Milk: Soy milk is fantastic here because its higher protein content makes for a richer, creamier sauce. Unsweetened oat milk is another excellent choice. Avoid any sweetened or strongly flavored plant milks.
- Meltable Vegan Cheeses: I highly recommend a combination of Violife’s Mature Cheddar and Mozzarella shreds for the best flavor and meltability. If you use another brand, be sure it’s one you know melts well.
- Mellow White Miso: This is a non-negotiable for the best flavor! It adds a salty, savory depth that you can’t get from anything else. Research published in Food Science & Nutrition highlights how fermented products like miso create a complex umami taste, which is crucial for mimicking cheese.
- Seasonings: Garlic, salt, pepper, and paprika round out the sauce, adding fragrance and a warm, cheesy color.
Step-by-Step Instructions for Creamy Perfection
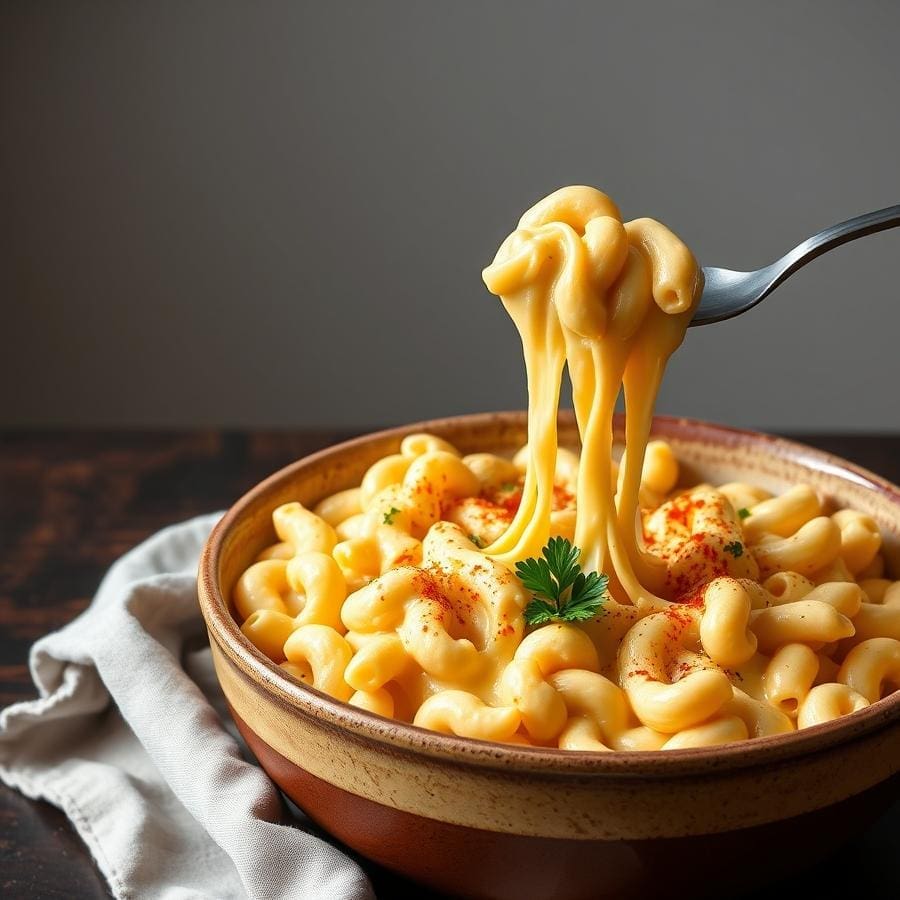
Follow these steps closely to ensure a perfectly smooth and creamy sauce every time.
- Cook the Pasta: Bring a large pot of salted water to a boil. Cook your pasta according to the package directions until it’s al dente. Just before draining, reserve about 1/2 cup of the starchy pasta water. Drain the pasta and set it aside.
- Start the Roux: While the pasta cooks, melt the vegan butter in a large skillet or pot over medium heat. Once it’s melted, add the minced garlic and sauté for about 30-60 seconds until fragrant. Be careful not to let it burn. Sprinkle the flour over the butter and whisk constantly for one minute. This step cooks out the raw flour taste and is crucial for a smooth sauce.
- Build the Sauce: Slowly pour in the unsweetened soy milk while whisking continuously. Pouring slowly prevents lumps from forming. Continue to whisk until the mixture begins to thicken, about 3-4 minutes.
- Melt the Cheeses: Reduce the heat to low. Add the chopped vegan cheddar and mozzarella shreds to the skillet. Stir gently until the cheeses are completely melted and the sauce is smooth.
- Season and Combine: Whisk in the white miso, salt, pepper, and paprika until fully incorporated. If the sauce seems too thick, add a splash of the reserved pasta water until it reaches your desired consistency.
- Finish the Dish: Add the cooked and drained pasta directly into the cheese sauce. Stir well to coat every single noodle. Serve immediately and enjoy the creaminess!
Get Creative with Add-ins and Toppings
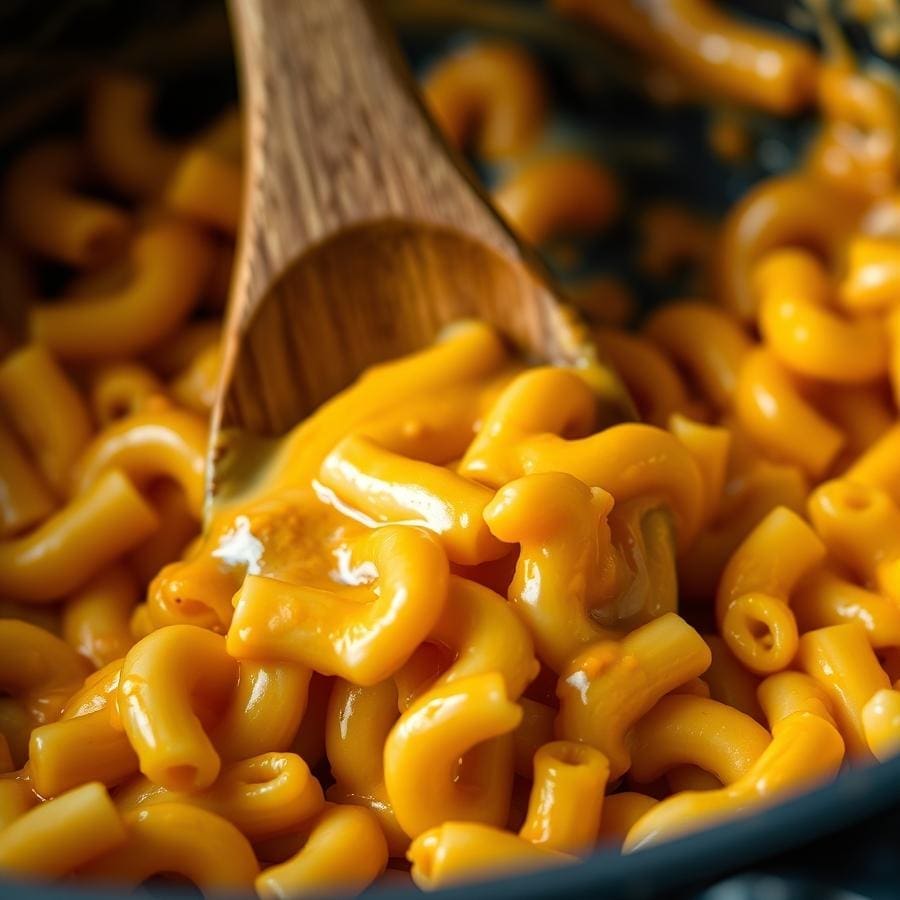
While this mac and cheese is fantastic on its own, it also serves as a perfect canvas for your favorite additions. This is a great way to add extra nutrients, texture, and flavor.
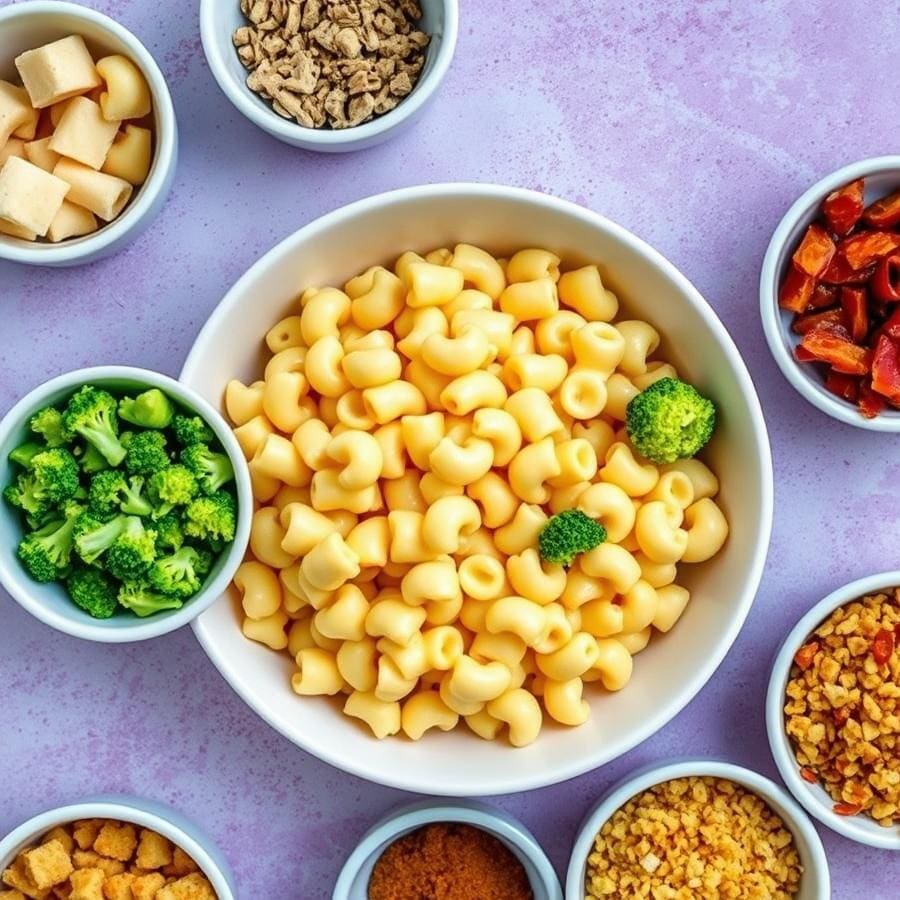
- For a Veggie Boost: Stir in steamed broccoli florets, cooked green peas, roasted cauliflower, or sautéed kale for a pop of color and nutrition.
- For a “Meaty” Bite: Add some crispy tofu bacon, tempeh crumbles, or your favorite plant-based sausage.
- For a Spicy Kick: Mix in some chopped pickled jalapeños or a sprinkle of red pepper flakes for a bit of heat.
- For a Crunchy Topping: Sprinkle the finished dish with toasted breadcrumbs (mix with a little melted vegan butter for extra richness) or crispy fried onions.
- For Extra Flavor: A swirl of vegan pesto, some roasted garlic, or caramelized onions can elevate the dish to a whole new level.
How to Store and Reheat Your Mac and Cheese

This recipe is best enjoyed fresh, but leftovers are still delicious! Here’s how to store and reheat it properly to bring back that creamy texture.
Storing: Allow the mac and cheese to cool completely before transferring it to an airtight container. It will keep in the refrigerator for up to 4 days.
Freezing: You can also freeze this recipe for longer storage. Place it in a freezer-safe, airtight container and freeze for up to 3 months. Thaw it overnight in the refrigerator before reheating.
Reheating: The sauce will thicken considerably once it’s chilled. To reheat, place the desired portion in a saucepan over low-medium heat. Add a splash of unsweetened plant milk or water and stir frequently until it’s heated through and the sauce becomes creamy again. You can also reheat it in the microwave; just be sure to stop and stir in a splash of liquid every minute or so to restore the consistency.
Frequently Asked Questions (FAQ)
Got questions? I’ve got answers. Here are some of the most common queries about making perfect dairy-free mac and cheese.
Why did my sauce turn out grainy?
Graininess in a vegan cheese sauce usually happens for two reasons. First, the roux wasn’t cooked long enough (that one-minute step is important!). Second, some brands of vegan cheese simply don’t melt as smoothly as others. Sticking with a reliable brand like Violife or Daiya Cutting Board Shreds can make a huge difference.
Can I make this ahead of time?
You can, but it’s best served fresh for optimal creaminess. If you need to make it ahead, I recommend preparing the sauce and pasta separately and storing them in the fridge. When you’re ready to serve, gently reheat the sauce on the stove, adding a splash of plant milk to thin it out, and then stir in the cooked pasta.
What’s the best pasta shape to use?
Classic elbows are traditional for a reason—the tubes hold onto the sauce perfectly. However, other shapes like shells, rotini, or cavatappi are also excellent choices as their nooks and crannies are great for catching all that cheesy goodness.
My sauce is too thin/thick. How do I fix it?
It’s an easy fix! If the sauce is too thin, let it simmer on low for a few more minutes to reduce and thicken. If it’s too thick, simply whisk in a splash of unsweetened plant milk or the reserved pasta water until it reaches your desired consistency. Remember, it will thicken more as it cools.
Conclusion
Making a truly decadent and satisfying mac and cheese without dairy isn’t just possible—it’s easy. This recipe proves that you don’t need dairy or nuts to achieve that classic, comforting, and cheesy flavor you crave.
By understanding the role of each ingredient and following these simple steps, you can create a crowd-pleasing dish that will have everyone asking for seconds. It’s more than just a recipe; it’s your new go-to for a quick, allergy-friendly, and delicious weeknight meal.

Your article helped me a lot, is there any more related content? Thanks!