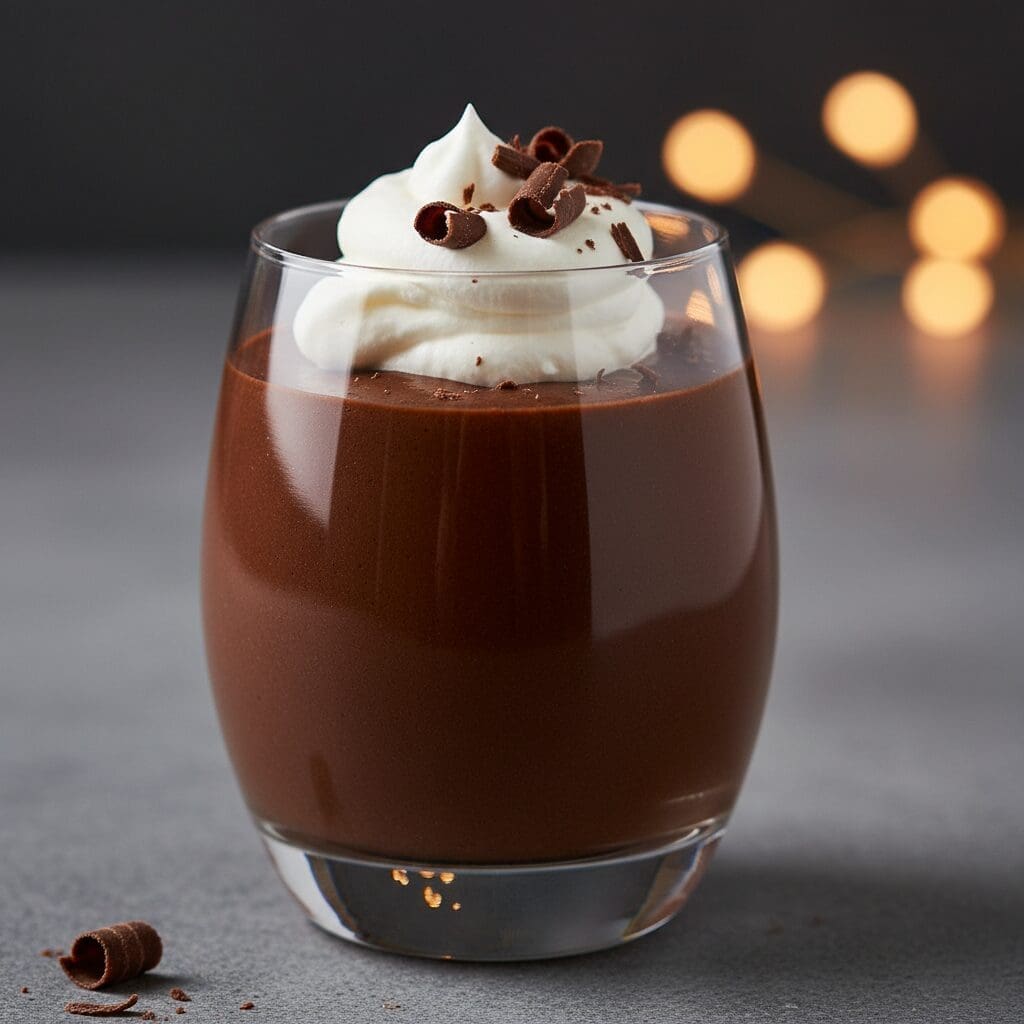
The Ultimate 5-Ingredient Vegan Chocolate Mousse (Light & Airy)

Imagine a chocolate dessert so light it feels like a cloud, yet so rich and decadent it satisfies the deepest chocolate craving. That’s the magic of this vegan chocolate mousse.
For years, traditional mousse relied on eggs and heavy cream, leaving a plant-based version seeming impossible. But this recipe unlocks the secret with a surprising, game-changing ingredient that whips into a stable, airy meringue.
Forget dense, heavy alternatives—this is the real deal. It’s perfectly balanced, unbelievably simple, and creates a silky, luxurious dessert that will leave everyone, vegan or not, asking for the recipe. If you’re a fan of simple yet elegant plant-based sweets, our creamy, no-bake vegan key lime pie is another must-try.
Prepare to be amazed by what five simple ingredients can do.
What Makes This Mousse Recipe the Best?

This isn’t just another vegan dessert; it’s a game-changer for your recipe collection. It masterfully replicates the texture of classic French mousse without any dairy or eggs, making it a showstopper for any occasion.
Here’s why this specific recipe will become your new favorite.
Understanding Your 5 Key Ingredients

The beauty of this recipe lies in its simplicity. Each of the five ingredients plays a critical role in creating the final texture and flavor. Understanding them is the first step to perfection.
- High-Quality Dark Chocolate: This is the star of the show and provides nearly all the flavor. Choose a vegan dark chocolate with 65-75% cacao for a rich, deep flavor that isn’t overly sweet. The quality of your chocolate will directly impact the quality of your mousse.
- Aquafaba: Latin for “bean water,” this is the liquid from a can of chickpeas. It contains a unique mix of proteins and starches that, when whipped, mimics the structure of egg whites. This is what creates the mousse’s signature light and airy texture. Don’t worry, the final dessert has zero “bean” taste. While this recipe uses the water, the chickpeas themselves are a fantastic source of protein, perfect for making a quick vegan protein shake. Research published in the Journal of Food Science confirms that chickpea protein provides excellent foaming and emulsifying properties, making it an ideal egg replacer.
- Cream of Tartar: This is a powdered acid that helps to stabilize the whipped aquafaba. It works by denaturing the proteins, helping them to whip up faster and create stronger, more stable peaks that won’t collapse.
- Granulated Sugar: Sugar does more than just sweeten; it dissolves into the aquafaba and strengthens its structure, resulting in a glossier, firmer meringue-like base for the mousse.
- Vanilla Extract: A teaspoon of pure vanilla extract enhances the chocolate’s flavor profile, adding depth and complexity to the final dessert.
Expert Tips for Mousse Perfection

Whipping aquafaba into glossy, stiff peaks is the most crucial part of this recipe. Here are the non-negotiable rules for getting it right every time.
- Start with a Spotless Bowl: Any trace of fat or grease will prevent the aquafaba from whipping up properly. Use a metal or glass bowl (plastic can retain oils) and wipe it down with a little vinegar or lemon juice before you start to ensure it’s perfectly clean.
- Cool the Chocolate Completely: This is the golden rule. If your melted chocolate is even slightly warm when you add it, it will instantly deflate the delicate air bubbles you just created, resulting in a runny, soupy mess. Let it cool to room temperature—it should not feel warm to the touch.
- Fold, Don’t Stir: You spent minutes incorporating air into the aquafaba; don’t destroy it in seconds. To fold, use a spatula to cut down through the middle of the mixture, sweep across the bottom of the bowl, and bring it back up the side. Turn the bowl a quarter turn and repeat. This gentle motion incorporates the chocolate without sacrificing volume.
- Know Your Peaks:
- Soft Peaks: When you lift the beaters, a peak forms but immediately droops over. You’re not there yet.
- Firm Peaks: The peak holds its shape but the tip curls over slightly. Almost there.
- Stiff Peaks: The peak stands straight up without collapsing. This is what you want. The mixture should be thick, glossy, and hold its shape completely.
How to Make Vegan Chocolate Mousse Step-by-Step

Ready to create some magic? Follow these steps closely.
Remember, the key is patience, especially when whipping the aquafaba and cooling the chocolate. First, prepare your chocolate.
Break the bars into small pieces and melt them in the microwave in 30-second intervals, stirring in between. Once smooth, set it aside to cool completely to room temperature.
This can take 15-20 minutes. Next, it’s time for the aquafaba.
Pour the measured liquid into your impeccably clean stand mixer bowl (or a large bowl if using a hand mixer). Add the cream of tartar.
Begin whipping on medium-high speed. It will look foamy at first, then progress to soft peaks after a few minutes.
Once you reach soft peaks, slowly sprinkle in the sugar while the mixer is running. Add the vanilla.
Continue to beat for another 3-5 minutes, or until the mixture is very thick, glossy, and forms stiff, unwavering peaks. Now for the most delicate step: incorporating the chocolate.
Pour about one-third of your cooled melted chocolate into the whipped aquafaba. Gently fold it in with a spatula until just barely combined.
Add the remaining chocolate and continue to fold until no white streaks remain. The mixture should be uniform in color but still feel incredibly light and airy.
Finally, divide the mousse among your serving dishes—ramekins, small glasses, or teacups all work wonderfully. You can enjoy it immediately for a softer consistency, or chill it for at least an hour for a firmer set.
Troubleshooting Common Mousse Mistakes

Even with a simple recipe, things can sometimes go sideways. Don’t panic—most issues are easily fixable or preventable.
Here are solutions to common problems.
Why won’t my aquafaba whip into stiff peaks?
This is almost always due to fat or oil contamination. Ensure your bowl and beaters are scrupulously clean and dry. Any lingering grease will prevent the proteins from forming the stable structure needed for peaks. According to a study in Food Research International, the stability of aquafaba foam is highly sensitive to lipids.
Why is my mousse grainy or seized?
This happens when the melted chocolate was too hot when it was added. The heat causes the aquafaba to collapse and the cocoa solids in the chocolate to separate, creating a gritty texture. Unfortunately, this isn’t reversible. The key is prevention: make sure your chocolate is completely at room temperature before folding it in.
Why is my mousse runny?
There are two likely culprits. Either the aquafaba was not whipped to stiff peaks, meaning the base structure wasn’t strong enough, or the mixture was over-mixed when folding in the chocolate. Stirring or mixing too aggressively will deflate all the air you worked so hard to create. Always fold gently and stop as soon as no white streaks remain.
Can I make this without cream of tartar?
Yes, you can. It will just take longer to whip the aquafaba to stiff peaks, and the final structure may be slightly less stable. If you don’t have cream of tartar, you can add about half a teaspoon of lemon juice or white vinegar as a substitute.
Creative Serving and Storage Solutions

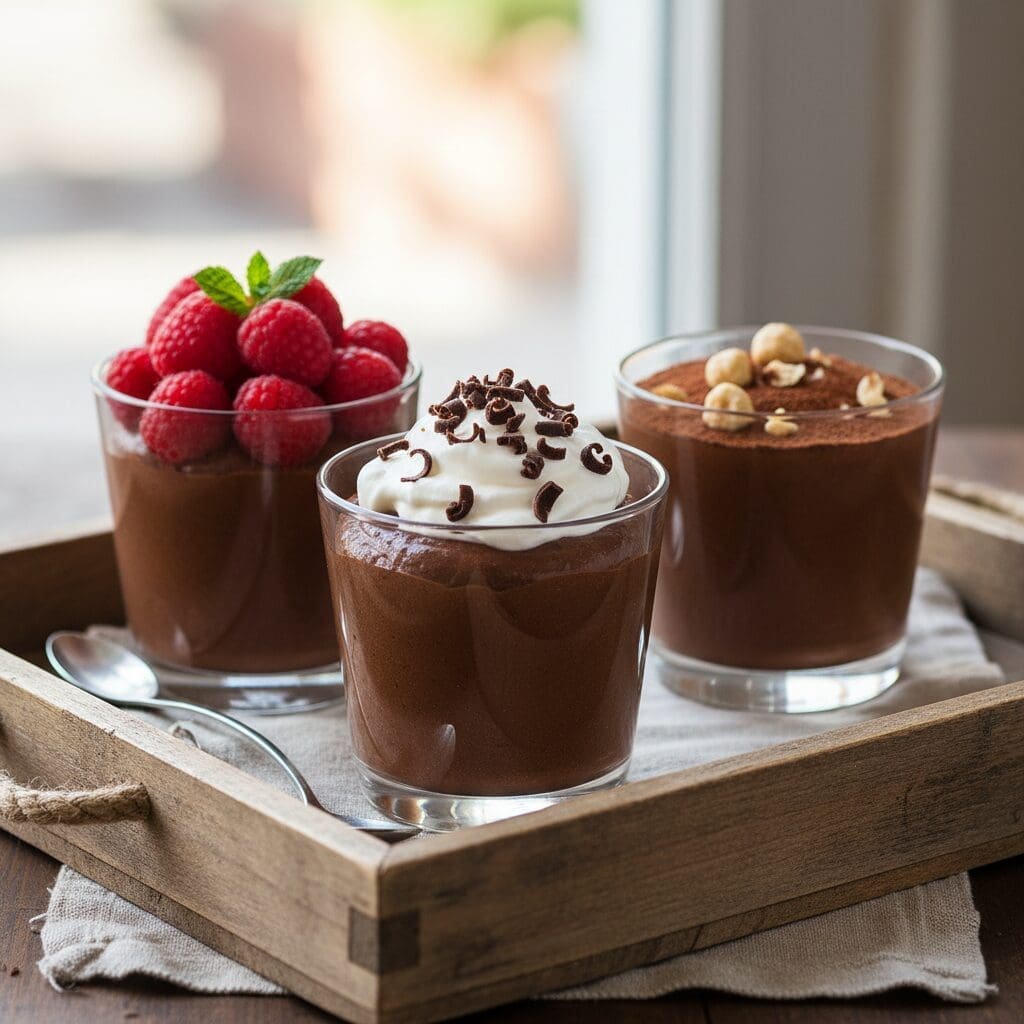
This elegant dessert is a blank canvas for your creativity. Serve it chilled in small ramekins or delicate glass dessert cups for the best presentation.
Topping Ideas:
- Creamy: A dollop of vegan whipped cream or thick coconut cream.
- Textural: Coarsely chopped nuts (hazelnuts, pistachios), cacao nibs, or chocolate shavings. To make shavings, simply run a vegetable peeler along the side of a good quality chocolate bar.
- Fruity: Fresh berries, especially raspberries or cherries, provide a wonderful tart contrast to the rich chocolate. A simple raspberry coulis is also an excellent addition.
Storage Instructions: The mousse will keep in an airtight container in the refrigerator for 3-4 days. The texture will become denser and more fudgy over time.
Freezing Instructions: Yes, you can freeze it! Transfer the mousse to an airtight, freezer-safe container. It will keep for up to 2 months. To serve, thaw it overnight in the refrigerator. Do not microwave it. The texture may be slightly denser after freezing, but it will still be delicious.
Conclusion
There you have it—a vegan chocolate mousse that’s not a compromise, but a revelation. By understanding the simple science behind aquafaba and following these expert tips, you can create a dessert that is endlessly impressive, luxuriously creamy, and impossibly light.
It’s a testament to the magic of plant-based cooking, turning humble chickpea water into a five-star dessert. Go ahead, give it a try, and prepare to amaze yourself and your guests.
