The Ultimate 5-Minute Vegan Oreo Mug Cheesecake

Let’s face it: sometimes you need a decadent dessert, and you need it now. The thought of preheating an oven, busting out a stand mixer, and waiting hours for a traditional cheesecake to bake and chill is just not an option.
That’s where this game-changing 5-Minute Vegan Oreo Mug Cheesecake comes in. It’s your secret weapon for satisfying a serious cheesecake craving instantly.
This recipe is designed for one, meaning you get a perfectly portioned treat without the temptation of a full-sized cake. Using just a few simple ingredients and your microwave, you can whip up a rich, creamy, and satisfying dessert that tastes like it took hours to prepare.
Whether you’re a college student in a dorm, a parent looking for a quiet indulgence after the kids are asleep, or just someone who loves brilliant kitchen hacks, this recipe is for you.
Why You’ll Love This 5-Minute Mug Cheesecake
This isn’t just a recipe; it’s a solution. It’s designed for speed, convenience, and pure satisfaction.
Here’s why you’ll find yourself making it again and again:
- Ready in 5 Minutes: From gathering ingredients to the final microwave beep, it’s incredibly fast. The hardest part is waiting for it to chill!
- Perfectly Portioned for One: No leftovers, no waste. Just a single, satisfying dessert made just for you.
- No Oven, No Mixer, No Problem: All you need is a bowl, a whisk, a mug, and a microwave. It’s the ultimate low-effort, high-reward treat.
- Rich and Creamy Texture: Thanks to a few key techniques, this mug cheesecake has a surprisingly authentic texture that’s dense, creamy, and never rubbery.
The Simple Ingredients You’ll Need
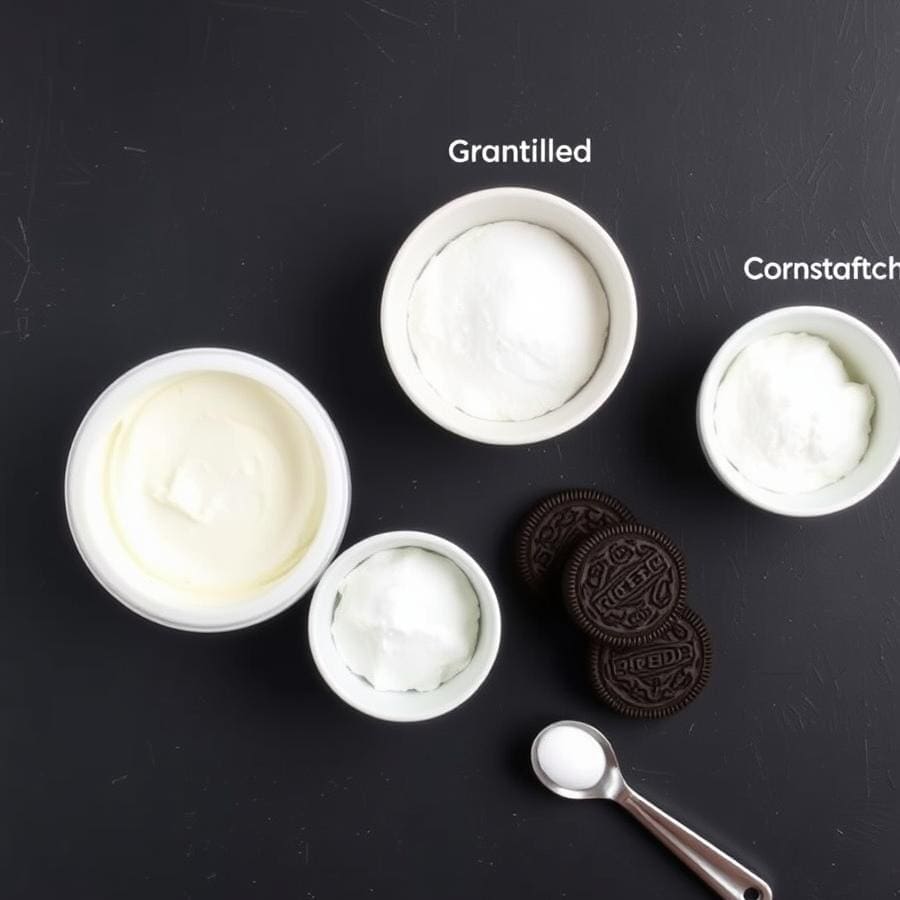
The magic of this recipe lies in its simplicity. Each ingredient plays a crucial role in creating that classic cheesecake experience without the fuss.
- Vegan Cream Cheese: This is the star of the show. I highly recommend a brand like Tofutti or Trader Joe’s, as they have a firm texture and mild flavor perfect for desserts. Avoid watery or overly tangy brands, as they can affect the final consistency. If you’re interested in learning more about the options available, Healthline offers a helpful guide on vegan cream cheese.
- Plain Non-Dairy Yogurt or Coconut Cream: This adds a bit of tang and lightens the texture. Use plain, unsweetened yogurt to control the sweetness. Coconut cream (the thick, white part from a can of full-fat coconut milk) will yield a slightly richer result.
- Granulated Sugar: Provides the classic cheesecake sweetness. You can adjust the amount to your liking.
- Cornstarch: This is the essential thickener. When heated, cornstarch molecules swell and form a matrix that sets the cheesecake, a process known as gelatinization. This is what allows us to skip the eggs and long baking time. Research from food science resources like King Arthur Baking confirms that starch is a powerful tool for creating custards and fillings.
- Oreo Cookies: The iconic cookie provides the chocolatey crust and crunchy bits throughout the filling. Many consider Oreos to be “accidentally vegan,” but always check the packaging in your region. If you prefer, any similar chocolate sandwich cookie will work.
Easy Substitutions and Creative Variations
The best part about this recipe is how easy it is to customize. Think of this as your base for endless dessert creations.
- For a Gluten-Free Version: Simply use your favorite gluten-free chocolate sandwich cookies. The rest of the ingredients are naturally gluten-free, but always double-check your labels. For another great gluten-free dessert, check out our fluffy vegan gluten-free cake recipe.
- Try Different Cookies: Don’t stop at Oreos! This works wonderfully with Biscoff cookies for a caramelized spice flavor, Newman’s Own “Newman-O’s,” or even crushed shortbread cookies for a buttery base.
- Add a Flavor Swirl: Before microwaving, gently swirl in a teaspoon of peanut butter (which also stars in our easy vegan peanut butter cups), Biscoff spread, or vegan chocolate-hazelnut spread for a decadent twist.
- Mix in Some Zest: For a brighter flavor, add a teaspoon of lemon or orange zest to the cheesecake batter. This cuts through the richness beautifully.
A Step-by-Step Guide to Perfection
Follow these steps precisely for a perfect, no-fail mug cheesecake. The key is to microwave in short bursts to prevent it from bubbling over.
- Prepare the Crust: First, crush your Oreo cookies. The easiest way is to place them in a zip-top bag and gently crush them with a rolling pin or a heavy mug. You want a mix of fine crumbs and some slightly larger pieces for texture. Sprinkle about half of these crumbs into the bottom of a wide, microwave-safe mug (12-16 oz is ideal) and press them down gently to form a crust.
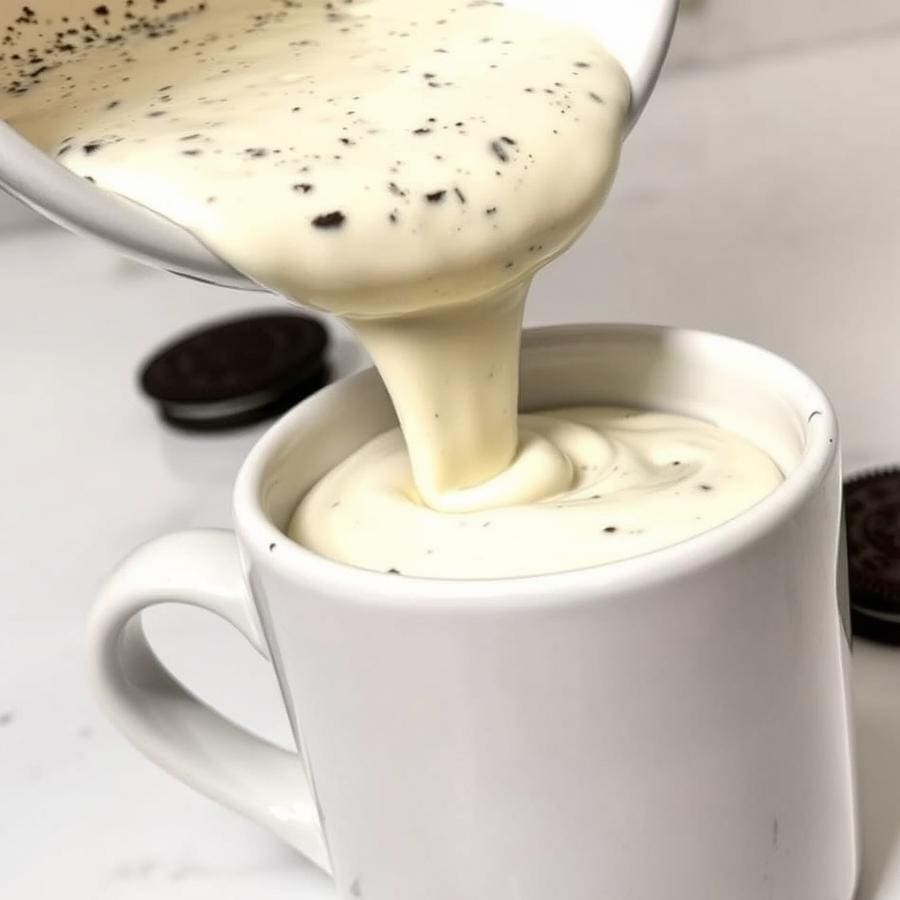
- Make the Cheesecake Batter: In a separate medium-sized bowl, combine the vegan cream cheese, non-dairy yogurt (or coconut cream), sugar, and cornstarch. Whisk until the mixture is completely smooth and creamy. It’s important to eliminate all lumps now to ensure a velvety texture later.
- Combine and Fill: Gently fold the remaining half of the Oreo crumbs into your smooth cheesecake batter. Pour this mixture into the mug, directly on top of the crust layer.
- Microwave in Intervals: This is the most crucial step. Place the mug in the microwave and cook on high for 30 seconds. Stop and check it. You might see a small bubble forming. Microwave for another 30 seconds. At this point, the edges should look set, but the very center might still look a little soft. This is perfect. If it’s still very liquidy, add one final 15-second burst. Overcooking will make it rubbery, so err on the side of caution.
- Chill to Set: Carefully remove the hot mug from the microwave. Allow it to cool on the counter for a few minutes before placing it in the refrigerator to chill for at least one hour. This chilling period is non-negotiable! It’s when the cornstarch fully sets the cheesecake, and the flavors meld together. For a faster chill, you can place it in the freezer for 20-30 minutes.
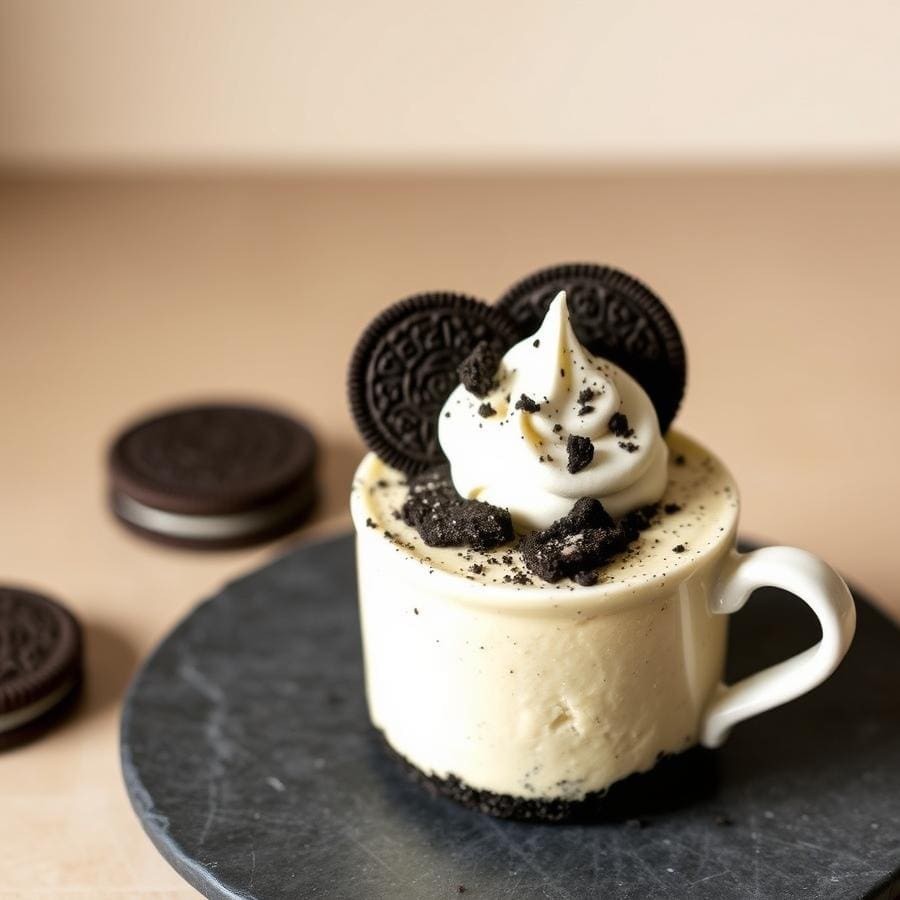
- Serve and Enjoy: Once chilled, you can enjoy it straight from the mug or gently run a knife around the edge and pop it onto a plate. Top with vegan whipped cream and extra cookie crumbs for the full experience.
Expert Tips for the Creamiest Mug Cheesecake
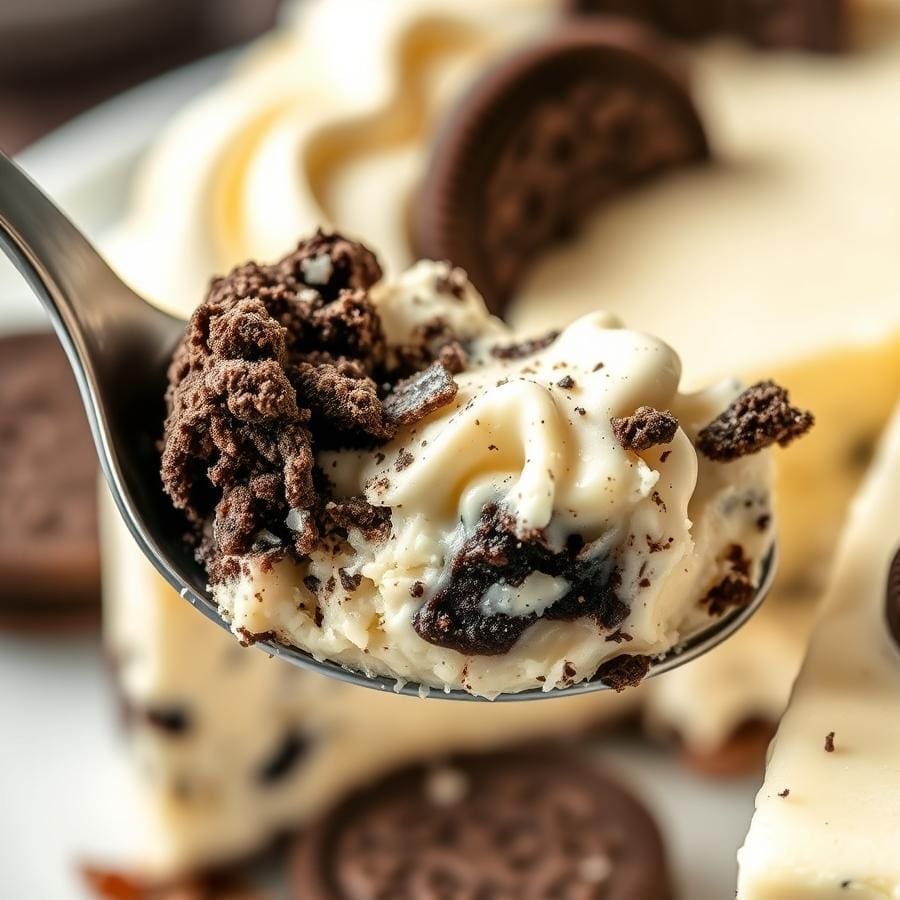
After making dozens of mug cheesecakes, I’ve learned a few things. Follow these tips to nail it on your first try.
- Choose the Right Mug: A wider, shorter mug is much better than a tall, narrow one. This allows the heat to distribute more evenly, preventing the edges from overcooking before the center is set. A 12-16 ounce mug or a large ramekin is perfect.
- Don’t Over-Microwave: This is the #1 mistake. A rubbery cheesecake is an overcooked cheesecake. The goal is to heat it just enough for the cornstarch to activate. The cheesecake should still have a slight wobble in the very center when you take it out; it will firm up completely as it cools.
- Ensure Your Cream Cheese is Softened: If your vegan cream cheese is cold from the fridge, it will be lumpy when mixed. Let it sit at room temperature for about 20 minutes or microwave it for just 10-15 seconds before mixing to ensure a silky-smooth batter.
- Don’t Skip the Chill Time: I know it’s tempting to dig right in, but chilling is essential for the texture. A warm cheesecake will be more like a pudding. A chilled cheesecake will be dense and creamy, just as it should be.
Frequently Asked Questions
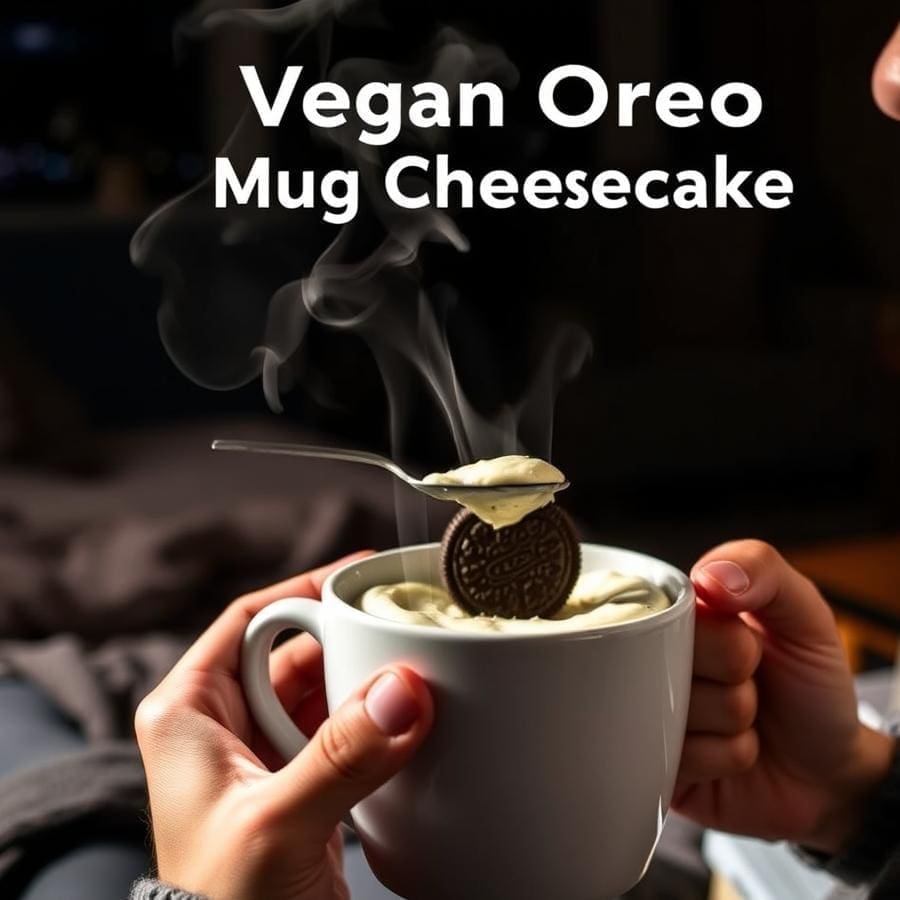
Here are answers to some of the most common questions about this recipe.
Why did my mug cheesecake overflow in the microwave?
This almost always happens from microwaving for too long at once. The mixture expands rapidly as it heats. That’s why cooking in short 30-second intervals is so important—it allows you to stop it right as it’s set, before it has a chance to bubble over the top.
Can I make this in the oven instead?
While I designed this specifically for the microwave, you could likely bake it in an oven-safe ramekin at 350°F (175°C) for about 12-18 minutes, or until the center is just barely set. However, the beauty of this recipe is its microwave speed!
My cheesecake turned out rubbery. What did I do wrong?
A rubbery texture is a clear sign of overcooking. Microwaves cook very quickly, and even an extra 15-20 seconds can be too much. The cheesecake is done when the edges are firm and the center is still a bit soft and wobbly. It will continue to cook and set as it cools.
How should I store it?
This is a single-serving dessert, so you likely won’t have leftovers! But if you do, simply cover the mug with plastic wrap and store it in the refrigerator for up to 2 days.
Conclusion
There you have it—a rich, satisfying dessert that caters to your cheesecake craving in minutes, not hours. This Vegan Oreo Mug Cheesecake is more than just a recipe; it’s your go-to solution for a quick, perfectly portioned indulgence.
It proves that you don’t need an oven or a lot of time to create something truly delicious. So next time a late-night craving hits, you know exactly what to do!

Thank you for your sharing. I am worried that I lack creative ideas. It is your article that makes me full of hope. Thank you. But, I have a question, can you help me?