The Ultimate Gluten-Free Vegan Chocolate Cake (Easy 1-Bowl Recipe)

Life is too short for mediocre cake, especially when you have dietary needs. If you’ve ever felt the disappointment of a dry, crumbly gluten-free dessert, this recipe is your redemption.
We’re about to make a Gluten-Free Vegan Chocolate Cake so rich, moist, and fluffy that it will become your new gold standard. It’s crafted with simple, accessible ingredients and comes together in a single bowl, much like our popular easy one-bowl vegan blondies, proving that you don’t have to sacrifice flavor or texture for a cake that meets your needs.
Prepare to amaze your friends, family, and even yourself—no one will ever guess it’s both vegan and gluten-free.
Why This Recipe is a Game Changer

This isn’t just another cake recipe; it’s a masterclass in gluten-free vegan baking science, simplified for your kitchen. The magic lies in a few key techniques that guarantee a perfect result:
- The ‘Vegan Buttermilk’ Method: By combining non-dairy milk with apple cider vinegar, we create an acidic environment. This acid reacts with the baking soda, producing a powerful leavening effect that results in an exceptionally light and fluffy crumb, something often missing in denser gluten-free bakes.
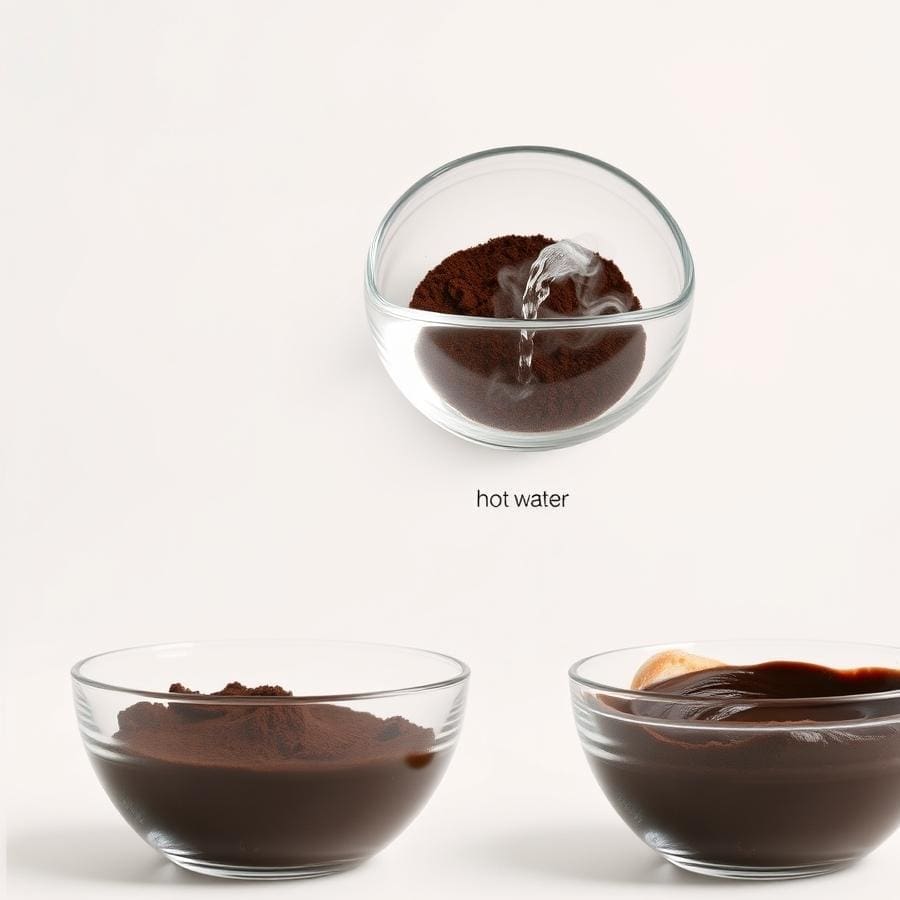
- Blooming the Cocoa: Using boiling water or hot coffee doesn’t just thin the batter; it ‘blooms’ the cocoa powder. This process releases trapped flavor compounds, leading to a much deeper, more intense chocolate taste in the finished cake.
- Controlled Xanthan Gum: Many gluten-free flour blends come with xanthan gum already added, but amounts can vary. By using a blend without it and adding our own, we gain precise control over the cake’s structure, preventing the ‘gummy’ texture that can plague gluten-free goods.
Understanding Your Ingredients

Every ingredient plays a crucial role in the final texture and flavor. Here’s the breakdown of what you’ll need and why:
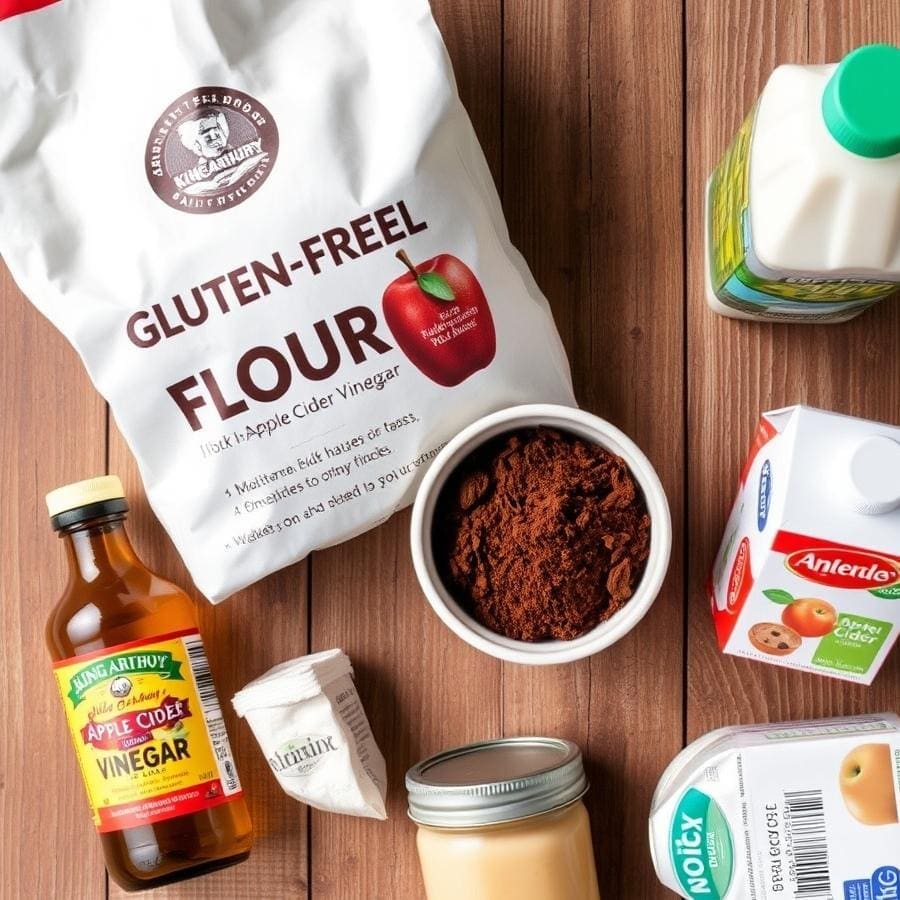
- Gluten-Free Flour Blend: The foundation of the cake. I highly recommend a blend without xanthan gum, like King Arthur Gluten-Free Measure for Measure Flour. This gives you control. While blends like Bob’s Red Mill 1-to-1 can work, they may result in a slightly denser cake due to different ingredient ratios.
- Xanthan Gum: In the absence of gluten, xanthan gum is the binder that provides structure and elasticity, preventing the cake from being a crumbly mess. Research from studies in Food Science & Nutrition confirms its essential role in mimicking the properties of gluten.
- Unsweetened Cocoa Powder: Use a natural, unsweetened cocoa powder, not Dutch-processed. The natural acidity is necessary to react with the baking soda for proper leavening.
- ‘Vegan Buttermilk’ (Soy Milk + Apple Cider Vinegar): As mentioned, this acidic mixture is key for a tender crumb. Any unsweetened non-dairy milk works, but soy milk’s high protein content provides excellent structure. Lemon juice can be substituted for the vinegar.
- Applesauce & Oil: This combination provides moisture and richness. The applesauce acts as a binder, replacing eggs, while the neutral oil (like canola or grapeseed) ensures the cake is tender and moist.
- Boiling Water or Coffee: The secret weapon for intense chocolate flavor. Hot coffee is my preference as it elevates the cocoa’s richness without tasting like coffee.
Your Step-by-Step Guide to the Perfect Cake

This one-bowl method is designed to be foolproof. Follow these steps for a flawless result:
- Prepare Your Pans: Preheat your oven to 350°F (175°C). Grease and flour two 8-inch round cake pans. For guaranteed easy removal, I recommend lining the bottom of each pan with a round of parchment paper.
- Create the Vegan Buttermilk: In a liquid measuring cup, combine the soy milk and apple cider vinegar. Give it a quick stir and set it aside for 5-10 minutes. It will curdle and thicken slightly.
- Combine Dry Ingredients: In a large mixing bowl (or the bowl of a stand mixer), whisk together the gluten-free flour, xanthan gum, granulated sugar, cocoa powder, baking powder, baking soda, and salt. Whisking thoroughly ensures the leavening agents are evenly distributed.
- Add Wet Ingredients: Add the oil, applesauce, vanilla extract, and the curdled soy milk mixture to the bowl with the dry ingredients. Mix with a hand mixer or stand mixer on medium speed until just combined. Do not overmix.
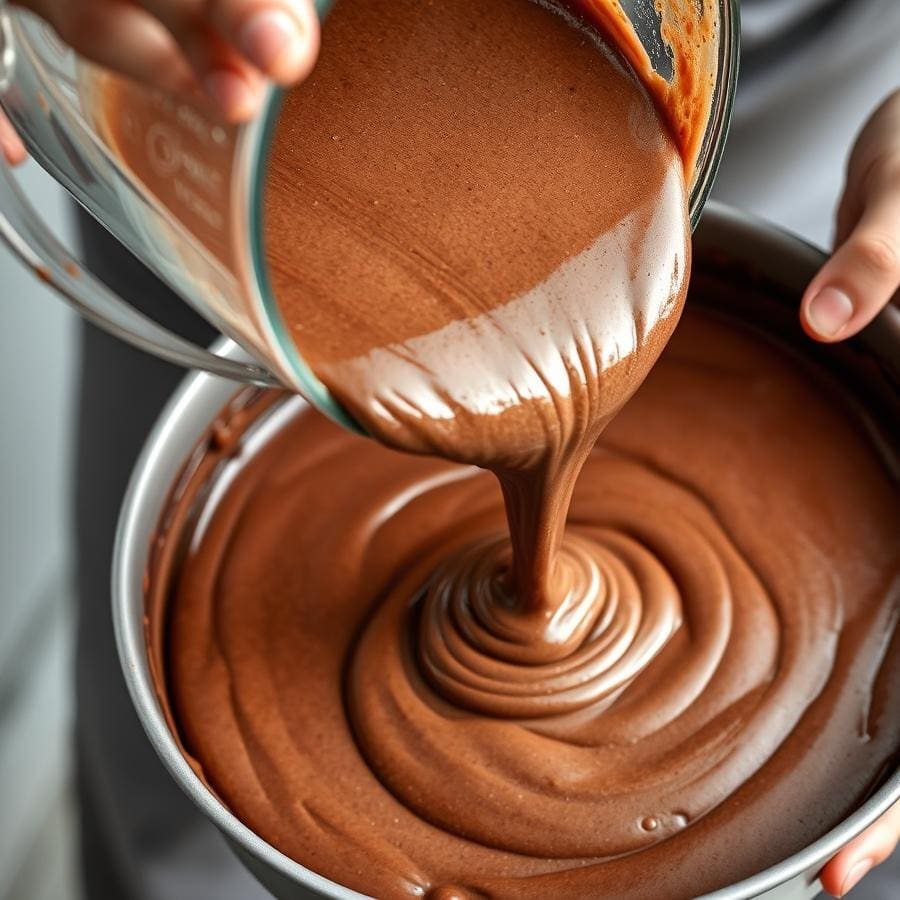
- Bloom the Cocoa: Turn the mixer to low speed and carefully pour in the boiling water or hot coffee. The batter will become very thin and runny—this is exactly what you want! Mix until smooth.
- Bake to Perfection: Divide the batter evenly between your prepared pans. Bake for 30-35 minutes, or until a wooden skewer or toothpick inserted into the center comes out clean.
- Cool Completely: Let the cakes cool in their pans for about 15 minutes before carefully inverting them onto a wire rack to cool completely. Never try to frost a warm cake!
Baker’s Pro-Tips for Success

Want to take your cake from great to unforgettable? Here are a few professional tips:
- Don’t Overmix the Batter: Once you combine the wet and dry ingredients, mix only until they’re incorporated. Overmixing can lead to a tough or dense cake, even without gluten.
- Use Room Temperature Ingredients: For a smooth, homogenous batter, make sure your non-dairy milk and applesauce are at room temperature. This helps them emulsify with the oil properly.
- Let the Batter Rest: If you have time, letting the prepared batter sit for 10-15 minutes before baking allows the gluten-free flours to fully absorb the liquid, which can improve the cake’s final texture.
- Trust the Toothpick, Not the Clock: Ovens can vary. Start checking for doneness at the 30-minute mark, but always rely on the toothpick test. An underbaked gluten-free cake can be gummy, while an overbaked one will be dry.
Creative Decorating and Serving Ideas

The beauty of this cake is its versatility. It’s a perfect canvas for your creativity. While a classic Vegan Chocolate Frosting is always a winner, consider these other options:
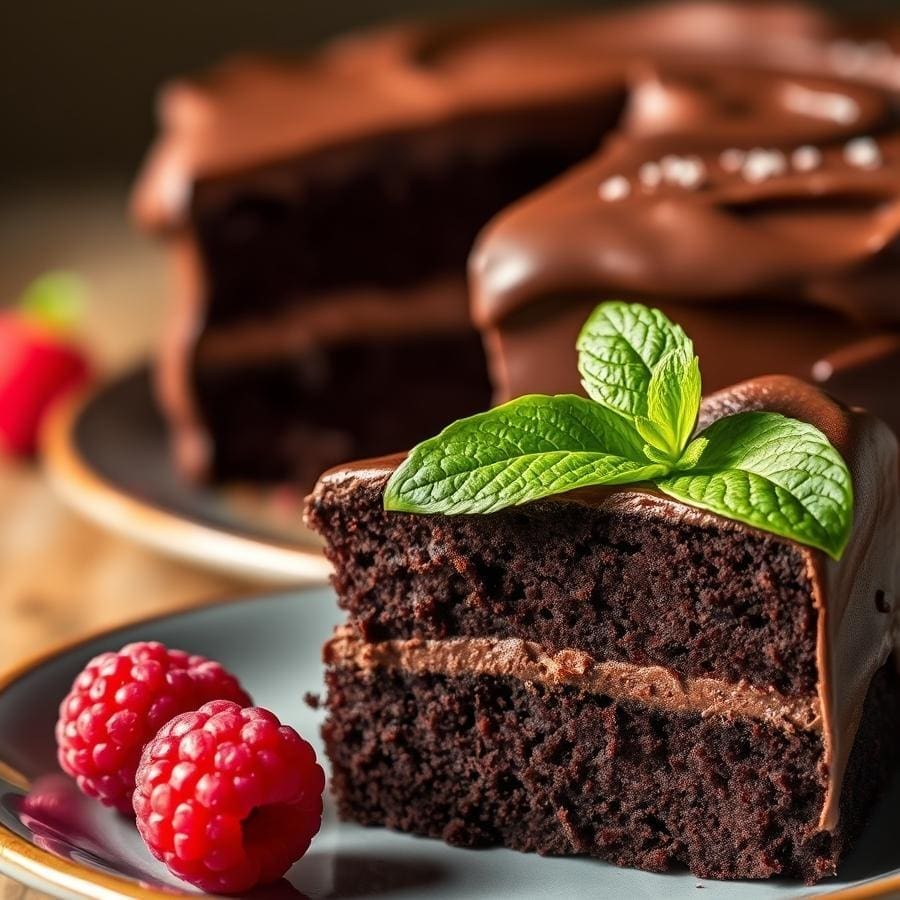
- Fruit-Forward: Fill the center layer with raspberry jam and top the cake with a mountain of fresh berries for a beautiful contrast in flavor and color.
- Decadent Drip: A rich, dark chocolate ganache drip down the sides adds a dramatic, professional touch.
- Salted Caramel Delight: Pair the cake with a vegan salted caramel frosting and a drizzle of caramel sauce.
- Texture and Crunch: Decorate the top with shaved chocolate, crushed gluten-free cookies, or toasted nuts for added texture.
- Simple and Elegant: A simple dusting of powdered sugar or a dollop of vegan whipped cream can be just as stunning.
Troubleshooting Common Cake Problems

Even the best bakers have off days. If your cake doesn’t turn out perfectly, don’t worry! Here’s how to diagnose and fix common issues in gluten-free vegan baking.
- Problem: My cake is dry.
- Cause: This is usually due to over-baking or inaccurate flour measurement. Gluten-free flours are particularly prone to drying out.
- Solution: Use a kitchen scale to measure your flour for accuracy. Bake just until a skewer comes out clean, not a minute longer. If your cake is already dry, a simple syrup (equal parts sugar and water, boiled and cooled) can be brushed onto the layers to add moisture.
- Problem: My cake sank in the middle.
- Cause: Sinking is often caused by under-baking or opening the oven door too early, which causes a sudden drop in temperature. According to baking experts at America’s Test Kitchen, this can cause the delicate structure to collapse.
- Solution: Ensure the cake is fully baked by checking the very center. Resist the urge to open the oven during the first 25 minutes of baking. Also, check that your baking powder and soda are fresh, as expired leaveners won’t provide enough lift.
- Problem: My cake has a gummy texture.
- Cause: Gummy texture is a classic gluten-free baking problem. It can be caused by too much xanthan gum, under-baking, or cutting into the cake while it’s still warm.
- Solution: Measure your xanthan gum precisely—a little goes a long way. Let the cake cool completely to allow the starches to set, which is critical for a good crumb structure.
Proper Storage and Freezing Instructions

To keep your cake tasting fresh for as long as possible, proper storage is key.
- At Room Temperature: A frosted cake can be stored in a covered cake carrier at room temperature for up to 2 days. Covering any cut slices with plastic wrap helps prevent them from drying out.
- In the Refrigerator: For longer storage, you can keep the cake in a covered container in the fridge for up to 5 days. Note that refrigeration can sometimes dry out cake, so allow it to come to room temperature before serving for the best texture.
- Freezing: This cake freezes beautifully! You can freeze the unfrosted, completely cooled cake layers by wrapping them tightly in two layers of plastic wrap and then a layer of aluminum foil. They will keep for up to 3 months. To frost, simply thaw the layers at room temperature before decorating.
Frequently Asked Questions

What’s the best gluten-free flour to use?
I get the best, fluffiest results with King Arthur Gluten-Free Measure for Measure Flour, which doesn’t contain xanthan gum. If you use a blend that already has it, like Bob’s Red Mill 1-to-1, be sure to omit the xanthan gum called for in the recipe.
Can I make this cake into cupcakes?
Absolutely! This recipe will yield about 24 cupcakes. Line a muffin tin with paper liners, fill them about two-thirds full, and bake for 20-25 minutes, or until a toothpick comes out clean.
Can I use almond flour or coconut flour?
No, this recipe will not work with single-ingredient flours like almond or coconut flour. They have very different absorption properties and require completely different recipe ratios.
Do I have to use xanthan gum?
I highly recommend it. I tested this recipe without it, and the cake was dense and slightly gummy. Xanthan gum is what provides the structure and light texture that makes this cake so special.
Conclusion
Baking a delicious cake that fits a gluten-free and vegan lifestyle shouldn’t be a challenge, and this recipe proves it. With a rich chocolate flavor and a wonderfully moist crumb, it’s a cake for any and every occasion, whether it’s a birthday or part of a full vegan Thanksgiving menu. It’s a testament to the fact that thoughtful ingredients and solid techniques can create something truly special. So go ahead, preheat your oven, and get ready to fall in love with a cake that everyone can enjoy.

Can you be more specific about the content of your article? After reading it, I still have some doubts. Hope you can help me.
Your article helped me a lot, is there any more related content? Thanks!