This Healthy Chia Seed Banana Bread Recipe Is a Game Changer
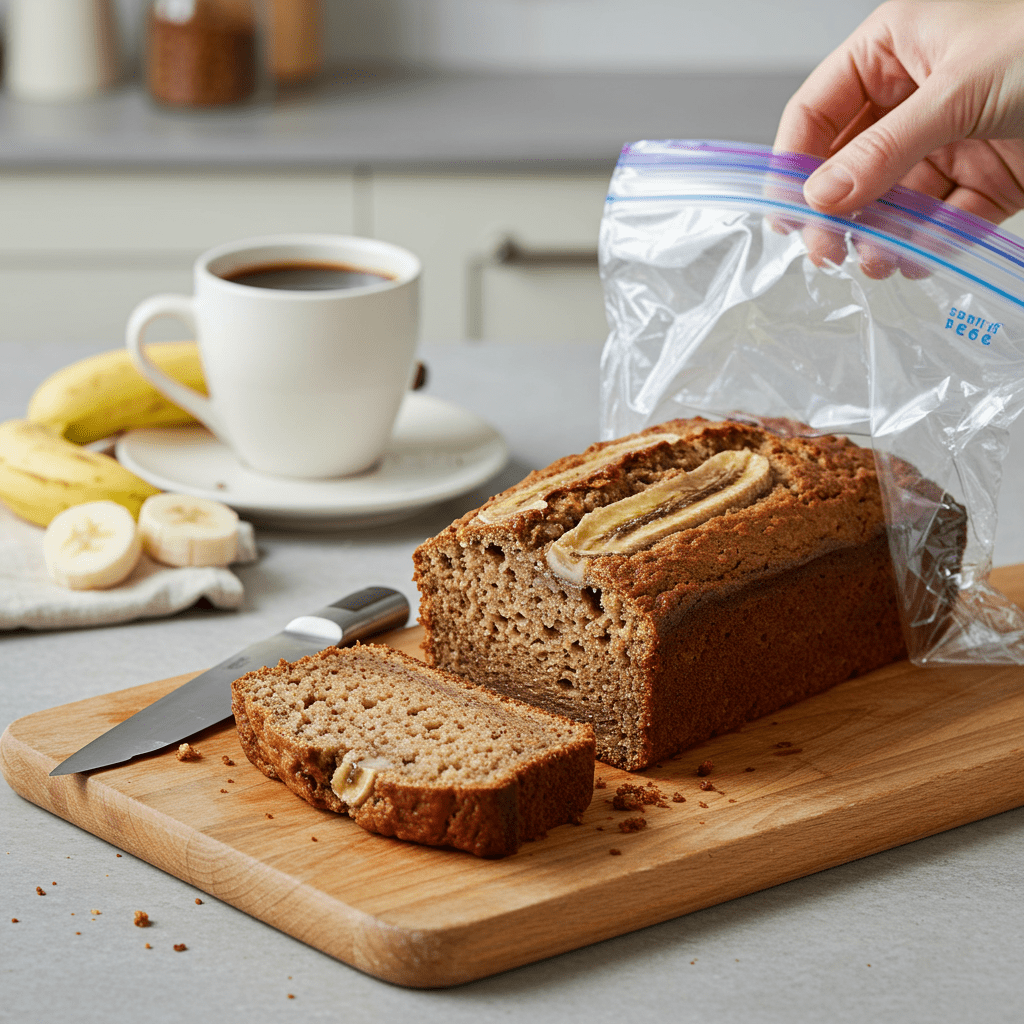
Let’s be honest, the words ‘healthy’ and ‘banana bread’ don’t always feel like they belong together. We’ve all tried a ‘guilt-free’ version that ended up being dry, bland, or having a strange texture.
But what if you could bake a loaf that was incredibly moist, rich with banana flavor, and also happened to be packed with fiber, protein, and healthy fats? As a Registered Dietitian who firmly believes that nutritious food should be delicious, I’ve spent years perfecting this recipe.
It uses simple swaps like whole wheat flour, Greek yogurt, and the nutritional powerhouse, chia seeds, to create a banana bread that you and your family will genuinely love. It’s the perfect companion for your morning coffee, a wholesome afternoon snack, or a satisfying dessert.
Why Put Chia Seeds in Banana Bread Anyway?
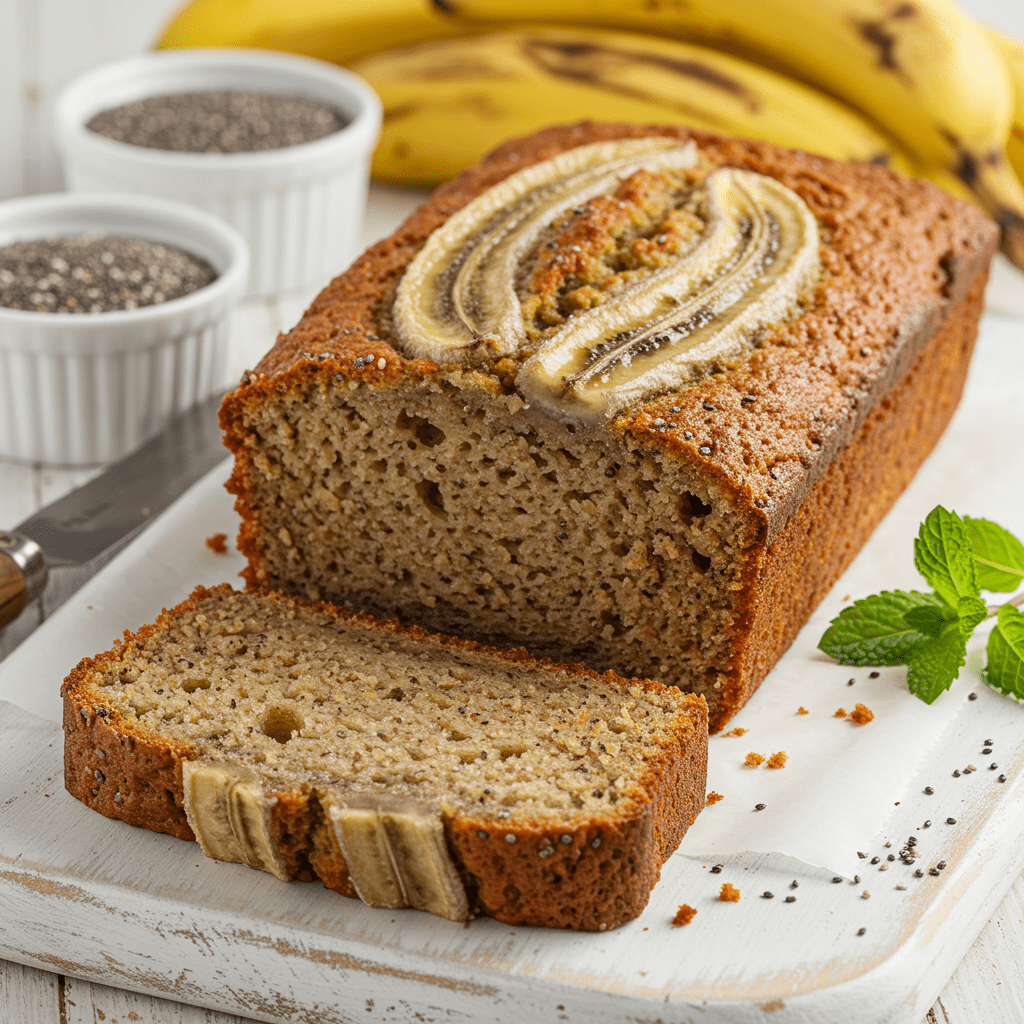
You might know chia seeds from puddings or smoothies, but they are a fantastic, nearly invisible addition to baked goods. They don’t just add a health halo; they bring real, measurable benefits to the table.
According to research from the Harvard T.H. Chan School of Public Health, these tiny seeds are an excellent source of alpha-linolenic acid (ALA), a type of plant-based omega-3 fatty acid, which is great for heart health.
They are also loaded with fiber—a single two-tablespoon serving packs about 10 grams! This fiber helps you feel full and satisfied, supports digestive health, and can help stabilize blood sugar levels.
As a dietitian, I love them because they absorb liquid, which helps create an incredibly moist crumb in this banana bread while adding a boost of protein and minerals like calcium and magnesium.
What Makes This Banana Bread Healthier?
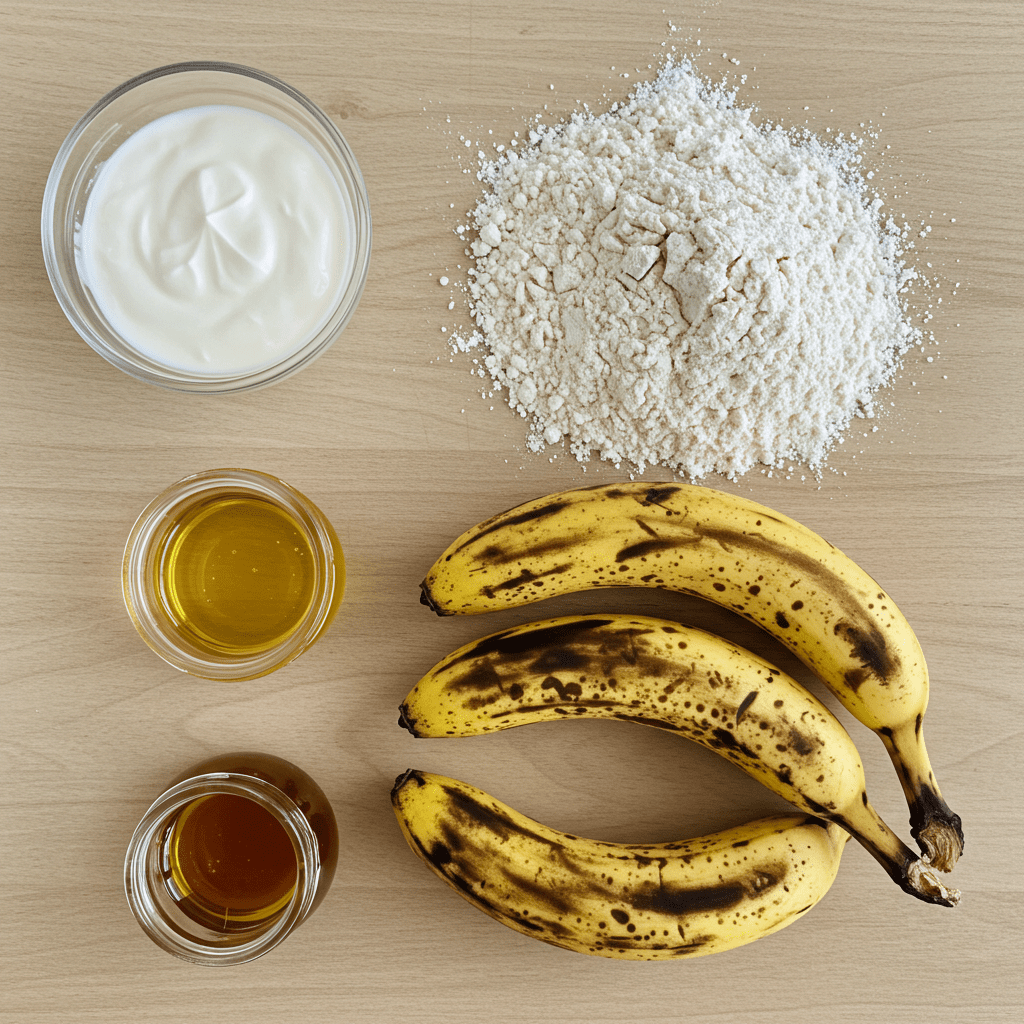
Every ingredient in this recipe is chosen with purpose, balancing nutrition with flavor and texture. It’s not about restriction; it’s about smart, impactful upgrades.
- White Whole Wheat Flour: Unlike traditional whole wheat flour, which can be dense, white whole wheat is milled from a lighter variety of wheat. As explained by the bakers at King Arthur, it provides 100% of the whole grain benefits—including fiber, vitamins, and minerals—but with a softer texture and milder flavor, making it perfect for tender baked goods. The American Heart Association recommends making at least half your grains whole grains for benefits like improved cholesterol levels and a lower risk of heart disease.
- Plain Greek Yogurt: This is my secret weapon for moist baked goods. It adds a wonderful tang that balances the sweetness of the bananas and honey. More importantly, it provides a significant protein boost and its acidity helps to activate the baking soda, resulting in a softer, more tender loaf.
- Overripe Bananas: This is non-negotiable for the best banana bread! As bananas ripen, their starches convert to sugars, making them much sweeter. This means you can use less added sweetener in the recipe. They also become softer, which adds to the overall moisture of the bread.
Your Step-by-Step Guide to Baking Perfection
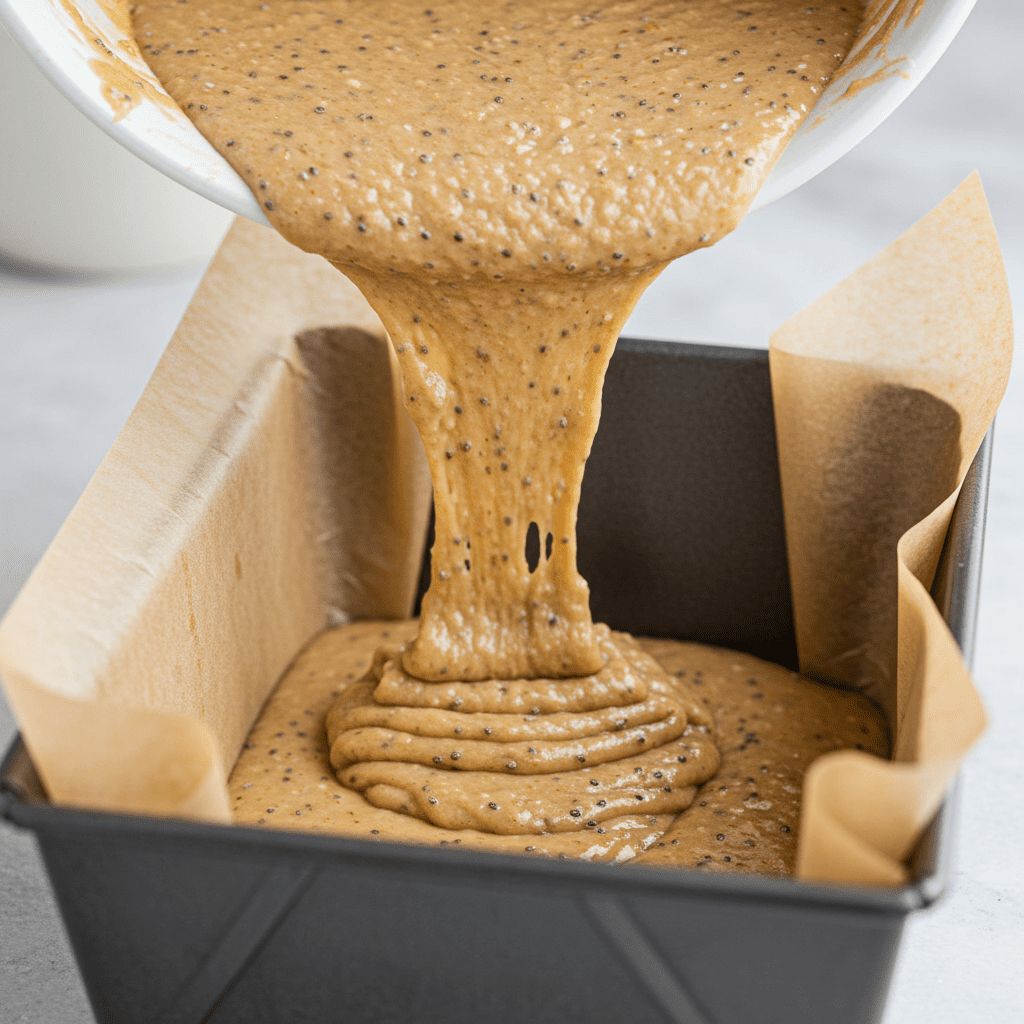
This recipe is designed to be straightforward and forgiving. Follow these simple steps for a perfect loaf every time.
- Prep Your Station: Preheat your oven to 325°F (165°C). Grease a 9×5 inch loaf pan or line it with parchment paper for easy removal.
- Whisk the Dry Ingredients: In a large bowl, whisk together the white whole wheat flour, chia seeds, baking powder, salt, and cinnamon. Whisking helps to evenly distribute the leavening agents and aerate the flour, making for a lighter loaf.
- Mash and Mix the Wet Ingredients: In a separate medium bowl, mash the overripe bananas thoroughly with a fork until they’re mostly liquid. Then, add the eggs, honey, Greek yogurt, oil, and vanilla extract. Whisk everything together until it’s smooth and well-combined.
- Combine Gently: Pour the wet banana mixture into the bowl with the dry ingredients. Use a spatula to fold the ingredients together just until no dry streaks of flour remain. Be careful not to over-mix, as this can develop the gluten in the flour and lead to a tough, dense bread.
- Bake to Golden Brown: Pour the batter into your prepared loaf pan and spread it evenly. If you’re using the cinnamon-sugar topping, sprinkle it over the top now. Bake for 45-55 minutes, or until a wooden skewer or toothpick inserted into the center comes out clean or with a few moist crumbs attached. Ovens can vary, so start checking around the 40-minute mark.
- Cool Completely: Let the bread cool in the pan for about 15 minutes before transferring it to a wire rack to cool completely. This step is crucial, as the bread continues to set as it cools, ensuring a perfect texture for slicing.
Tips for Success from a Dietitian’s Kitchen

- Don’t Fear the Brown Bananas: The browner and spottier, the better! They are the key to sweetness and moisture. If your bananas aren’t ripe enough, you can speed up the process by placing them in a paper bag for a day or two.
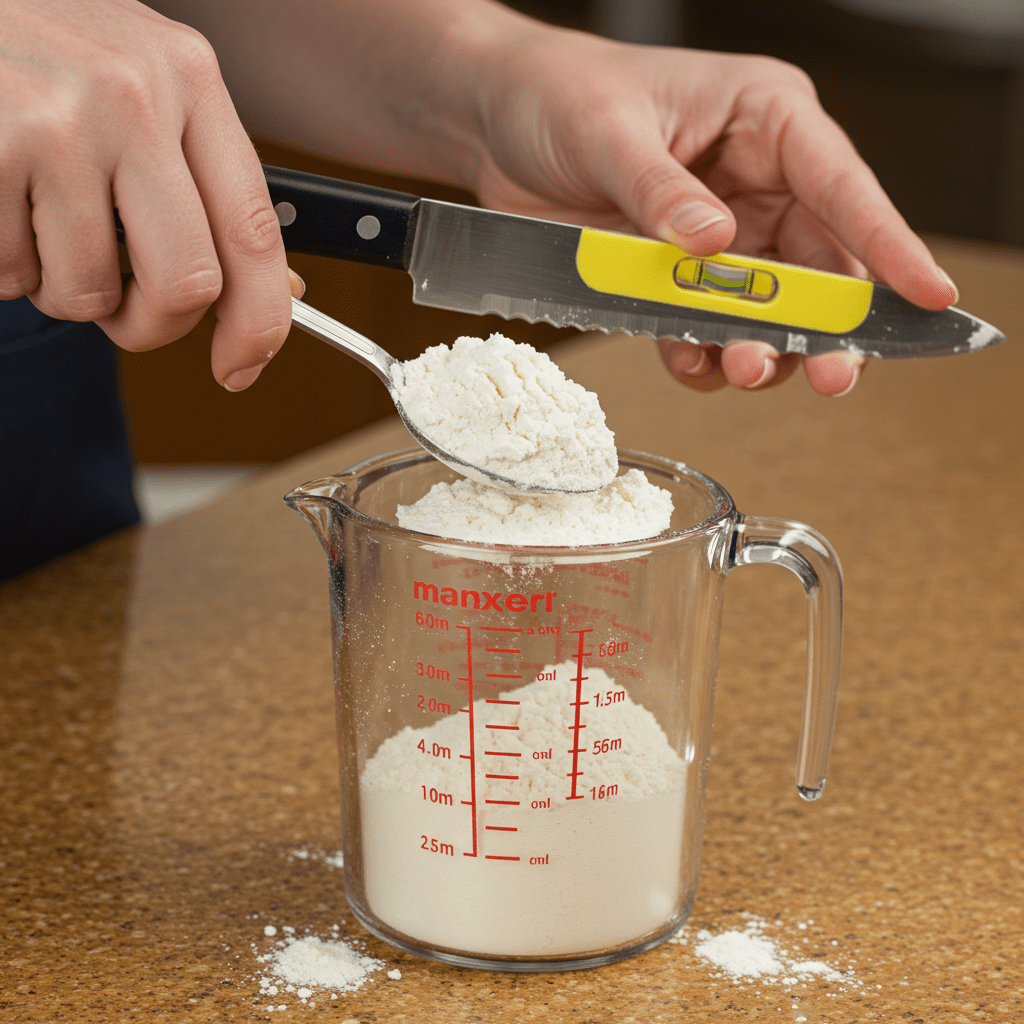
- Measure Flour Correctly: Never pack your flour into the measuring cup. Instead, fluff the flour in its container with a fork, then lightly spoon it into your measuring cup and level it off with a straight edge. This prevents a dry, dense loaf.
- Don’t Over-mix: I’m repeating this because it’s the most common baking mistake! A few lumps in the batter are perfectly fine. Gentle mixing is the key to a tender crumb.
- Trust the Toothpick Test: Baking times are an estimate. The most reliable way to check for doneness is the toothpick test. When it comes out clean from the center, your bread is ready.
How Should I Store This Banana Bread?
To keep your banana bread fresh and moist, store it in an airtight container at room temperature for up to 3 days. If you still have some left after that (which is unlikely!), you can move it to the fridge for up to a week.
My favorite way to enjoy leftovers is to warm a slice slightly in the microwave or toaster oven.
For longer storage: This bread freezes beautifully. I recommend slicing the entire loaf first, then wrapping individual slices in plastic wrap and placing them in a freezer-safe bag or container. This way, you can pull out a single serving for a quick and healthy snack anytime. It will last for up to 3 months in the freezer.
Can I Make Substitutions?
Baking is a science, but this recipe has some flexibility. Here are a few common questions and tested swaps:
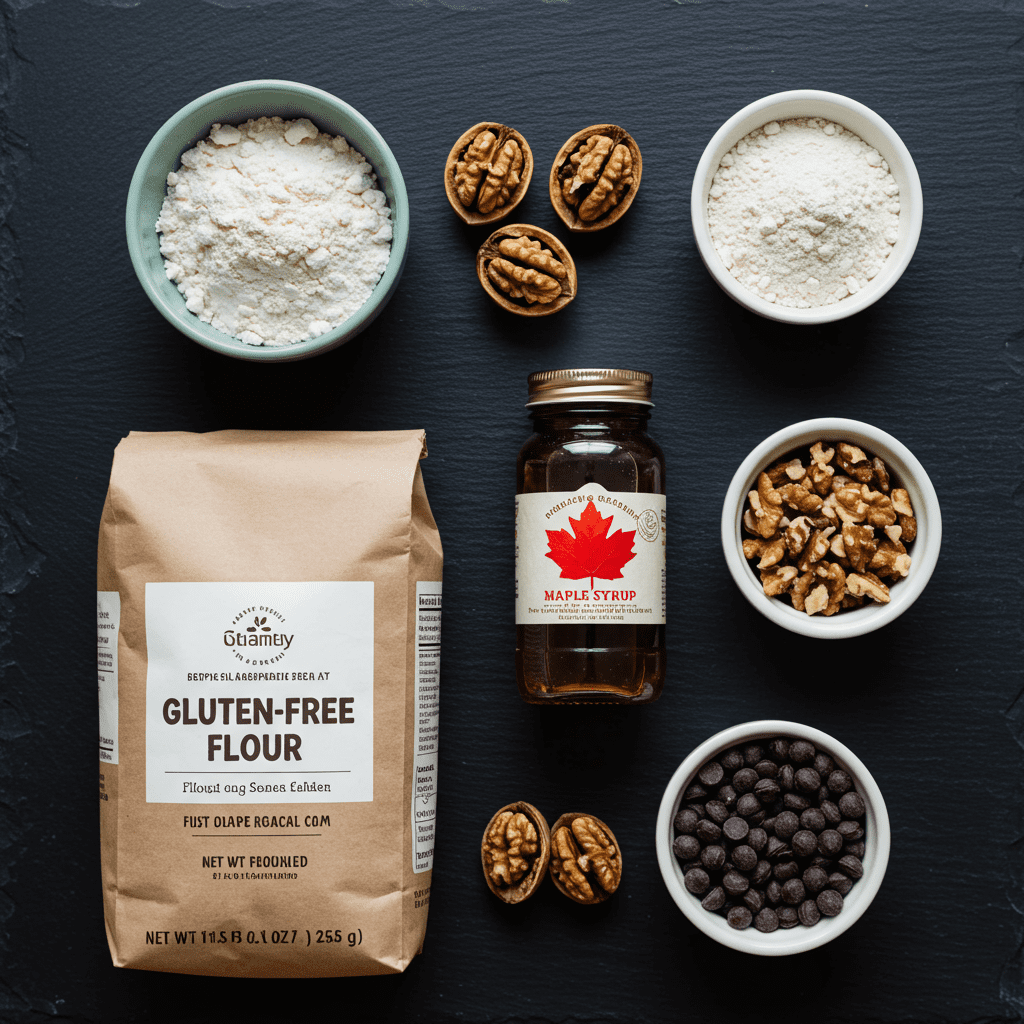
- Can I make it gluten-free? Yes, you can substitute the white whole wheat flour with a good quality 1-to-1 gluten-free baking flour blend that contains xanthan gum.
- What if I don’t have Greek yogurt? You can use an equal amount of sour cream or unsweetened applesauce. Applesauce will make the loaf a bit sweeter and denser, but it’s a great option.
- Can I use a different sweetener? Absolutely. Maple syrup can be substituted 1-for-1 for honey. You could also use coconut sugar or brown sugar, but you may want to slightly increase the liquid (e.g., add a tablespoon of milk) if the batter seems too thick.
- What about add-ins? Feel free! A half-cup of chopped walnuts or pecans adds a lovely crunch and healthy fats. Dark chocolate chips are also a classic and delicious addition.
Conclusion
Baking a healthier version of a classic comfort food shouldn’t mean sacrificing flavor or enjoyment. This Chia Seed Banana Bread proves that you can have a treat that is both deeply satisfying and genuinely nourishing.
By making thoughtful ingredient choices, you’re not just baking a loaf of bread; you’re creating a wholesome snack packed with fiber, protein, and nutrients that will fuel your body and delight your taste buds. I hope this recipe becomes a new staple in your kitchen.
