Why These 4-Ingredient Peanut Butter Oat Cups Are My Go-To Healthy Treat

Is there anything more classic than the combination of peanut butter and chocolate? It’s a universally loved pairing for a reason.
But what if you could capture that magic in a simple, no-bake treat that not only satisfies your sweet tooth but also works with your health goals? That’s exactly what these Peanut Butter Oat Cups do.
As a Registered Dietitian, I’m constantly asked for snack ideas that are both delicious and genuinely satisfying. This recipe is always at the top of my list.
It uses just four pantry staples to create a treat that’s rich in fiber and healthy fats, offering steady energy without the sugar crash that comes from typical candy. It’s proof that you don’t have to choose between food that’s good for you and food that you truly love to eat.
- What Makes These a Smarter Snack Choice?
- A Dietitian’s Guide to Choosing Your Ingredients
- How to Make Your Own Oat Flour
- Your Step-by-Step Recipe Guide
- Getting That Perfect Chocolate Topping
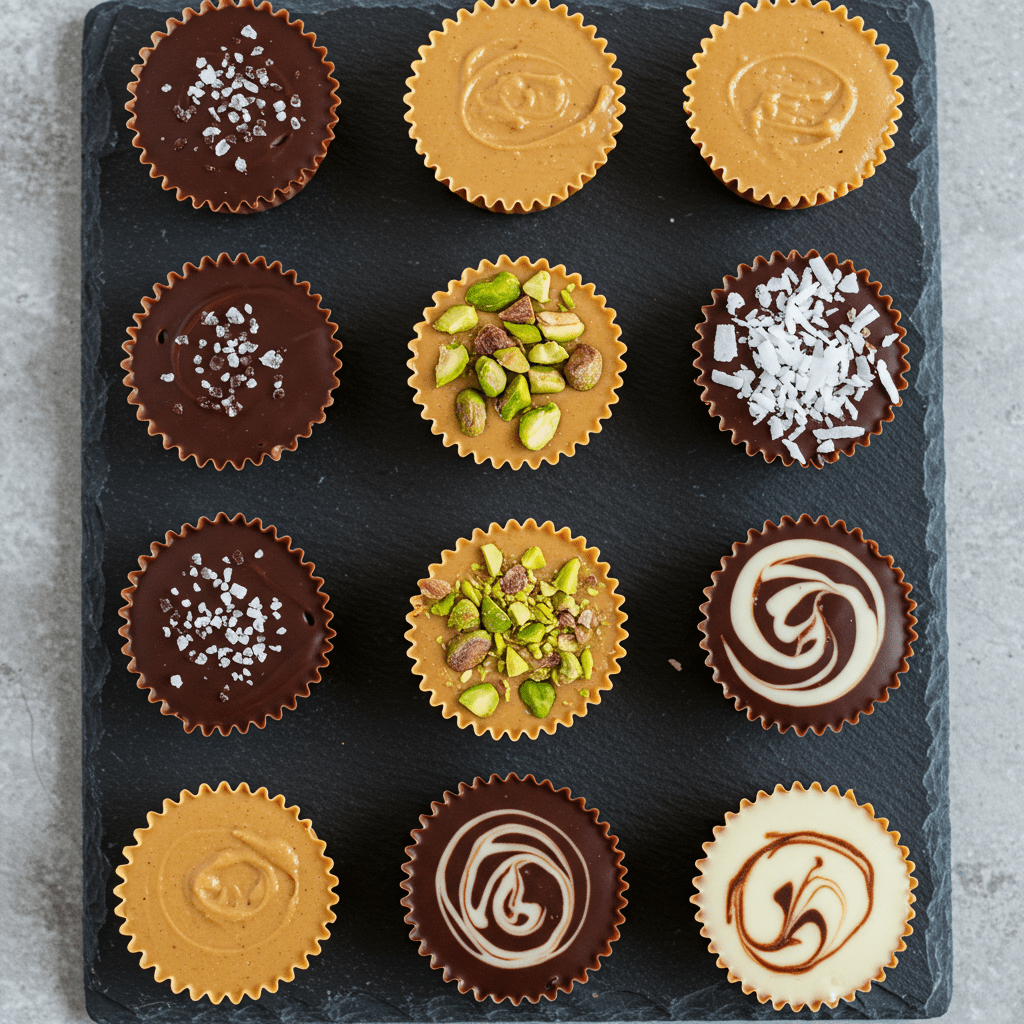
- Easy Ways to Customize Your Cups
- How Should I Store Them?
- Troubleshooting: What If My Mixture Is Too Dry or Crumbly?
- Conclusion
What Makes These a Smarter Snack Choice?

While I firmly believe all foods can fit into a healthy lifestyle, some snacks just do more for you. These oat cups are a perfect example of a ‘smarter’ treat.
The magic lies in the ingredients. Instead of refined flour, we use whole-grain oats, which are a fantastic source of soluble fiber.
This type of fiber helps slow down digestion, which can help stabilize blood sugar levels and keep you feeling full and satisfied for longer. The Harvard T.H. Chan School of Public Health highlights oats as a key food for heart health and digestive regularity. Then there’s the peanut butter, which is packed with heart-healthy monounsaturated fats and provides a good dose of plant-based protein.
This fat-and-protein combination is a powerful tool for curbing hunger. Finally, using a natural sweetener like pure maple syrup offers some trace minerals and a slightly lower glycemic index compared to refined white sugar.
It’s a simple swap that makes a big difference in how your body processes the sweetness.
A Dietitian’s Guide to Choosing Your Ingredients

The beauty of this recipe is its simplicity, but the quality of your ingredients matters. Let’s break it down:
- The Peanut Butter: You can use any peanut butter you like, but I recommend a ‘natural’ style one where the ingredients are just peanuts and maybe salt. These tend to have a richer peanut flavor and don’t contain the added sugars or hydrogenated oils found in some ‘no-stir’ varieties. If you use a no-stir brand, you may find your base is slightly sweeter and firmer, which is perfectly fine!
- The Oats & Flour: Making your own oat flour from rolled oats is best. Why? The U.S. Food and Drug Administration (FDA) notes that the steaming process that creates rolled oats makes them safe to consume without cooking. If you buy pre-made oat flour, it may not have been processed in the same way. For guaranteed safety, you can spread your oats or oat flour on a baking sheet and bake at 350°F (175°C) for 5-7 minutes to heat-treat them.
- The Chocolate: I prefer dark chocolate (70% cacao or higher) for its intense flavor and antioxidant benefits. The Cleveland Clinic explains that the flavonoids in dark chocolate can help with heart health. However, semi-sweet, milk, or even white chocolate will all work beautifully here. It’s all about your personal preference.
How to Make Your Own Oat Flour

Making oat flour at home is incredibly easy and ensures your recipe base is fresh and fine. All you need are rolled oats (old-fashioned) and a high-speed blender or food processor.
- Measure: For this recipe, start by measuring 1.5 cups of rolled oats.
- Blend: Pour the oats into your blender or food processor.
- Process: Blend on high for 30-60 seconds. Stop and scrape down the sides to make sure all the oats are being blended evenly. Continue blending until the oats have transformed into a fine, powdery flour. It should have a similar texture to all-purpose flour.
That’s it! You have fresh oat flour. I always make a little extra to store in an airtight container for the next batch.
Your Step-by-Step Recipe Guide

Ready to make them? Here’s the simple process:
- Melt the Base: In a medium microwave-safe bowl, combine your peanut butter and maple syrup. Microwave for 30-45 seconds, just until it’s warm and easy to stir. Mix thoroughly until you have a smooth, glossy liquid. This step is key to ensuring the oat flour mixes in evenly.
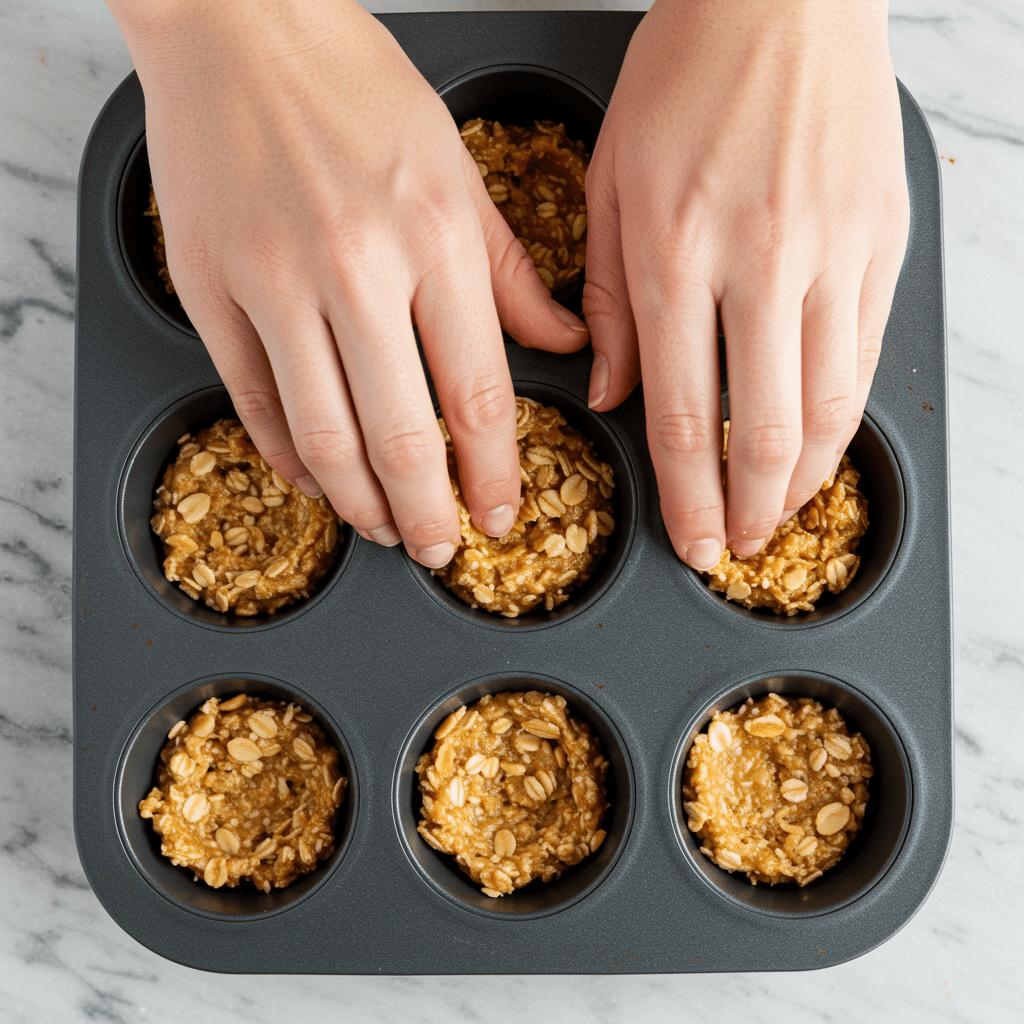
- Form the Dough: Gradually add your oat flour to the wet ingredients. The mixture will get very thick and dough-like. It might take a bit of effort to stir, but that’s what you want. The final texture should be like a thick, moldable cookie dough.
- Press into Molds: Line a 12-cup muffin tin with paper or silicone liners. This is a must for easy removal! Divide the peanut butter mixture evenly among the cups (about 2 tablespoons each). Press the dough down firmly to create a dense, even base.
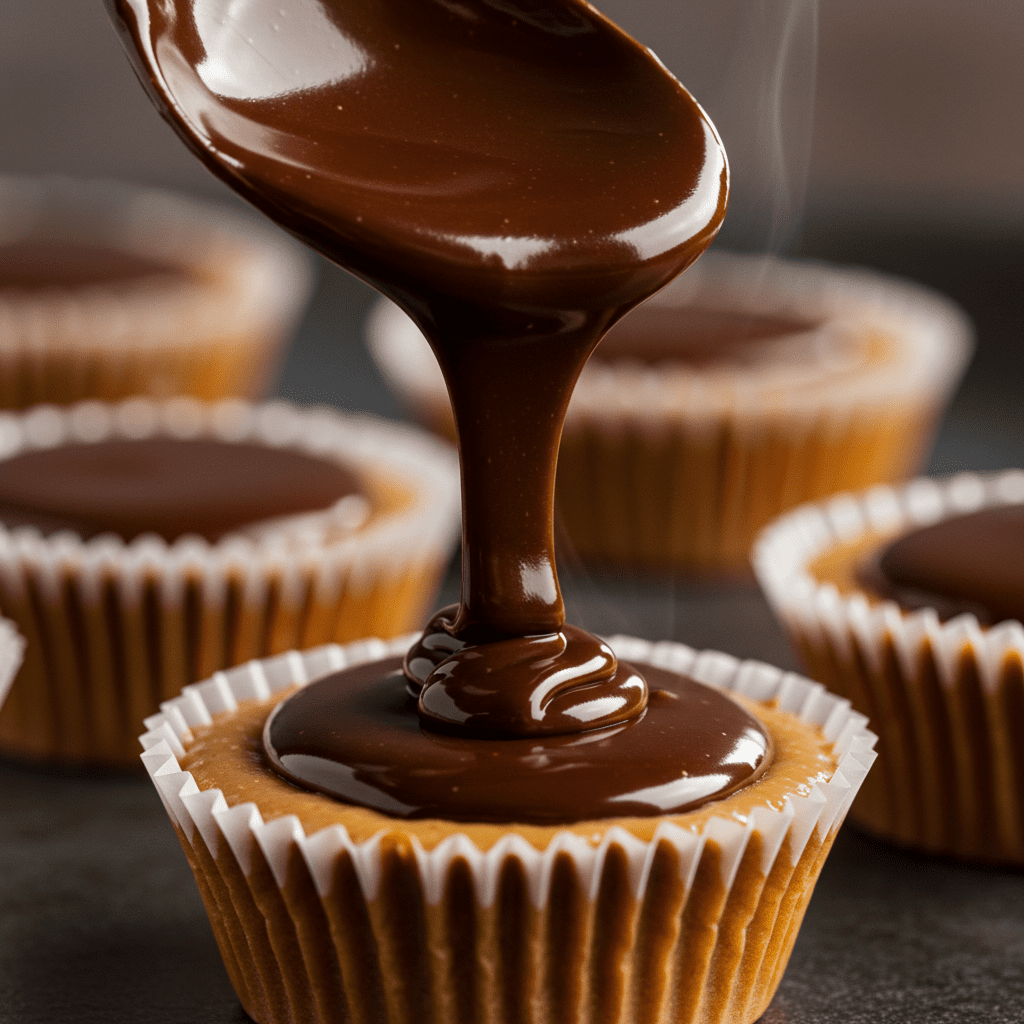
- Melt the Chocolate: In a separate small bowl, add your chocolate chips and the optional teaspoon of coconut oil (this helps it melt smoothly and adds a nice sheen). Microwave in 30-second intervals, stirring in between, until completely melted and smooth.
- Top and Chill: Pour a layer of melted chocolate over each peanut butter base. Use the back of a spoon to smooth the top. If you’d like, this is the time to add a sprinkle of flaky sea salt or chopped nuts.
- Set: Place the muffin tin in the refrigerator for at least 1-2 hours, or until the chocolate is completely firm. Once set, they’re ready to enjoy!
Getting That Perfect Chocolate Topping

The chocolate layer is what takes these cups from a simple snack to a decadent treat. The secret to a perfect topping is how you melt the chocolate.
A double boiler will give you gentle, even heat, but a microwave works just as well if you’re careful. The key is to heat it in short bursts and stir frequently.
This prevents the chocolate from scorching or seizing, which is when it becomes grainy and hard. Adding a small amount of coconut oil or butter isn’t just for shine; it also lowers the melting point slightly, making the chocolate a bit softer and easier to bite into even when cold.
For that professional look, after you pour the chocolate, give the muffin tin a gentle tap on the counter to level the top and bring any air bubbles to the surface.
Easy Ways to Customize Your Cups

This recipe is a fantastic starting point. Here are a few ways to make it your own:
- Boost the Nutrition: Mix in a tablespoon of chia seeds or ground flaxseed with the oat flour for a boost of omega-3s and fiber. You can also add a scoop of your favorite vanilla or chocolate protein powder, though you may need to add a splash of milk or a little extra maple syrup to get the right consistency.
- Add Some Texture: Mix 1/4 cup of shredded coconut, crispy rice cereal, or finely chopped peanuts directly into the base for a delightful crunch.
- Play with Flavors: A teaspoon of vanilla extract or a 1/2 teaspoon of cinnamon in the peanut butter base can add a wonderful warmth and depth of flavor.
- Get Creative with Toppings: A sprinkle of flaky sea salt is non-negotiable for me—it makes the chocolate taste richer. You can also top them with chopped nuts, seeds, sprinkles, or even a swirl of melted white chocolate.
How Should I Store Them?

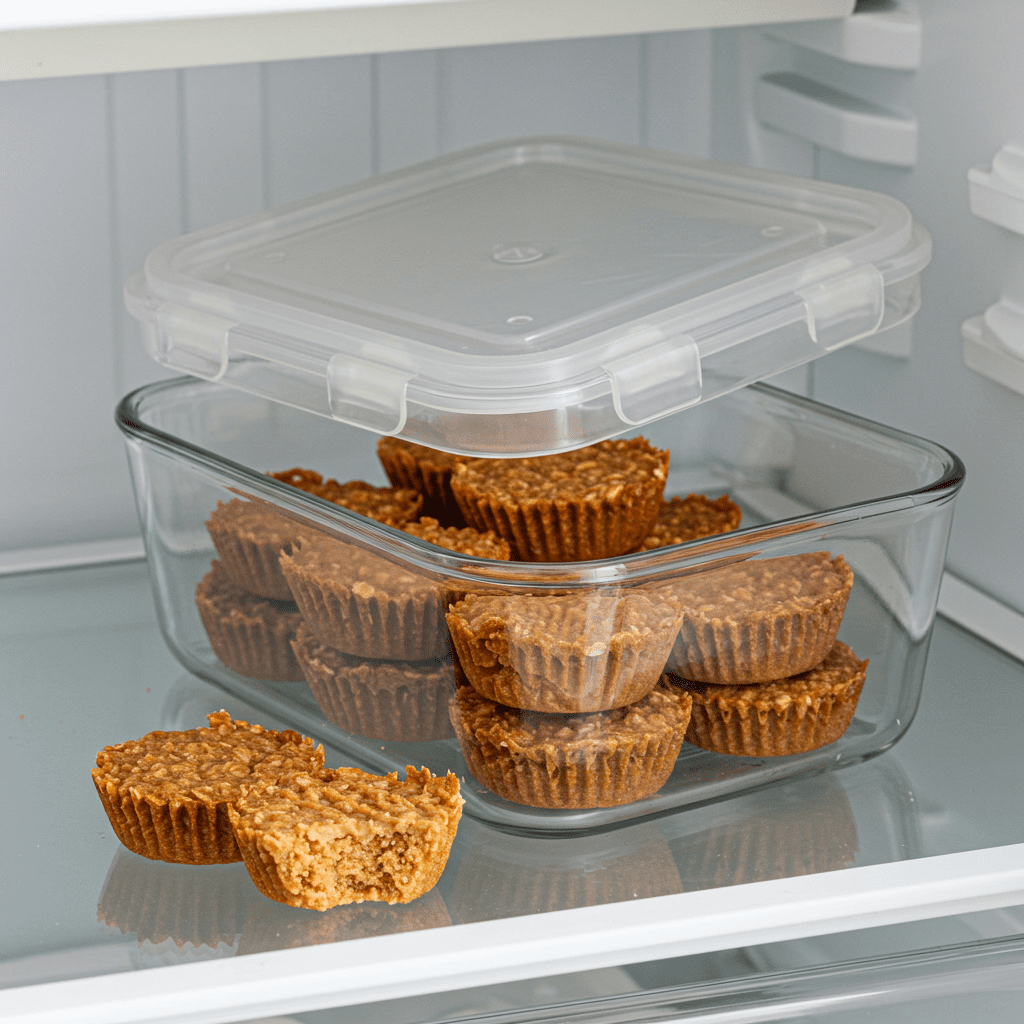
Because these cups are no-bake and made with fresh ingredients, proper storage is important. They should be kept in an airtight container in the refrigerator.
The cool temperature keeps the chocolate solid and the peanut butter base firm and fresh. They will stay delicious for up to a week.
Can you freeze them? Absolutely!
These freeze wonderfully. Place them in a single layer on a baking sheet to freeze solid, then transfer them to a freezer-safe bag or container.
They’ll keep for up to 3 months. It’s a fantastic way to have a healthy, satisfying snack ready to go.
You can eat them straight from the freezer for a firmer, chewier treat or let them sit at room temperature for 10-15 minutes to soften slightly.
Troubleshooting: What If My Mixture Is Too Dry or Crumbly?

This is the most common issue people run into, and it’s an easy fix! The consistency of the base can vary depending on the type of peanut butter or protein powder you use.
If your mixture seems too dry and won’t hold together when pressed, it just needs a bit more liquid. Don’t add more oat flour.
Instead, add another tablespoon of maple syrup or melted peanut butter and mix again. Add more, one tablespoon at a time, until the dough is thick but easily moldable in your hands.
It should feel like play-dough, not a pile of crumbs. This simple adjustment will ensure your base is perfectly moist and holds together every time.
Conclusion
These No-Bake Peanut Butter Oat Cups are more than just a simple recipe; they’re a perfect example of how easy it can be to create treats that are both incredibly satisfying and built on wholesome ingredients. They prove that you can cater to your cravings while still nourishing your body with fiber, protein, and healthy fats.
Whether you need a quick afternoon snack, a post-workout refuel, or a simple dessert for guests, this recipe is a reliable, delicious, and dietitian-approved choice that you’ll find yourself making again and again.

[…] Healthy Desserts: To round out the meal, consider a simple, no-bake treat like these healthy peanut butter oat cups. […]