How to Make Oat Milk That Isn't Slimy
 Jump to recipe ↓
 In this guide8
- 01What actually makes oat milk slimy
- 02The cold water rule nobody mentions
- 03The 30-second blend (set a timer, I mean it)
- 04Straining without forcing the slime through
- 05Why your homemade oat milk still went gummy
- 06The sweetened and barista versions
- 07How it compares to other homemade milks
- 08My honest takeaway after a few hundred batches
The worst oat milk I ever made could have held up a wallpaper sample. I had read somewhere that soaking the oats overnight made the milk creamier, so I soaked a full cup of rolled oats, blended the swollen mush for what felt like a responsible amount of time, strained it, and squeezed the bag like I was wringing out a dishcloth.
By the next morning it had set into something you could have sliced. I tipped it into a saucepan, called it porridge, and quietly never told anyone.
That batch taught me more than any recipe ever has. Slimy oat milk is not bad luck and it is not your blender.
It is a chain of small, avoidable mistakes, and once you understand what each one does, you can make smooth, pourable oat milk on demand in under five minutes. I have made it a few hundred times since the wallpaper incident.
Here is exactly how to keep it from going gummy, plus the sweetened and barista riffs worth knowing.
What actually makes oat milk slimy
Oats are full of beta-glucan, a soluble fiber that is genuinely good for you and genuinely the source of all your trouble. Beta-glucan loves water. When it gets wet and agitated, it swells and links up into a thick, slippery gel.
That gel is wonderful in a bowl of porridge, where you want body and cling. In a glass of milk, it is the enemy.
Your blender is a beta-glucan activation machine. Every second it runs, it tears open more oat cells, releases more starch and fiber, and warms the liquid through sheer friction. Warmth speeds the gelling.
So the longer you blend, the more slime you create, and there is a hard ceiling on how long you can run the machine before creamy tips over into gluey. According to the overview of how oat milk is produced, commercial makers actually use enzymes to control this starch behavior, which is a luxury you do not have at home.
Your only levers are temperature, time, and how you strain. Get those three right and the slime never shows up.
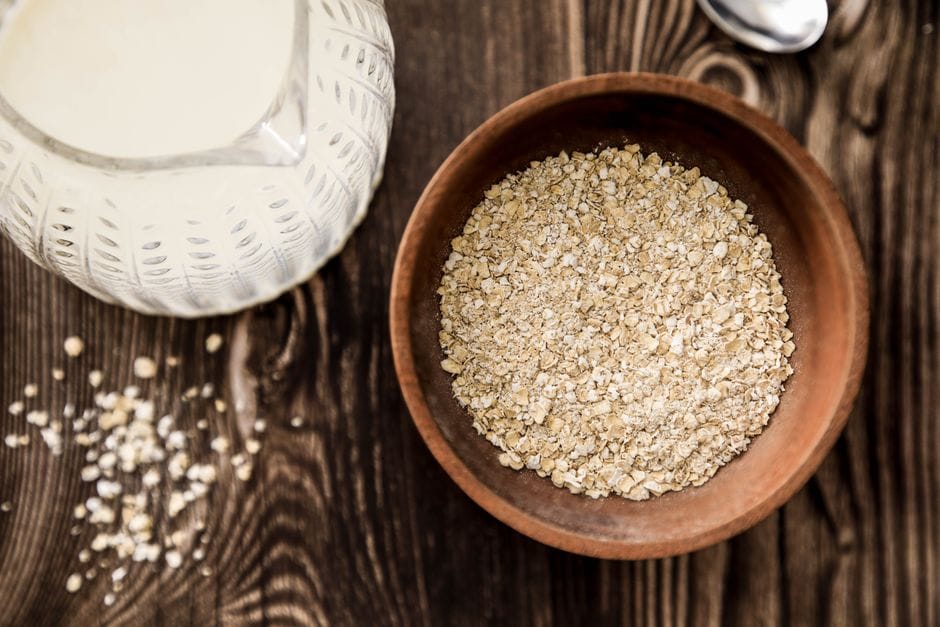
The cold water rule nobody mentions
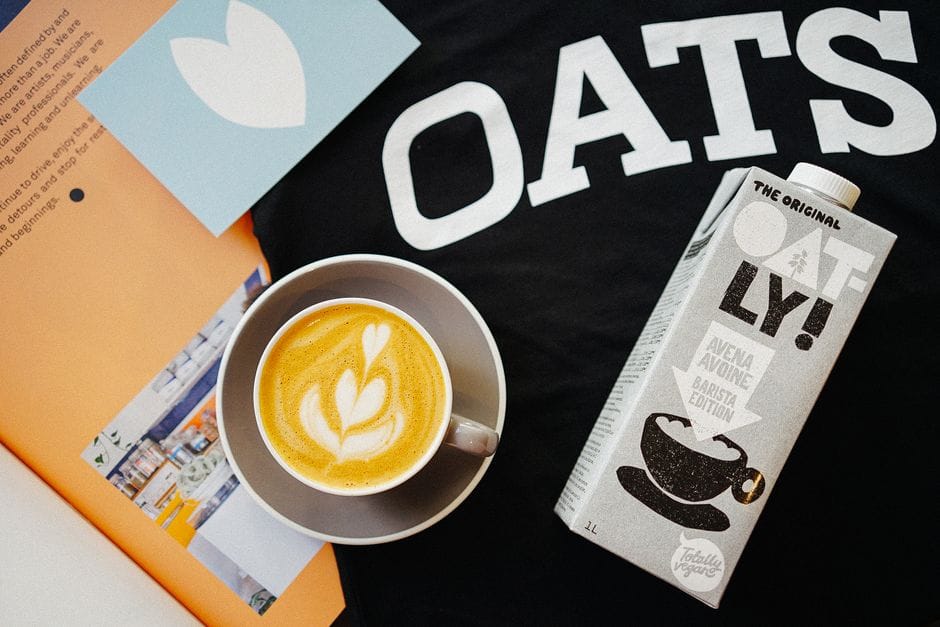 Photo: Dasha Klimova / Pexels
If you take one thing from this guide, take this: use cold water, the colder the better. I keep a jug in the fridge specifically for this, and I have even dropped in a couple of ice cubes on a hot day.
Cold water does two things. It slows the beta-glucan from gelling while you blend, and it stops the friction of the blades from warming the mix into gel territory. Room-temperature water already gives the starch a head start.
Warm or hot water is a disaster, because heat is the single fastest way to turn oat starch into paste. This is also why you never, ever cook or heat your oat milk before straining it. Heating is the move that releases the most slime of all.
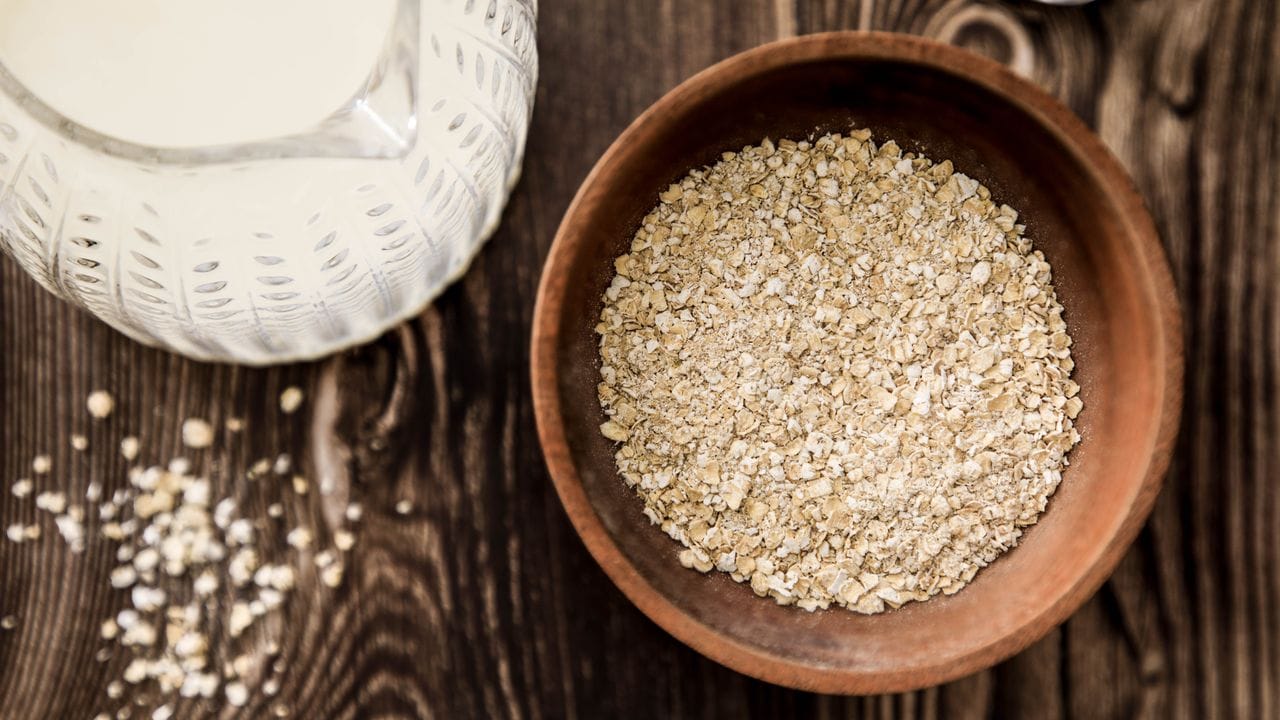
The ratio I use is one cup of rolled oats to four cups of cold water for a milk with real body, or five cups if you like it lighter and more drinkable. Start with less water, blend, taste, and thin it from there.
You can always add cold water; you cannot pull it back out. I learned that lesson the same week as the wallpaper one.
The 30-second blend (set a timer, I mean it)
Here is where most people sabotage themselves out of good intentions. They think more blending means creamier milk, the way it does with cashews. With oats it is the reverse.
The window between "blended enough to be creamy" and "blended into slime" is roughly thirty seconds wide.
So set a timer. Add your cold water, the oats, and a pinch of salt to the blender, and run it on high for exactly 30 seconds. Forty-five at the absolute most if your blender is weak.
The mix should look milky white and uniform, not perfectly smooth. A little texture at this stage is fine, because the strainer handles the rest. If you blend until it looks like a finished smoothie, you have already gone too far.
I use a regular countertop blender for this, not a high-speed one, and I actually prefer it. A Vitamix is so powerful that it pulverizes the oats and releases starch faster, which makes the slime risk higher, not lower.
This is the rare recipe where the cheaper blender has the edge. If all you own is a high-speed machine, cut the time to 25 seconds and watch it like a hawk.
The technique matters more than the gear here, the same way it does across the rest of the how-to guides on this site.
Straining without forcing the slime through
 Photo: Polina Tankilevitch / Pexels
You have blended a clean, milky mix. Now do not undo it at the strainer. This is the second place batches die.
Pour the mix through a fine mesh sieve, a few layers of cheesecloth, or a nut milk bag set over a wide bowl or pitcher. Then let it drip. Walk away.
Do not press, push, or squeeze. I know the urge, because there is visibly more liquid trapped in that pulp and squeezing feels like reclaiming what is yours. Resist it completely.
Squeezing forces the thick starch slurry right through the mesh and straight into your finished milk, which is the exact gluey fraction you spent the whole process trying to leave behind. A gentle drip gives you smooth milk. A hard squeeze gives you paste.
If you are impatient, a wide fine sieve drains faster than a nut bag and is easier to clean, and I reach for it most days. The trade is that a sieve lets a touch more fine pulp through, so your milk is slightly less clear.
I do not care about clear. I care about not slimy, and a sieve delivers that as long as you keep your hands off the pulp.
The leftover oat pulp is not trash, by the way. Stir it into overnight oats, fold it into pancake or muffin batter, or add it to a smoothie. It is mild and slightly sweet and there is no reason to bin it.
Why your homemade oat milk still went gummy
Let us say you did everything above and it still set up thick overnight. There are three usual suspects, and they are all fixable.
First, the oats. If you reached for instant or quick oats because that is what was in the cupboard, that is your answer.
Those are pre-cooked and broken down, so they shed starch the instant they get wet, and no amount of cold water or short blending saves them. Switch to old-fashioned rolled oats.
If you are ever unsure whether a particular packaged oat product is even vegan and additive-free, you can run the label through our vegan ingredient checker before you buy.
Second, the blend time crept up. "Thirty seconds" tends to become "fifty seconds" when you are eyeballing it and waiting for it to look perfect. Use an actual timer, not your judgment.
Your judgment wants it smoother than it should be.
Third, you squeezed the bag. I cannot say this enough. The single most common cause of slime in an otherwise correct batch is the squeeze at the end.
If you want to test this theory, make two batches identically and squeeze only one. The squeezed one will be noticeably thicker and ropier by the next day. It is a stark little experiment.
The sweetened and barista versions
Plain unsweetened oat milk is what I make most weeks because it is the most flexible, but two variations earn their place.
For lightly sweetened oat milk, drop one pitted Medjool date and a quarter teaspoon of alcohol-free vanilla into the blender before you run it. The date blends in completely in that short spin and gives a soft, natural sweetness that is nothing like the sugary cartons.
I keep my kitchen alcohol-free, so I always use alcohol-free vanilla rather than standard extract, which is alcohol-based. A tiny pinch of cinnamon is lovely here too, especially over cereal.
The barista version is the one people really want, because homemade oat milk famously splits and curdles in hot coffee. It splits because it has none of the stabilizers that store cartons rely on.
You can nudge it closer to barista behavior at home: add half a teaspoon of a neutral oil like sunflower or refined coconut oil, plus an eighth of a teaspoon of sunflower lecithin if you have it, and blend that in. The oil and lecithin help the fat and water stay emulsified when the milk meets heat and acidity.
I will be honest, this gets you about eighty percent of the way to a carton. It froths better and resists splitting more, but it is still not bulletproof in a very hot, very acidic coffee.
Pouring the cold milk into the cup before the coffee, rather than after, also softens the temperature shock. If lattes are your whole reason for living, a barista-edition carton is still the more reliable pour, and that is a fair trade to make.
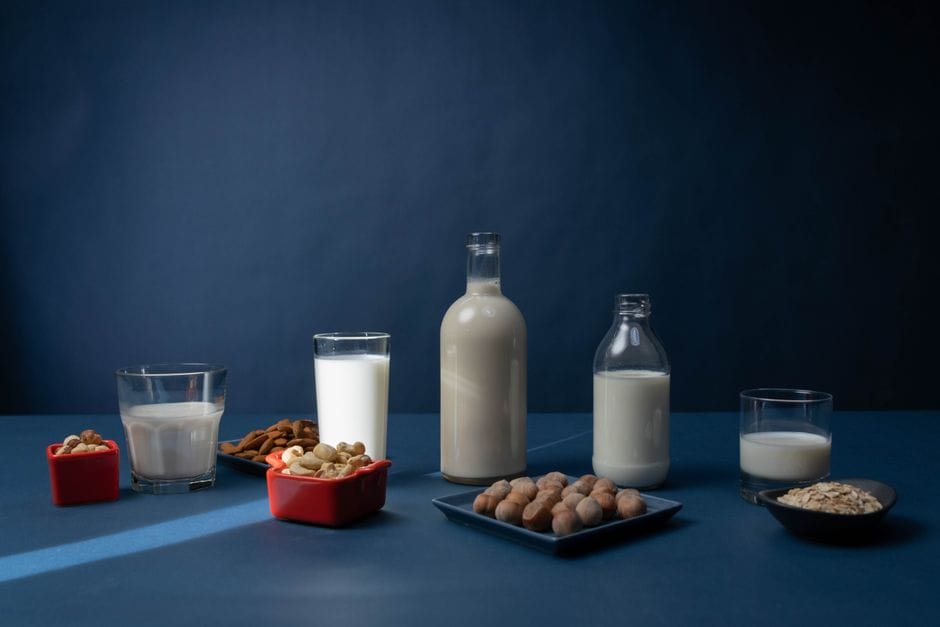
How it compares to other homemade milks
I make oat milk for the cost and speed, full stop. It is the cheapest plant milk you can make, a cup of oats costs almost nothing, and the active time is about five minutes with no overnight soak. For pouring over granola, mixing into baking, or a quick cold glass, it is hard to beat on value.
What it is not is the most foolproof. The slime risk is real and the coffee splitting is a genuine limitation.
If you want pure blend-and-pour ease with no straining at all, cashew milk is the calmer choice, because cashews emulsify completely and leave nothing to strain or squeeze. I broke that method down in the cashew milk guide, and it is the one I make when I cannot be bothered to babysit a timer.
For the full from-scratch oat recipe with the printable card and exact measurements, the oat milk recipe page lays it out step by step.
A quick note on store-bought, since people always ask: most oat milk on the shelf is vegan, but glance at the label for added vitamin D, since D3 is sometimes derived from lanolin (sheep wool) rather than a plant source. If a carton ever makes you pause, the Is It Vegan database is the fastest way to settle it.
My honest takeaway after a few hundred batches
Smooth oat milk is not about a secret ingredient or a fancy blender. It is about respecting one fact: oat starch turns to slime when you give it heat, time, and pressure, so you take all three away. Cold water.
A 30-second blend with a real timer. A gentle drip strain with no squeezing, ever. Never heat it before you strain it.
Do that and you will get a clean, creamy, genuinely milky pour every single time.
If a batch still goes gummy, run down the three suspects in order: wrong oats, too long in the blender, or a guilty squeeze of the bag. One of them is always the culprit.
Fix it and your next batch will pour like milk instead of holding up a wallpaper sample, which is more than I could say for my first one.
The recipe
Homemade Oat Milk (No Slime)
Prep
5 min
Total
5 min
Makes
4 cups (about 950 ml)
Ingredients
- 1 cup old-fashioned rolled oats (not instant or quick oats)
- 4 cups cold water (use 5 cups for a lighter, more drinkable milk)
- 1 pinch of salt
Instructions
- 1 Add the cold water, rolled oats, and pinch of salt to your blender.
- 2 Blend on high for exactly 30 seconds. Set a timer. Do not blend until the mixture looks perfectly smooth; a milky white, uniform look with a little texture is correct. If you have a high-speed blender (such as a Vitamix), cut the time to 25 seconds.
- 3 Pour the blended mixture through a fine mesh sieve, several layers of cheesecloth, or a nut milk bag set over a wide bowl or pitcher.
- 4 Let the milk drip through on its own. Do not press, push, or squeeze the pulp. Squeezing forces starch slurry through the mesh and causes sliminess.
- 5 Transfer the finished milk to a sealed jar or bottle and refrigerate. Use within 4 days. Shake or stir before each pour as it will settle.
Notes
- ·Use only old-fashioned rolled oats. Instant or quick oats are pre-cooked and release starch immediately, causing sliminess. Steel-cut oats require too much blending time and also cause sliminess.
- ·Cold water is essential. Room-temperature water gives starch a head start on gelling; warm or hot water is the fastest way to create paste. Never heat oat milk before straining.
- ·Do not soak the oats beforehand. Unlike nut milks, soaking oats softens them and pre-activates starch, which makes sliminess worse.
- ·For a lightly sweetened version, add 1 pitted Medjool date and 1/4 teaspoon alcohol-free vanilla extract to the blender before blending.
- ·For a barista version that resists splitting in hot coffee, add 1/2 teaspoon neutral oil (sunflower or refined coconut) and 1/8 teaspoon sunflower lecithin to the blender before blending.
- ·Leftover oat pulp can be stirred into oatmeal, folded into pancake or muffin batter, or added to smoothies.
- ·If the milk thickens or goes gummy, check these three causes in order: wrong oat type, blend time over 30 seconds, or squeezing the bag during straining.
Frequently asked questions
Which oats make the least slimy oat milk?+
Old-fashioned rolled oats, every time. They blend fast and release the least starch in a short spin. Instant or quick oats are pre-cooked and pre-broken, so they dump starch the second they hit water and go gummy almost instantly. Steel-cut oats are the opposite problem: they are so dense that you blend forever to break them down, and all that extra blending is exactly what creates slime. Rolled oats are the sweet spot, and a brand like Bob's Red Mill or Quaker Old Fashioned is all you need.
My oat milk is already gummy. Can I save it?+
Sometimes, and it depends how far gone it is. If it is just thick and a bit ropey, whisk in cold water a splash at a time to loosen it, then strain it again through a clean fine sieve without pressing. If it has turned into something closer to a gel or a thin glue, you cannot reverse the starch that has set, but the batch is not wasted. Stir it into oatmeal, blend it into a smoothie, or use it as the liquid in pancake batter where the thickness is a feature, not a flaw.
Can I freeze homemade oat milk?+
You can, but expect it to separate and turn a little grainy when it thaws. Freezing in ice cube trays is the smartest approach, because then you can drop a few cubes straight into smoothies where texture does not matter. For drinking or pouring over cereal, frozen and thawed oat milk is disappointing. Honestly, oat milk is so quick to make fresh that I rarely bother freezing it. A four-day batch in the fridge suits me better.
Do I need to soak the oats before blending?+
No, and you actively should not. Soaking rolled oats softens them and starts breaking down the starches before the blender even touches them, which gives the slime a head start. This is the opposite of soaking nuts for cashew or almond milk, where soaking helps. With oats, dry oats plus cold water plus a short blend is the whole trick. If a recipe tells you to soak your oats overnight, that is the recipe that gives people gluey oat milk.

Written by
VeganDigest Editorial is the small independent team that researches and fact-checks this site. We are not doctors or dietitians. For every is-it-vegan verdict we read the product's current ingredient list and manufacturer information, and for anything health-related we report guidance from recognized bodies such as the NHS, the Vegan Society, and the Academy of Nutrition and Dietetics rather than offering medical advice. Every page shows the date it was last verified, and our full process is on the How We Verify page.
Comments