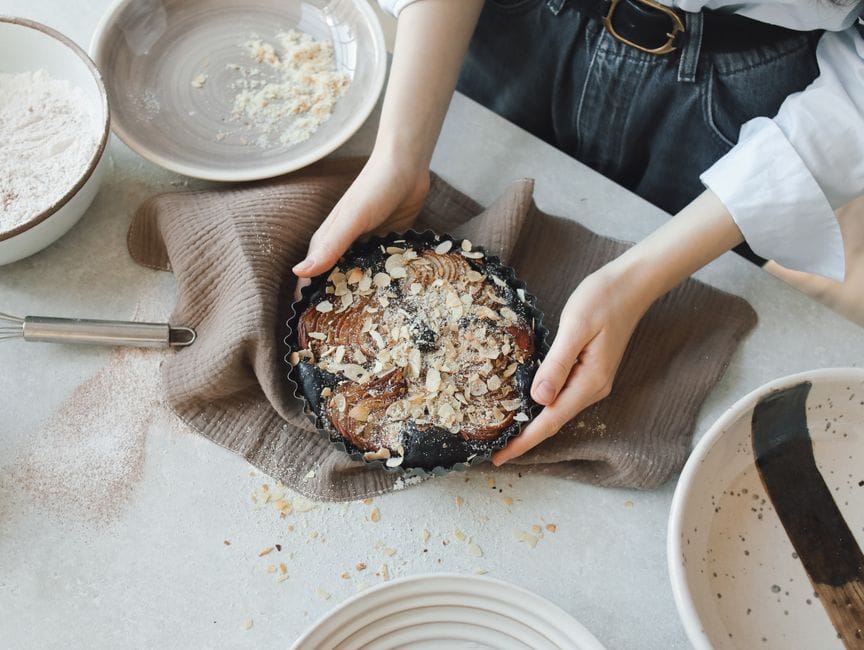
How to Make Almond Flour (and Almond Meal)
 Jump to recipe ↓
 In this guide8
I ruined my first batch of almond flour in roughly ninety seconds. I had a bag of almonds, a high-powered blender, and the confidence of someone who had watched exactly one video.
I dumped the whole bag in, hit the highest speed, and walked off to find a measuring cup. By the time I came back the machine had stopped struggling and gone quiet, and when I lifted the lid I was looking at a jar of warm, oily almond butter clinging to the blades.
Tasty, useless for the cake I wanted, and a small lesson in patience.
That mistake taught me the one rule that makes or breaks homemade almond flour: almonds are about half oil, and the line between fine flour and creamy butter is measured in seconds, not minutes. Once you respect that, the whole thing becomes easy and genuinely satisfying.
Here is exactly how I make a fine, pale almond flour and a coarser almond meal at home, when each one is worth it, and the honest truth about whether it actually saves you any money.
Almond flour versus almond meal, and why it matters
People use these two names loosely, but in a recipe they behave differently. Almond flour is made from blanched almonds, which means the brown skins have been slipped off first. The result is pale, fine, and almost powdery, and it bakes up with a soft, even crumb.
This is what you want for macarons, financiers, delicate cakes, and anything where speckles of skin would look out of place or weigh the batter down.
Almond meal is usually ground from whole almonds with the skins still on. It is coarser, flecked with little brown bits, and slightly heavier because the skins add fiber and a touch of bitterness. None of that is bad.
Almond meal is wonderful in rustic bakes, shortbread, streusel toppings, and pie crusts where a bit of grit and a nutty depth are a feature. The short version: blanched and fine for pretty, pale, light things, and skins-on and coarse for hearty, textured ones.
Knowing which you actually need before you start saves you from grinding the wrong batch.
Blanching your own almonds
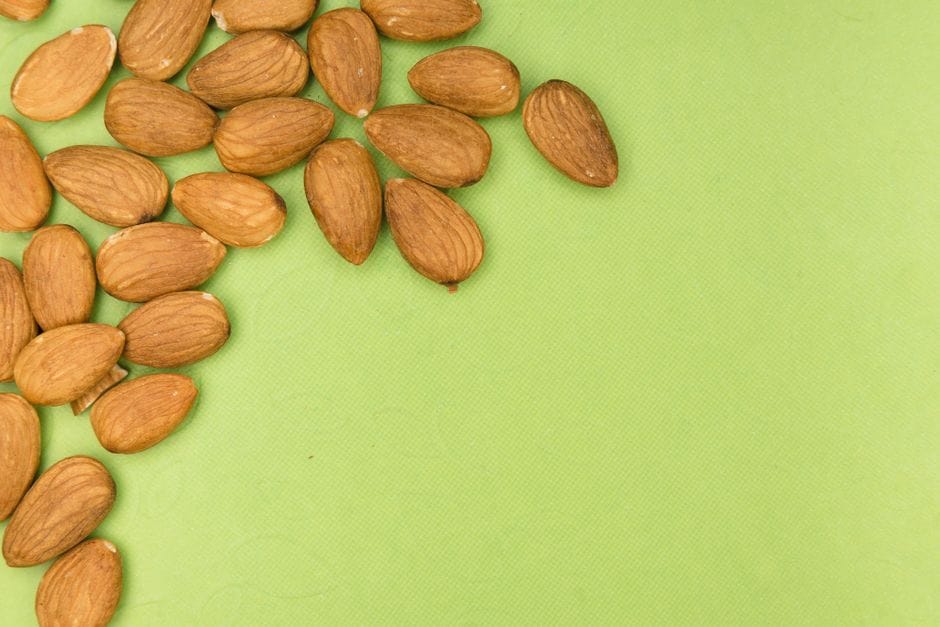 Photo: Markus Winkler / Pexels
You can buy blanched almonds, but skinning them yourself is cheaper and weirdly fun. Bring a pot of water to a boil, drop in your raw almonds, and let them sit for exactly sixty seconds. Any longer and they start to cook and turn soft.
Drain them, rinse under cold water so you can handle them, and then squeeze each almond between two fingers. The skin pops right off and the nut shoots out, which is messy in the best way, so do it over a bowl.
The critical step everyone skips is drying. Wet almonds will never grind into flour. They smear into paste almost instantly because the moisture and the oil work together against you.
Spread the blanched almonds on a clean towel and pat them, then lay them on a baking tray in a single layer and dry them in a low oven, around 175°F or 80°C, for fifteen to twenty minutes. You do not want to toast them or add color.
You just want them bone dry and, ideally, cooled back to room temperature before they go anywhere near the blender. If you want skins-on almond meal instead, skip the blanching entirely and dry your raw whole almonds the same way.
The pulsing technique that saves your flour
This is the part that matters most, so here is the whole method in one breath: small batches, short pulses, and stop early. Work with no more than a cup of almonds at a time. A food processor is more forgiving than a high-speed blender here because it is less aggressive, but both work if you stay disciplined.
Pulse in short bursts of one to two seconds. After every few pulses, stop and either shake the jar or run a spatula around the sides to break up the clumps that gather at the bottom, where the oil concentrates first.
You are looking for the texture of fine, dry sand. The instant you see it start to clump together or take on a slight sheen, you are done, even if a few coarser bits remain. Those you can sift out.
Chilling the almonds in the freezer for twenty minutes before you grind is the single best insurance against butter, because cold oil takes longer to release. I learned all of this the hard way, and it is the same lesson behind not over-blending homemade cashew cream, where a few extra seconds turns silky into split.
It helps to understand why this happens at all. Almonds carry roughly fifty percent fat by weight, most of it locked inside the cells of the nut.
The composition of almonds is what makes them so rich, and it is also what makes flour-making a race against the clock. Every pulse tears open more cells and frees more oil, and the friction of the blades adds heat that thins that oil and helps it spread.
So the powder you want and the paste you do not want are the same process caught at two different moments. Your whole job is to catch it at the right one and walk away.
Sifting for a finer flour
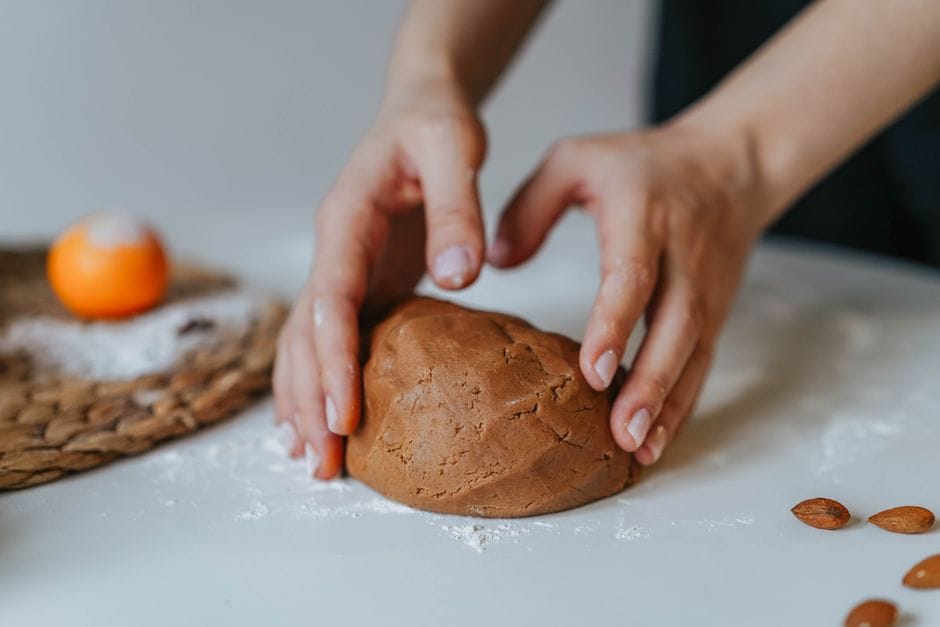 Photo: olia danilevich / Pexels
For most baking, a quick sift through a fine-mesh sieve takes your homemade flour from good to genuinely fine. After grinding, tip the lot through the sieve and gather the coarser bits left behind.
You can re-pulse those briefly with the next batch, or just save them and fold them into something forgiving like a crumble where a little texture disappears.
Do not chase perfection here. Homemade almond flour will almost never be as uniformly powder-fine as the commercial stuff, which is milled industrially under controlled temperatures you cannot match at home. That is fine for the vast majority of recipes.
The only place it shows is in something as fussy as a French macaron, where even store-bought flour usually needs sifting and sometimes a spin in the food processor with the powdered sugar. For cakes, muffins, cookies, and crusts, your slightly more rustic flour will not just pass, it will taste fresher.
How almond flour actually behaves in baking
The biggest mistake with almond flour is treating it like wheat flour, and it simply is not. It has no gluten and no starch, which means it brings no structure and no rise on its own.
Swap it one to one into a standard cake recipe and you get something dense, greasy, and often sunk in the middle. What almond flour does bring is moisture, fat, a tender crumb, and a lovely nutty flavor.
The reliable ways to use it are in recipes written specifically for almond flour, where the ratios of egg replacer and leavening are already balanced around it, or as a partial swap of up to roughly a quarter of the wheat flour in muffins, pancakes, and quick breads for extra tenderness. Because there is no egg to bind a vegan bake, almond flour leans even harder on whatever structure you give it.
A flax egg or a scoop of starch does a lot of quiet work holding an almond-flour batter together. Keep in mind it is also a calorie-dense, protein-carrying ingredient, which is part of why it shows up so often in higher-protein baking.
A quarter cup carries real fat and a few grams of protein, so an almond-flour muffin is satisfying in a way a plain wheat one is not, and it browns faster too, so you will often want to drop your oven by fifteen or twenty degrees and tent the top with foil if it is coloring before the center sets.
The honest truth about cost
I want to be straight with you, because a lot of guides oversell this. Making your own almond flour barely saves you money.
You are paying almond prices no matter what, and a bag of whole raw almonds often costs nearly as much per pound as a finished bag of almond flour from a brand like Bob's Red Mill or your store label. Factor in the gas to dry them and the time to blanch and grind, and the math is close to a wash.
This is the opposite of homemade oat flour, where a tub of plain oats costs a fraction of a bag of oat flour and the savings are real and obvious.
So make your own almond flour for the right reasons: you want it fresher, you want control over how fine or coarse it is, you want to choose blanched versus skins-on, or you ran out and have almonds in the cupboard. The one place homemade genuinely wins on money is the trick in the next section, where the raw material is something you would otherwise throw away.
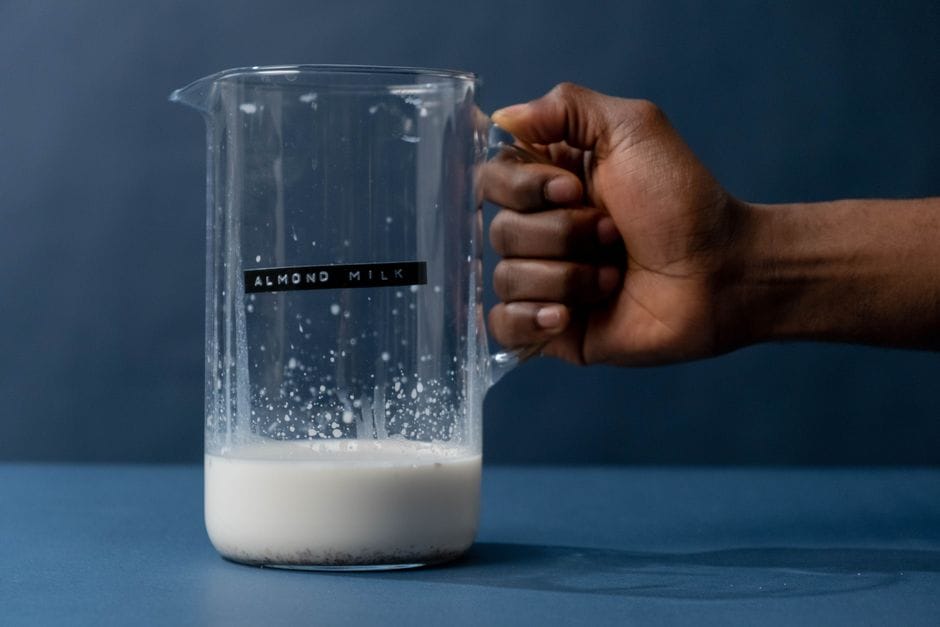
The free flour hiding in your almond milk pulp
If you make your own almond milk, you already produce almond meal for free every single time, and most people compost it or bin it. When you strain a batch of milk, the wet pulp left in the nut-milk bag is essentially skinned, ground almond with most of its oil and some flavor pressed out.
Dried properly, it becomes a perfectly good almond meal that has already been paid for once.
Squeeze the pulp as dry as you can, then spread it thin on a lined tray and dry it in a low oven, around 175°F or 80°C, until it is completely crisp and crumbly, which usually takes a half hour or more depending on how wet it started. Let it cool, then pulse it briefly to break up the clumps into a loose meal. Store it like any flour.
It is leaner and less rich than flour ground from whole almonds because the milk took some of the fat, so I treat it as almond meal rather than fine flour and lean on it for crumbles, energy bites, and stirring into oatmeal or pancake batter. It will not whip up a macaron, but as a way to waste nothing, it is hard to beat.
Storing it so it lasts
Almond flour goes rancid faster than wheat flour because all that oil is exactly what spoils. At room temperature in a sealed jar it is fine for a couple of weeks, but the fridge is better and the freezer is best.
In an airtight container in the freezer it keeps its fresh, sweet smell for several months, and you can scoop straight from frozen into a recipe without thawing. Trust your nose: fresh almond flour smells faintly sweet and nutty, while rancid flour smells sharp, paint-like, or bitter.
If it smells off, it is off, and no amount of sugar in a bake will hide it.
One more practical note for label-readers. Plain, single-ingredient almond flour is reliably vegan, so the flour itself is never the question. Where it gets murky is with flavored almond flours, almond-based "baking mixes," and blends, which can carry honey, dairy powders, or vague additives.
If a fancy bag ever makes you pause, run the ingredients through our vegan ingredient checker or look the product up in the Is It Vegan database before you buy.
Here is the whole thing in one practical takeaway: dry your almonds completely, work cold and in small batches, and pulse in short bursts until it looks like fine sand, then stop. Do that and you will have fresh almond flour or meal in about ten minutes, with zero risk of accidental almond butter.
And the next time you make almond milk, save the pulp. That is the batch that finally makes the effort pay for itself.
The recipe
Homemade Almond Flour
Prep
30 min
Cook
20 min
Makes
about 1 cup
Ingredients
- 1 cup raw whole almonds
Instructions
- 1 Bring a pot of water to a boil. Drop in the almonds and let them sit for exactly 60 seconds, then drain and rinse under cold water.
- 2 Squeeze each almond between two fingers over a bowl so the skin pops off and the nut slides out.
- 3 Spread the blanched almonds on a clean towel, pat them dry, then arrange in a single layer on a baking tray.
- 4 Dry in a low oven at 175 degrees F (80 degrees C) for 15 to 20 minutes. You do not want to toast them or add any color, just make them bone dry.
- 5 Let the almonds cool completely to room temperature. For extra insurance, chill them in the freezer for 20 minutes before grinding.
- 6 Add no more than 1 cup of almonds at a time to a food processor or high-speed blender. Pulse in short bursts of 1 to 2 seconds each.
- 7 After every few pulses, stop and shake the jar or run a spatula around the sides to break up clumps at the bottom.
- 8 Stop pulsing the moment the texture looks like fine, dry sand. If it starts to clump together or takes on a slight sheen, stop immediately.
- 9 Tip the ground almonds through a fine-mesh sieve. Save the coarser pieces left behind to re-pulse briefly with the next batch or fold into a crumble.
Notes
- ·For almond meal instead of almond flour, skip the blanching step and grind the almonds with the skins on.
- ·Chilling almonds in the freezer for 20 minutes before grinding is the single best way to prevent the flour from turning into almond butter.
- ·Homemade almond flour will not be as uniformly fine as commercially milled flour, but it works well for cakes, muffins, cookies, and crusts.
- ·Store in an airtight container in the fridge for up to 2 weeks, or freeze for several months. Fresh almond flour smells faintly sweet and nutty; if it smells sharp or bitter, discard it.
- ·If you make almond milk, save the wet pulp, squeeze it dry, spread it on a lined tray, and dry at 175 degrees F (80 degrees C) for 30 minutes or more until completely crisp. Pulse briefly and use as a lean almond meal in crumbles, energy bites, or oatmeal.
Frequently asked questions
What is the difference between almond flour and almond meal?+
Almond flour is made from blanched almonds, meaning the brown skins have been removed, then ground very fine and pale. Almond meal is usually ground from whole almonds with the skins left on, so it is coarser, speckled with brown flecks, and a little heavier. They are not interchangeable in delicate bakes. Use blanched almond flour for macarons and pale cakes, and reach for almond meal in rustic things like cookies, crumbles, and pie crusts where a bit of texture is welcome.
How do I stop my almond flour from turning into almond butter?+
Pulse, never run the blender continuously, and work in small batches. Almonds are roughly half oil, and steady blending plus friction heat releases that oil and binds the powder into a paste. Pulse for one or two seconds at a time, stop to shake the jar and break up clumps, and stop the moment it looks like fine sand. Chilling the almonds in the freezer for twenty minutes first buys you extra time before the oil warms up and starts clumping.
Is homemade almond flour cheaper than store-bought?+
Honestly, not by much. You are paying almond prices either way, and a bag of whole almonds often costs nearly the same per pound as a bag of finished almond flour from a brand like Bob's Red Mill. The real savings come from drying and grinding the leftover pulp from homemade almond milk, which is flour you already paid for once. Make your own flour for freshness, control over coarseness, and to use up pulp, not to save a fortune.
Can I use almond flour in place of regular flour one to one?+
No, and this trips up a lot of people. Almond flour has no gluten and no starch, so it cannot provide structure or rise the way wheat flour does. Swapping it one to one into a standard cake recipe gives you a dense, greasy, often sunken result. It works best in recipes written specifically for almond flour, or as a partial swap of up to about a quarter of the wheat flour in things like muffins and pancakes for tenderness and a nutty flavor.

Written by
VeganDigest Editorial is the small independent team that researches and fact-checks this site. We are not doctors or dietitians. For every is-it-vegan verdict we read the product's current ingredient list and manufacturer information, and for anything health-related we report guidance from recognized bodies such as the NHS, the Vegan Society, and the Academy of Nutrition and Dietetics rather than offering medical advice. Every page shows the date it was last verified, and our full process is on the How We Verify page.

Comments