How to Make Tofu From Scratch (Soy Milk to Block)
 Jump to recipe ↓
 In this guide8
The first time I made tofu from scratch, I produced something with the structure of wet plaster. It tasted fine, but it fell apart the second my spatula touched it, and I stood over the sink genuinely annoyed that I had spent two hours making a worse version of the dollar block I could buy at the corner store.
I almost never tried again. I am glad I did, because the second batch was the thing that made it click: tofu is just curdled soy milk pressed into shape, the same way paneer is curdled dairy and the same logic as set cheese.
Once you stop treating it as mysterious, it becomes a Sunday-afternoon kind of project that you can actually get good at.
This is the full path from dried soybean to a block you can slice. I will be honest about where it goes wrong, because mine went wrong in every way that mine could, and the troubleshooting is where the real learning lives.
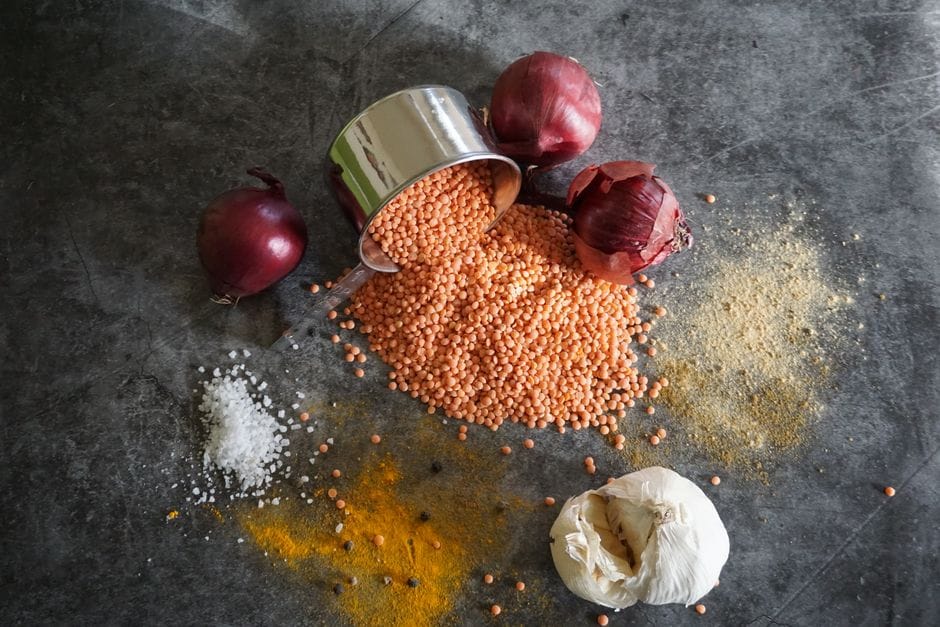
What you actually need before you start
You need dried soybeans, a coagulant, and a mold. That is the short list, and everything else is gear you probably already own.
For beans, buy plain dried yellow soybeans. They give the cleanest, most neutral milk. One cup of dried beans (about 200 grams) makes a modest block, roughly the size of a standard store package, so scale up if you want leftovers.
For the coagulant, you have three realistic choices: nigari (magnesium chloride), gypsum (calcium sulfate), or fresh lemon juice. I will get into the differences below, because that single choice changes the texture more than anything else you do.
For the mold, a real tofu press is nice but not required. I used a clean plastic takeout container with holes melted into the bottom for my first dozen batches, lined with cheesecloth. A small colander lined with cloth works too.
You also want a blender, a large pot, a fine strainer or nut milk bag, and a thermometer. The thermometer is the one piece I would not skip, because temperature is half the battle.
If you are unsure whether any of your ingredients are animal-free, you can run them through our vegan ingredient checker before you commit a whole afternoon.
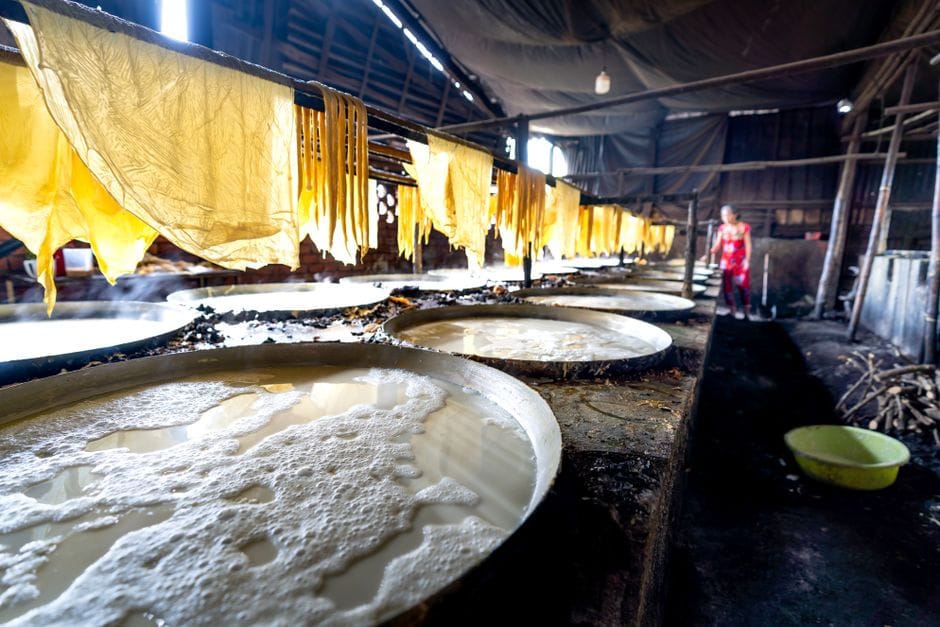
Step one: make the soy milk
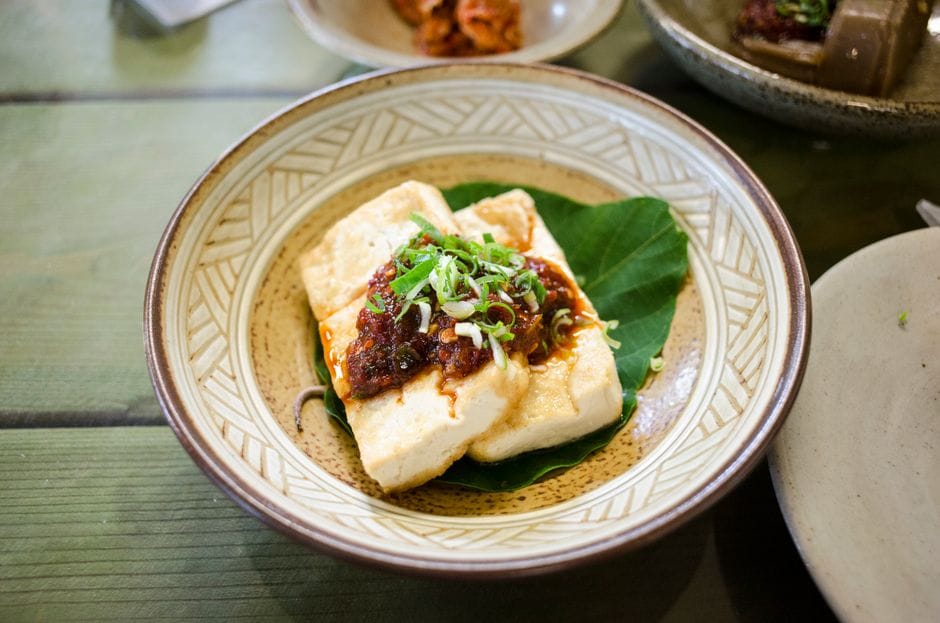 Photo: makafood / Pexels
Tofu is only as good as the milk it comes from, so this step matters. The technique is close cousin to making any plant milk at home, and our make-your-own plant milk guide walks the soak-blend-strain rhythm if you want extra detail, but here is the working version for soy.
Soak one cup of dried soybeans in plenty of cold water for 8 to 12 hours, or overnight, until they double in size and split easily when you press one. Drain and rinse them well, rubbing off any loose skins, which makes for a cleaner flavor.
Blend the soaked beans with 6 cups (about 1.4 liters) of fresh cold water on high for around 90 seconds, until you have a thick, frothy slurry with no whole beans left. Work in batches if your blender is small.
Strain the slurry through a nut milk bag or a few layers of cheesecloth into a large bowl, squeezing firmly until only damp pulp (called okara) stays behind. Do not throw the okara out; it freezes well and goes into veggie burgers and crackers.
Now cook the milk. This is not optional with soy. Pour the raw milk into a deep, wide pot and bring it to a real boil over medium heat, stirring constantly, because it foams up violently.
Once it foams, lower the heat and hold a steady simmer for about 20 minutes, stirring often and skimming any skin. Raw soybeans contain compounds that upset your stomach, and the boil both cooks those out and kills the beany, grassy taste.
If your milk smells raw and green, you pulled it off the heat too soon.
Step two: choose your coagulant
This is the fork in the road, and it deserves its own section because nobody told me how much it mattered.
A coagulant is just something that nudges the dissolved soy proteins to clump together and trap water, the same way an acid or rennet sets cheese. The classic mineral coagulants are nigari and gypsum. The kitchen-cupboard option is acid, usually lemon juice.
According to the history of tofu, mineral salts have been used for this for well over a thousand years, so you are in good company either way.
Nigari (magnesium chloride) makes the firm, springy tofu you recognize from Japanese cooking. It works fast and gives a clean, slightly sweet taste. Because it acts quickly, it is also the easiest to overshoot, which is exactly how I got my plaster block.
Dissolve about 1 teaspoon in half a cup of warm water for one batch.
Gypsum (calcium sulfate) is the Chinese-style standard and my pick for beginners. It works slowly and evenly, the curd is softer and silkier, and it is genuinely hard to ruin because you have time to react. It also adds calcium, which is a quiet nutritional bonus.
Use about 1 to 2 teaspoons dissolved in half a cup of water.
Lemon juice needs nothing from a specialty shop. The curd is finer, the tofu is a little softer and faintly tangy, and the yield is slightly lower. Use about 4 to 6 tablespoons of fresh juice, diluted in half a cup of water.
If you want to know more about the ingredient itself, our substitutes hub covers acid swaps for setting and curdling.
Step three: curdle the milk
 Photo: Leongsan Tung / Pexels
Here is where patience beats enthusiasm, and where my first batch died.
Let the boiled milk cool to between 75 and 80 C (167 to 176 F). Too hot and you get a tough, grainy curd; too cool and it barely sets. The thermometer earns its place right here.
Stir your dissolved coagulant one more time so nothing settled. Now add it in thirds, not all at once. Pour in the first third, give the milk two or three slow, gentle folds with a spoon or spatula, and stop.
The instinct to whisk is the enemy. Wait a few seconds and you will see soft white clouds of curd separating from a pale yellow whey. Add the second third, fold once or twice, wait.
Add the last third, fold, then leave the pot completely alone, covered, for about 15 minutes.
When it is ready, the curds will float in a clearish yellow whey rather than milky liquid. If the liquid still looks white and cloudy, the milk did not fully curdle, and you can warm it gently and add a splash more dissolved coagulant.
If the curds are tiny and the whey is grayish and the texture looks broken, you used too much or stirred too hard. Either way, you will get usable tofu; it is the difference between a smooth block and a rustic one.
Step four: press it into a block
Line your mold with cheesecloth, leaving plenty of overhang. Set it over a bowl or in the sink to catch the whey.
Gently ladle the curds into the lined mold. Take it slow, because ladling carefully keeps the block dense and even. Fold the cloth over the top, set a small plate or the press lid on, and add weight.
A can of beans or a jar of water works fine.
Press time controls firmness, and this is the lever most people miss:
- Silken to soft: 10 to 15 minutes of light weight, or skip pressing and let it set in a smaller mold. This is delicate, spoonable, and lovely in soups.
- Medium: 20 to 30 minutes with moderate weight. Slices but stays tender.
- Firm to extra-firm: 45 to 60 minutes with heavier weight. This is the one you want for stir-fries, grilling, and frying.
Unmold gently and drop the block into a bowl of cold water to firm up and cool for 15 minutes. That cold-water bath is also how you store it.
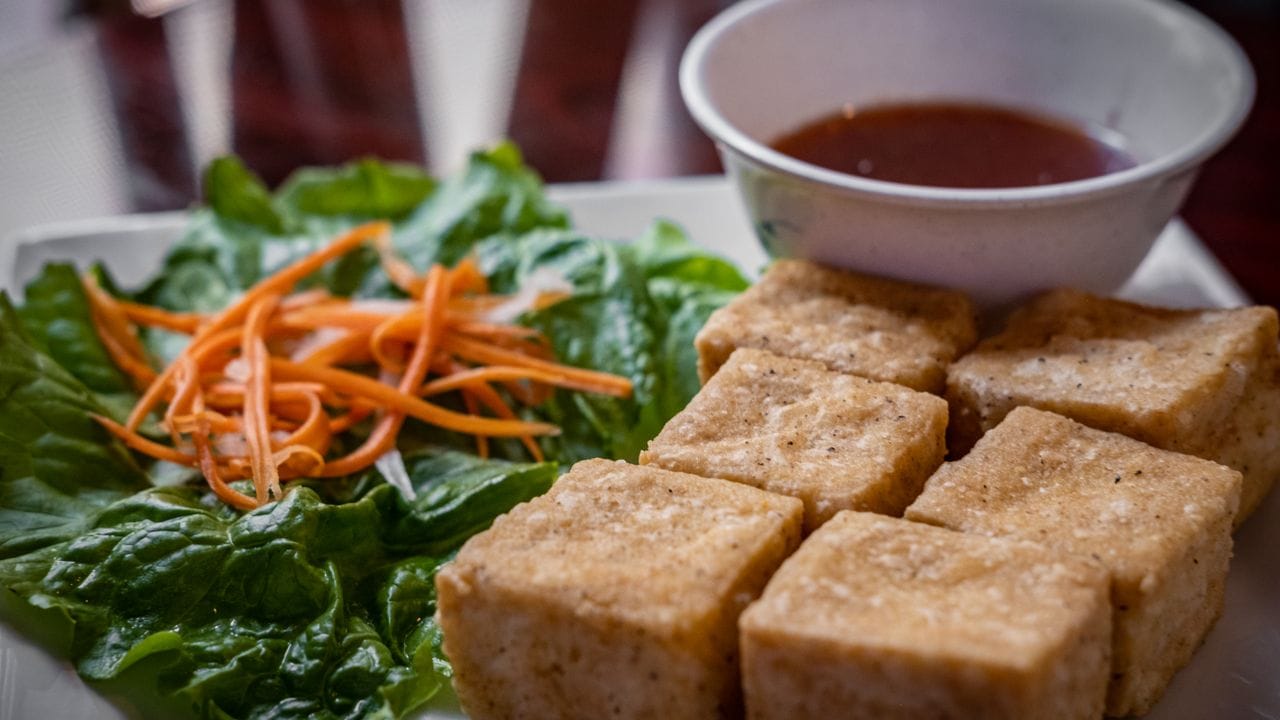
Once you have a finished block, our guide on how to cook tofu and the deep dive on how to press tofu cover what to do next, and freezing it first gives an even chewier bite.
Firm versus silken: it is mostly water
People assume silken and firm tofu are different products. They are mostly the same curds at different water contents. Silken tofu is set with less coagulant and barely pressed, often set right in its serving container, so it holds more water and stays custardy.
Firm tofu is the same curd pressed harder and longer until the water leaves and the proteins pack tight.
That means you control the spectrum from one pot of milk. Want silken for a chocolate mousse or a creamy dressing? Set it soft and skip the press.
Want a block that takes a hard sear without falling apart? Press it under real weight for an hour. I usually split a batch, setting half soft for breakfast and pressing half firm for dinner, which is something you simply cannot do with a sealed store package.
Troubleshooting: every way mine failed
Mine failed in all of these ways, so learn from my bad afternoons.
Crumbly, holey, dry block. Too much coagulant, stirring too hard, or milk too hot. Curds shocked into existence squeeze out their water and leave gaps. Use less coagulant, fold gently, hold 75 to 80 C.
Milk never sets, stays milky. Not enough coagulant, milk too cool, or milk too thin. Reheat gently and add a little more dissolved coagulant in stages. Make sure your milk was thick to begin with.
Sour or off smell. Old beans or under-cooked milk. Boil a full 20 minutes and use beans within their first year. Always store the finished block submerged in fresh water you change daily.
Bitter or chalky aftertaste. Usually too much nigari or gypsum left in the curd. A longer cold-water soak after pressing rinses the excess minerals out and rounds the flavor.
Bland tofu. That is not a defect, it is the point. Plain tofu is a blank canvas. The fix is a good marinade and a hot pan, not more coagulant.
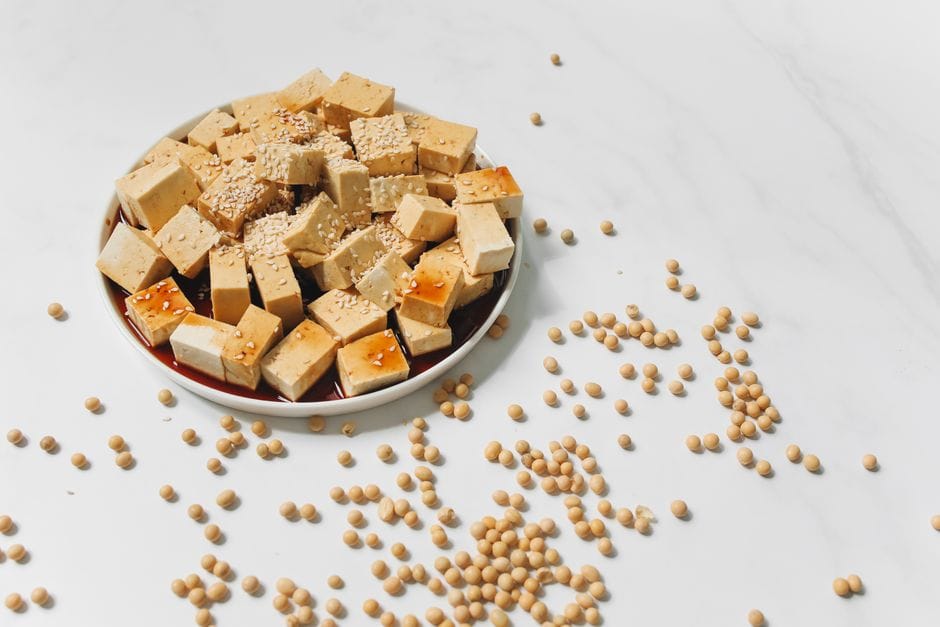
Is it actually worth making from scratch?
I will be straight with you, because I hate guides that pretend everything is magic. On money and time, store-bought wins. A package of House Foods, Nasoya, or Mori-Nu costs little and saves you two hours.
If your goal is cheap weeknight protein, buy the block and put your energy into cooking it well. Tofu is one of the cleanest plant proteins you can keep on hand, and you can confirm any brand fast in our Is It Vegan database.
So why make it? Three honest reasons. Control, because you set the exact firmness and coagulant.
Freshness, because warm tofu eaten the same day has a sweet, delicate taste the cold packaged stuff never matches. And the simple satisfaction of understanding a food you eat constantly.
For the full picture on types, nutrition, and buying, our complete guide to tofu is the companion piece to this one.
Make it once for the knowledge. If you love the result, keep gypsum and a press in the cupboard and make it on slow weekends.
If you decide the packaged block was good enough all along, you have lost one afternoon and gained the ability to never be intimidated by tofu again. That trade is worth it, and it is the reason I stopped throwing batches in the sink.
The recipe
Homemade Tofu From Scratch (Soy Milk to Block)
Prep
8h 15m
Cook
1h 35m
Makes
1 block (about 14 oz / 400 g, equivalent to one standard store package)
Ingredients
- 1 cup (200 g) dried yellow soybeans
- 6 cups (about 1.4 liters) fresh cold water, for blending
- 1 to 2 teaspoons gypsum (calcium sulfate), dissolved in 1/2 cup warm water (or 1 tsp nigari dissolved in 1/2 cup warm water, or 4 to 6 tbsp fresh lemon juice diluted in 1/2 cup water)
Instructions
- 1 Soak 1 cup of dried soybeans in plenty of cold water for 8 to 12 hours, or overnight, until they double in size. Drain and rinse well, rubbing off any loose skins.
- 2 Blend the soaked beans with 6 cups of fresh cold water on high for about 90 seconds until you have a thick, frothy slurry with no whole beans remaining. Work in batches if needed.
- 3 Strain the slurry through a nut milk bag or several layers of cheesecloth into a large pot, squeezing firmly until only damp pulp (okara) remains.
- 4 Pour the raw soy milk into a deep, wide pot and bring to a full boil over medium heat, stirring constantly as it foams up. Once foaming, lower the heat and hold a steady simmer for 20 minutes, stirring often and skimming any skin.
- 5 Remove from heat and let the milk cool to 75 to 80 C (167 to 176 F). Use a thermometer.
- 6 Dissolve your coagulant in half a cup of warm water (1 to 2 tsp gypsum, or 1 tsp nigari, or 4 to 6 tbsp lemon juice). Stir it again just before using.
- 7 Add the coagulant in thirds: pour in the first third, give the milk 2 to 3 slow gentle folds with a spoon, and stop. Wait a few seconds until you see soft white curds forming. Add the second third, fold once or twice, and wait again. Add the final third, fold, then cover the pot and leave it completely undisturbed for 15 minutes.
- 8 When ready, curds will float in a clear pale yellow whey. If the liquid still looks milky, warm it gently and add a little more dissolved coagulant.
- 9 Line your mold with cheesecloth, leaving plenty of overhang, and set it over a bowl to catch the whey. Gently ladle the curds into the lined mold.
- 10 Fold the cloth over the top, set a small plate on top, and add weight (a can of beans or a jar of water works). Press for 45 to 60 minutes for a firm to extra-firm block (20 to 30 minutes for medium, 10 to 15 minutes for soft).
- 11 Unmold gently and place the block in a bowl of cold water for 15 minutes to firm up and cool. Store submerged in fresh cold water in a sealed container, changing the water daily, for up to 3 to 5 days.
Notes
- ·The soak time of 8 to 12 hours is inactive time. Prep and cook together take roughly 1.5 to 2 hours of active work.
- ·Gypsum (calcium sulfate) is recommended for beginners because it acts slowly and evenly, making it hard to ruin. Nigari works faster and gives a springy, clean-tasting tofu but is easier to overshoot. Lemon juice requires nothing special but yields a slightly softer, faintly tangy block.
- ·Do not discard the okara (soy pulp). It freezes well and works in veggie burgers and crackers.
- ·If your block turns out crumbly and full of holes, reduce the coagulant amount, fold more gently, and make sure the milk is not above 80 C when you add the coagulant.
- ·A bitter or chalky aftertaste usually means excess minerals in the curd. Soak the finished block in cold water longer after pressing to rinse them out.
- ·Freezing the finished block gives a chewier, sponge-like texture that absorbs marinades well.
Frequently asked questions
Which coagulant makes the best tofu for a beginner?+
Start with nigari (magnesium chloride) if you want classic Asian-grocery firmness and a clean taste, and start with gypsum (calcium sulfate) if you want a softer, more forgiving curd that is hard to mess up. Gypsum is the easiest to get right because it works slowly and evenly, so you have time to react. Lemon juice works too and needs nothing special from a store, but the curd is finer and the tofu turns out a touch softer and slightly tangy. I tell first-timers to buy a small bag of gypsum online and learn the rhythm with that.
Why did my tofu come out crumbly and full of holes?+
Almost always too much coagulant, stirring too hard, or a soy milk that was too hot. When you dump in coagulant and beat the pot, you shock the proteins into tight, grainy curds with big gaps and a lot of squeezed-out whey, which gives you a dry, holey block. Add coagulant gradually, fold it in with two or three slow gentle stirs, and hold the milk around 75 to 80 C. Tighten one variable at a time and the next batch will be smoother and denser.
How long does homemade tofu keep, and how do I store it?+
Three to five days in the fridge, fully submerged in fresh cold water in a sealed container, and you change that water daily. Homemade tofu has no preservatives, so the daily water swap is what keeps it from going slimy or sour. If you smell anything sharp or sour, throw it out. You can also cube and freeze it for a chewier, sponge-like texture that drinks up marinade, which is one of my favorite reasons to make a big batch.
Is making tofu from scratch actually cheaper than buying it?+
Not really on money, and honestly not on time either. A bag of dried soybeans is cheap, but once you count the soaking, blending, straining, cooking, curdling, and pressing, store-bought blocks from brands like House Foods or Nasoya win on pure convenience and price per hour of your life. The reason to make it from scratch is control and freshness: you choose the firmness, you choose the coagulant, and warm fresh tofu eaten the same day tastes nothing like the cold packaged kind.

Written by
VeganDigest Editorial is the small independent team that researches and fact-checks this site. We are not doctors or dietitians. For every is-it-vegan verdict we read the product's current ingredient list and manufacturer information, and for anything health-related we report guidance from recognized bodies such as the NHS, the Vegan Society, and the Academy of Nutrition and Dietetics rather than offering medical advice. Every page shows the date it was last verified, and our full process is on the How We Verify page.
Comments