Homemade Soy Milk (and How to Lose the Beany Taste)
- Gluten-free
- Nut-free
In this guide7
- 01Why beany soy milk happens (and how the boil fixes it)
- 02The cook is also a safety step, not just flavor
- 03The full method, step by step
- 04Sweetened, vanilla, and a barista-style version
- 05What to do with the leftover okara
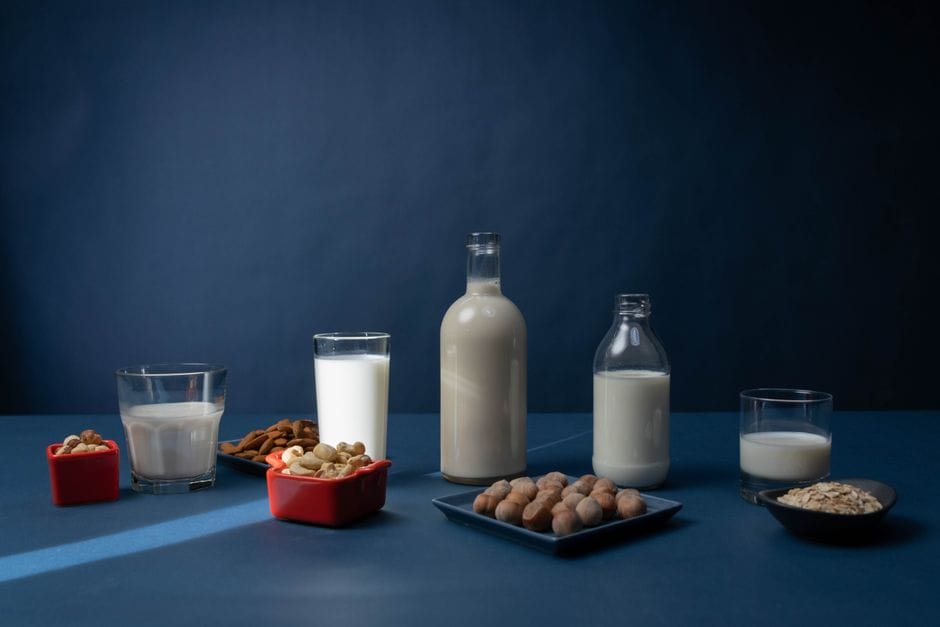
- 06Soy vs oat vs almond: which milk for what
- 07Is store-bought soy milk vegan, and which brands are best
The first time I made soy milk, I followed a blog that told me to soak the beans, blend them, strain the milk, and drink it. No mention of cooking. I poured a glass, took one hopeful sip, and recoiled.
It tasted like wet grass and raw green beans, with a chalky, painty edge that coated the roof of my mouth. I genuinely could not understand how anyone drank this on purpose.
I tipped the whole batch down the drain and decided soy milk was a thing you bought, not made.
That blog had skipped the single most important step, the one that separates good homemade soy milk from undrinkable sludge: you have to cook it. Not warm it, not heat it through, but boil it for a real stretch of time.
The cooking is what kills the beany flavor, and it is also what makes the milk safe to drink in the first place. Once I learned that, soy milk went from my biggest plant-milk failure to a staple I make on repeat.
Here is the full method, the science of why the boil matters so much, the sweetened and barista versions worth knowing, how soy stacks up against oat and almond, and what to do with all that leftover pulp.
Why beany soy milk happens (and how the boil fixes it)
Let me explain the thing that confused me for far too long. The grassy, beany flavor in raw soy milk is not just the natural taste of soybeans sitting there. It is actively created the moment you blend the beans with water.
Soybeans contain an enzyme called lipoxygenase. As long as the bean is dry and whole, the enzyme is dormant.
But add water and break the beans open in a blender, and that enzyme springs to life and starts reacting with the fats in the bean, producing the green, grassy, painty compounds that taste so off-putting. In other words, your blender is what switches on the beany flavor, which is exactly why raw, uncooked soy milk tastes the worst.
Heat is the off switch. When you bring the strained milk to a proper boil, the high temperature denatures and deactivates that enzyme, and the beany compounds cook off along with it.
This is why warming the milk gently does nothing, you need a real rolling boil held for around twenty minutes to fully shut the enzyme down. After that, what is left tastes clean, mild, and faintly sweet, the way soy milk is supposed to taste.
According to the Wikipedia entry on soy milk, this enzyme-driven beany flavor is the classic problem of homemade soy milk, and heat treatment is the standard fix.
The cook is also a safety step, not just flavor
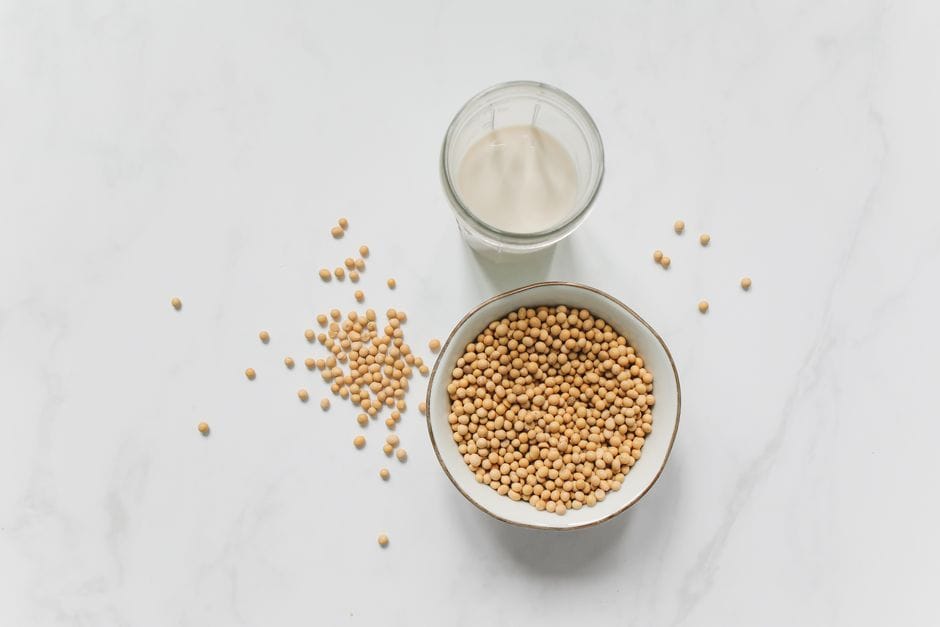 Photo: Polina Tankilevitch / Pexels
Here is the part the no-cook recipes leave out entirely, and it matters more than the taste. Raw soybeans are not safe to consume in any real quantity, and that includes raw soy milk.
Soybeans contain trypsin inhibitors, which block the enzyme your body uses to digest protein, along with lectins and other compounds that irritate your gut. Drink uncooked soy milk and you are looking at nausea, cramps, vomiting, and general misery, not a pleasant first sip.
These are not exotic concerns, they are the reason every traditional soy milk method on earth involves a long boil. The same heat that kills the beany flavor also breaks these compounds down to harmless levels.
So treat the boil as non-negotiable. With cashew milk or almond milk, you can drink the stuff straight out of the blender if you want, because nuts carry none of this. Soy is different.
Soak, blend, strain, and then cook, in that order, every single time. If you ever taste a homemade soy milk that is still raw and beany, do not push through it, it has not been cooked enough to be good or to be safe.
The full method, step by step
The recipe card above has the exact quantities and timing, but here is how it actually feels in the kitchen, including the one moment that catches everybody.
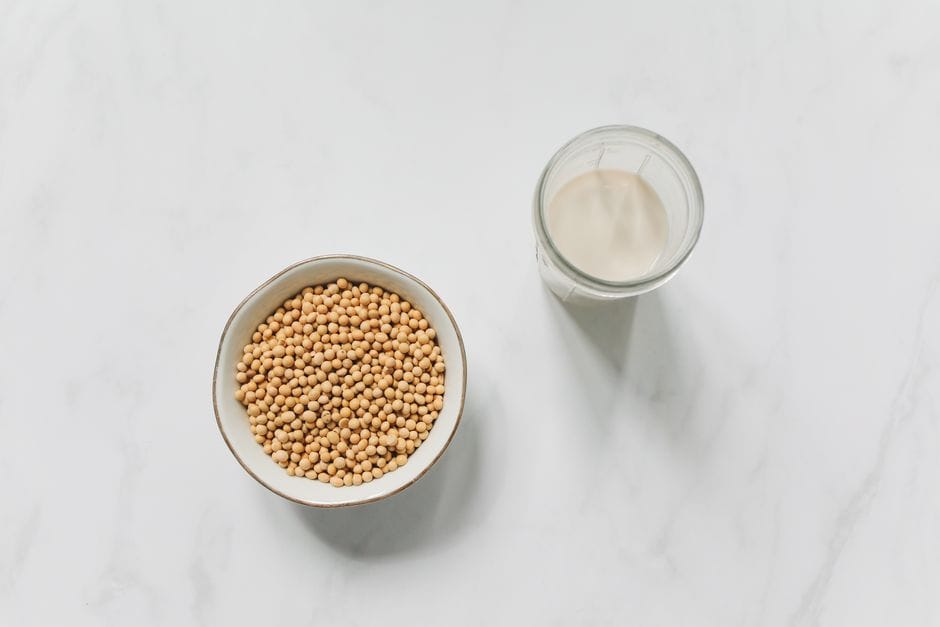
Start by soaking. Cover one cup of dried soybeans with plenty of cold water and leave them eight to twelve hours, or overnight. They will roughly double in size and split easily when you press one.
Drain and rinse them well, rubbing the beans between your hands to loosen the papery skins, which float to the top so you can skim them off. Removing the loose skins gives you a cleaner, less bitter milk, though you do not need to obsess over getting every last one.
Next, blend. Add the soaked beans to your blender with six cups of fresh cold water, working in batches if your blender is small, and run it on high for about ninety seconds until you have a thick, frothy, completely smooth slurry.
Then strain it through a nut milk bag set over a big bowl, squeezing firmly until only damp pulp is left behind. That pulp is called okara, and we will come back to it, so do not toss it.
Now the cook, which is the heart of the whole thing. Pour the strained raw milk into a deep, wide pot, add a pinch of salt, and bring it up over medium heat.
This is where I have to warn you about the one gotcha that got me twice: soy milk foams up and boils over faster and more violently than almost anything else you will ever heat. It climbs the pot in seconds.
Use a pot at least twice the volume of your milk, stay right there stirring, and the moment it foams up, drop the heat and stir the foam back down. Hold it at a gentle but real boil for about twenty minutes, stirring often and skimming off the skin that forms on top.
When the raw, green smell is gone and it smells mild and milky, it is done. Let it cool, then bottle it.
Sweetened, vanilla, and a barista-style version
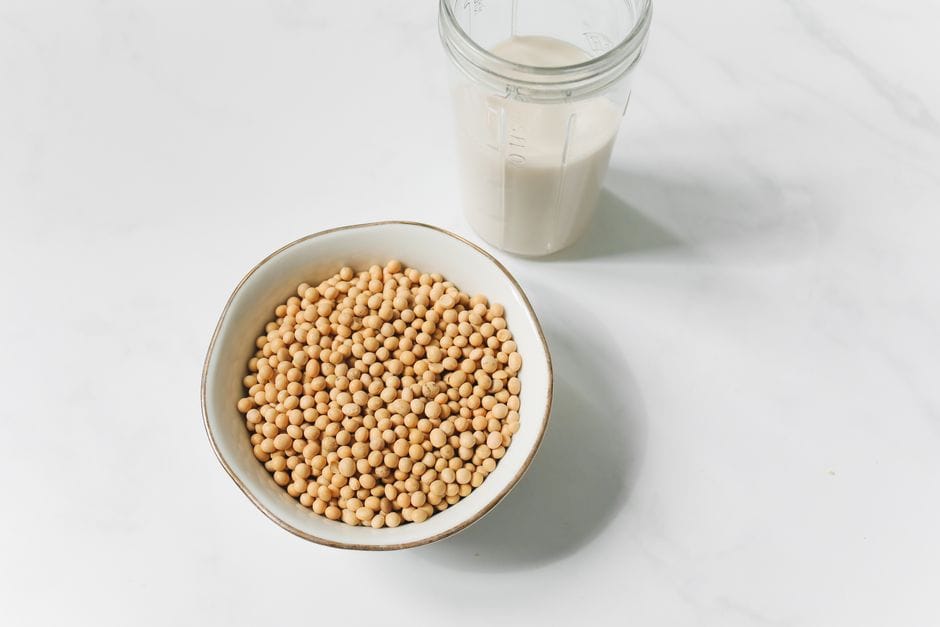 Photo: Polina Tankilevitch / Pexels
Plain unsweetened soy milk is what I make most, because it goes everywhere, from savory cooking to coffee. But a few variations are worth your time.
For lightly sweetened soy milk, blend one or two pitted Medjool dates in with the beans and water, or stir a tablespoon of maple syrup into the milk during the cook. The result is gently sweet, more like good barista milk than dessert.
For vanilla soy milk, add half a teaspoon of alcohol-free vanilla or a quarter teaspoon of vanilla powder off the heat once it has finished cooking. I specify alcohol-free on purpose, since standard extract is alcohol-based and I keep my kitchen alcohol-free, and the vanilla version is lovely over cold cereal.
Now, barista soy milk, and I want to be honest with you here. The thing that makes commercial barista soy steam and stretch and not curdle in hot coffee is added acidity regulators that keep the proteins from seizing up when they hit hot, acidic espresso.
You cannot truly replicate that at home, and anyone who tells you a magic home trick is overselling it. What does help is making a thicker, richer milk: drop your water to five cups per cup of beans, and stir in a tablespoon or two of neutral oil during the cook for more body.
A thicker brew resists curdling better and froths a little. But be realistic, homemade soy will never behave in coffee exactly like a barista carton does, and that is fine, it is still excellent for everything else.
What to do with the leftover okara
The pulp left in your nut milk bag is called okara, and throwing it out would be a small tragedy, because it is genuinely one of the best byproducts in plant cooking. It is pale, soft, and crumbly, and it is loaded with protein and fiber, the parts of the soybean that did not dissolve into the milk.
The easiest move is to fold okara straight into things while it is fresh. I stir it into pancake and muffin batter, mix it into veggie burger and meatball mixes where it adds bulk and protein, and fold it into oatmeal or savory porridge.
It carries flavor well and adds a soft, tender crumb to baked goods. A scoop in a smoothie disappears completely while sneaking in fiber.
If you want to keep it longer, spread the okara thin on a tray and dry it low in the oven until it is completely crumbly, then blitz it into a coarse flour you can stash in the freezer and add to baking. In Japanese home cooking, okara is a dish in its own right, simmered with vegetables into a savory side.
However you use it, the point is the same: you paid for the whole soybean, so eat the whole soybean.
Soy vs oat vs almond: which milk for what
After making all three at home for years, here is my honest read on where soy fits.
Soy milk is the protein heavyweight. A cup has around seven grams of protein, which is roughly what dairy milk has and far more than almond or oat, so it is the one I reach for when I actually want the milk to do nutritional work, not just add creaminess.
That protein is also why soy is the base for tofu, and if you ever want to take this further, soy milk is literally step one in the guide to tofu. The trade-off is the cooking step, which makes soy the most involved of the three to make from scratch.
Almond milk is the lightest and most neutral, but it is mostly water and fat with very little protein, and it takes soaking, blending, and straining. Oat milk is the cheapest, creamiest, and best for coffee thanks to its body, but it can turn slimy if you over-blend and split in hot drinks, so it rewards a careful hand.
I wrote a full method for getting the texture right in the oat milk guide. For least effort with no straining at all, cashew is the winner, and the no-strain method lives in the cashew milk guide.
My short version: pick soy for protein and for cooking, oat for coffee and cost, almond for a neutral lightweight milk, and cashew for sheer convenience. There is no wrong choice, only the right one for what you need that day.
Is store-bought soy milk vegan, and which brands are best
Good news here: store-bought soy milk is almost always vegan. The base is soybeans and water, and the common stabilizers, like gellan gum and lecithin, are plant-derived. There is no dairy hiding in it.
Two label details deserve a glance. The first is added vitamin D, because vitamin D2 is vegan but vitamin D3 is frequently derived from lanolin, which comes from sheep wool, so a fortified milk can quietly slip out of vegan territory.
The second is vague terms like natural flavors, which are usually fine but occasionally not. When a label gives you pause, run it through our vegan ingredient checker or look the product up in the Is It Vegan database before you buy.
For brands, WestSoy Organic Unsweetened and EdenSoy are the clean-label standouts, essentially just soybeans and water with nothing else, the closest store options to homemade. For everyday cartons that hold up in coffee and last for weeks, Silk, So Delicious, and Pacific are reliable, widely stocked, and clearly labeled, and most of them offer a dedicated barista version if froth is what you are after.
Formulations change, so always read the current ingredient panel rather than trusting a brand name forever.
Here is my takeaway after years of both. Make the homemade version when you want a fresh, high-protein milk made of nothing but soybeans, water, and salt, and keep a clean carton in the fridge for busy weeks and for coffee, where commercial barista blends genuinely win.
The whole secret to good homemade soy milk was never fancy equipment. It was understanding that the boil is the recipe. Cook it properly, watch the pot so it does not climb the walls, and you will never pour another beany glass down the drain.
The recipe
Homemade Soy Milk (No Beany Taste)
Prep
20 min
Cook
25 min
Makes
About 6 cups (1.4 to 1.5 liters)
Ingredients
- 1 cup (200 g) dried soybeans (yellow soybeans give the cleanest, most neutral milk)
- Cold water, for soaking (enough to cover the beans by a few inches, they double in size)
- 6 cups (1.4 liters) fresh cold filtered water, for blending (split into batches if your blender is small)
- Pinch of fine sea salt (it rounds out the flavor, you will not taste salt)
- 1 to 2 Medjool dates, pitted, or 1 to 2 tbsp maple syrup (optional, for lightly sweetened milk)
- 1/2 tsp alcohol-free vanilla, or 1/4 tsp vanilla powder (optional, for vanilla soy milk)
- 1 to 2 tbsp neutral oil, like sunflower (optional, for a richer barista-style body)
Instructions
- 1 Soak the soybeans: cover with plenty of cold water and soak 8 to 12 hours, or overnight, until they roughly double in size and split easily when pressed.
- 2 Drain and rinse the soaked beans well under cold running water, rubbing them to loosen and float off any loose skins, which you can skim and discard for a cleaner flavor.
- 3 Add the beans to a blender with the 6 cups of fresh water (work in batches if needed) and blend on high for about 90 seconds, until you have a thick, smooth, frothy slurry with no whole beans left.
- 4 Set a nut milk bag or a few layers of cheesecloth over a large bowl, pour in the slurry, and squeeze firmly until only damp pulp (okara) remains in the bag. Save the okara.
- 5 Pour the strained raw milk into a deep, wide pot and add the salt. Use a bigger pot than you think you need, because soy milk foams up violently as it heats.
- 6 Bring it to a boil over medium heat, stirring constantly and watching closely. The instant it foams and threatens to climb the pot, lower the heat and stir down the foam.
- 7 Keep it at a gentle, steady boil or hard simmer for about 20 minutes, stirring often and skimming any skin that forms, until the raw beany smell is gone and it smells mild and milky.
- 8 Stir in any sweetener, vanilla, or oil now, off the heat. Let the milk cool, then strain once more if you want it silky and refrigerate in a sealed bottle.
Notes
- ·The cook is not optional. It deactivates the beany-tasting enzyme AND breaks down the trypsin inhibitors that make raw soy milk hard to digest. Do not skip or shorten the boil.
- ·Use a pot at least twice the volume of your milk. Soy milk boils over faster and more dramatically than almost anything else, and it will cover your stove if you walk away.
- ·Ratio guide: 1 cup beans to 6 cups water is a standard, drinkable milk. Drop to 5 cups for a thicker, creamier milk that holds up in coffee and cereal.
- ·Save the okara (the leftover pulp). It is high in protein and fiber and works in veggie burgers, pancakes, and baked goods, or dried into a flour.
Calories
80 per cup (unsweetened)
Protein
7 g
Fat
4 g
Carbs
4 g
Frequently asked questions
Why does my homemade soy milk taste so beany and grassy?+
Almost always because it was not cooked long enough. The beany flavor comes from an enzyme in raw soybeans called lipoxygenase, which kicks into action the moment you blend the beans with water and produces those green, grassy, painty notes. Heat is what shuts that enzyme down. Bring your strained milk to a real rolling boil and then simmer it for around twenty minutes, stirring often, and the beany taste cooks right out. If yours still tastes raw, you almost certainly pulled it off the heat too soon.
Do I really have to cook soy milk, or can I drink it raw like nut milk?+
You really do have to cook it, and this is the big difference from almond or cashew milk. Raw soybeans contain trypsin inhibitors and lectins that interfere with digestion and will give you stomach cramps, nausea, and worse if you drink the milk uncooked. Those compounds break down with a proper boil. So unlike nut milk, which you can drink straight from the blender, soy milk is not optional to cook. The boil is both a flavor step and a safety step.
How long does homemade soy milk keep, and how do I store it?+
Three to four days in a sealed bottle in the fridge, and not much longer since there are no preservatives. Let it cool fully before you cap it, then keep it cold and shake it hard before every pour, because it separates as it sits and a skin can form on top. Make smaller batches more often rather than one big jar that lingers. If it ever smells sour or tastes sharp, pour it out and start fresh.
Is store-bought soy milk vegan, and which brands are best?+
Store-bought soy milk is almost always vegan, since the base is just soybeans and water plus plant-derived stabilizers. The two things worth a glance are added vitamin D3, which is often sourced from sheep wool, and vague natural flavors. WestSoy Organic Unsweetened and EdenSoy are the clean-label standouts, basically just soybeans and water, while Silk, So Delicious, and Pacific are the reliable everyday cartons. When a label makes you pause, run it through an ingredient checker before you buy.

Written by
VeganDigest Editorial is the small independent team that researches and fact-checks this site. We are not doctors or dietitians. For every is-it-vegan verdict we read the product's current ingredient list and manufacturer information, and for anything health-related we report guidance from recognized bodies such as the NHS, the Vegan Society, and the Academy of Nutrition and Dietetics rather than offering medical advice. Every page shows the date it was last verified, and our full process is on the How We Verify page.
Comments