Creamy No-Bake Vegan Cheesecake (Cashew or Cream Cheese)
 Jump to recipe ↓
 In this guide5
This no-bake vegan cheesecake comes together with soaked raw cashews, coconut oil, maple syrup, and lemon juice blended until completely smooth, then frozen until sliceable. The result is a dense, tangy, genuinely creamy dessert that holds its shape beautifully and tastes like the real thing to anyone who tries it. No baking, no eggs, no dairy required.
The crust is a two-ingredient blend of raw walnuts and Medjool dates pressed into a springform pan. The filling takes about 10 minutes of active work. The rest is patience: 4 to 6 hours in the freezer for a clean, firm slice. Plan ahead and this is one of the easiest celebratory desserts in a plant-based kitchen.
Why This Method Works
Most no-bake vegan cheesecakes fail for one of two reasons: a grainy filling or a crust that falls apart when sliced. Getting both right comes down to understanding what each ingredient actually does.
Soaked raw cashews are the backbone of the filling. When you cover them in cold water for 6 to 8 hours (or boiling water for at least 1 hour), the nuts soften to a paste-like consistency when blended. That paste, on its own, tastes neutral and creamy but not cheesy. Lemon juice delivers the tang that mimics dairy cream cheese. A full quarter cup is not optional; it is the flavor.
Coconut oil is the setting agent. It is liquid at room temperature but solidifies when cold. When you pour the filling into the pan and freeze it, the coconut oil locks everything into a firm, sliceable texture. This is why the cheesecake must stay frozen until 20 to 30 minutes before serving. Pull it out too early and it softens toward a thick mousse; too late from the freezer and it is difficult to slice cleanly.
Maple syrup is the preferred sweetener because it blends smoothly and does not leave crystallized pockets. Agave nectar works as a direct swap. Powdered sugar does not work here; it is formulated for cream-based fillings, not cashew ones.
The date-walnut crust is naturally sticky and presses into a firm layer without any added fat. Medjool dates are softer and stickier than standard dried dates and produce a better result. If you use regular dried dates, soak them in warm water for 10 minutes first.
Key Ingredients and What to Look For
Raw cashews: Always raw, never roasted or salted. Roasted cashews have a toasted flavor that clashes with the lemon-forward filling. Buy them in bulk if you make this regularly; they keep for months in an airtight container.
Full-fat coconut milk or water: The recipe uses water to keep the filling from tasting overwhelmingly of coconut. If you want a richer coconut note, substitute coconut cream. Either way, full-fat is required; light coconut products do not set properly with the coconut oil.
Coconut oil: Use refined if you want a neutral flavor, unrefined (virgin) if you are comfortable with a mild coconut taste in the background. Both set the same way.
Lemon juice: Fresh only. Bottled lemon juice is more acidic and can produce a slightly bitter edge in a filling this large.
Medjool dates: For the crust. They should be soft and plump. If yours feel dried out, microwave them with a splash of water for 20 seconds to soften before processing.
Walnuts: The standard nut for the crust. They process into a fine meal quickly and bind with the dates into a workable dough. Raw almonds or macadamia nuts are equally good alternatives.
Alcohol-free vanilla extract or vanilla bean powder: Standard vanilla extract contains alcohol. Use a clearly labeled alcohol-free version, or scrape half a vanilla bean into the filling, or use vanilla powder. The vanilla note is subtle but rounds out the flavor.
Method Tips for a Perfect Result
Soak the cashews properly. The single biggest reason no-bake cheesecakes turn out grainy is under-soaked cashews. Cold water, 6 to 8 hours is ideal. If you are short on time, cover with just-boiled water for at least 1 hour. Drain and rinse well before blending.
Use a high-powered blender, not a food processor. A food processor leaves tiny cashew flecks visible in the filling. A high-speed blender (Vitamix, Blendtec, or similar) produces a completely smooth, creamy result. If your blender is standard, blend for 3 to 4 minutes, scraping down the sides twice.
Do not skip lining the pan. Line your 8-inch springform pan with a round of parchment on the base and a light coating of coconut oil on the sides. This makes unmolding clean and easy after freezing.
Press the crust firmly. Use the flat bottom of a measuring cup to pack the date-walnut mixture into an even, compact layer. A loose crust will crumble when sliced.
Tap the pan after pouring the filling. Gently tap the filled pan on the counter 4 to 5 times to release any air bubbles. A few trapped air pockets will leave visible voids in the sliced cheesecake.
Freeze until completely firm, then thaw before serving. 4 to 6 hours in the freezer is the minimum; overnight is more reliable. Remove from the freezer 20 to 30 minutes before you plan to slice and serve. A cold-from-freezer cheesecake is too hard to cut cleanly and too cold to taste at its best.
Warm your knife before slicing. Dip a long chef's knife in hot water, wipe it dry, and slice in one smooth downward motion. Wipe and rewarm between each cut.
Variations to Try
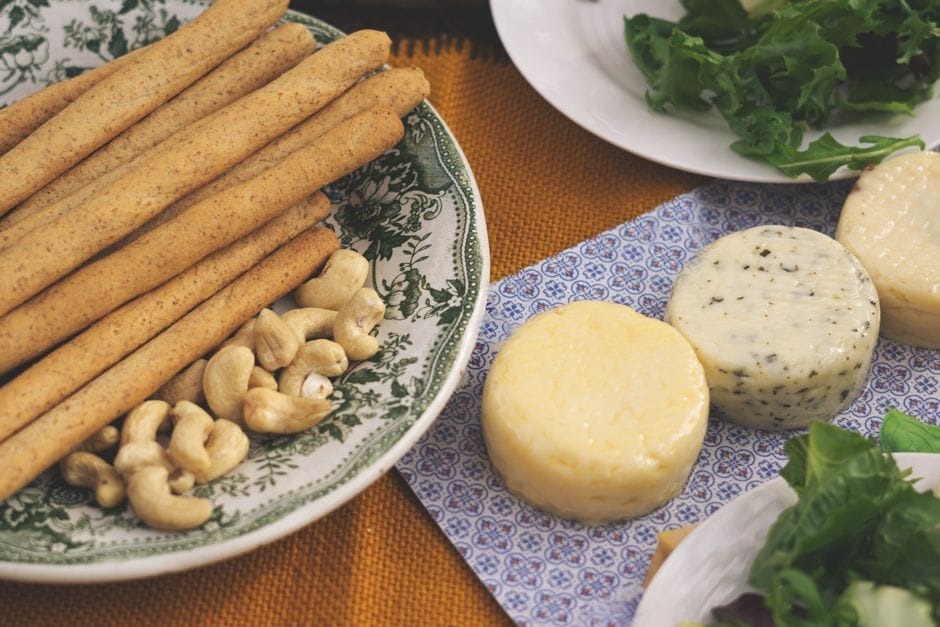
Vegan cream cheese version: Swap the cashew filling entirely for a no-freeze approach. Use 2 cups of vegan cream cheese folded into 1 and 2/3 cups of whipped vegan cream, 1/2 cup powdered sugar, 2 tablespoons lemon juice, and 1 teaspoon alcohol-free vanilla extract. Spread over a crushed vegan cookie and vegan butter crust, then refrigerate for at least 8 hours. No freezer needed; this version sets in the fridge like a conventional cheesecake.
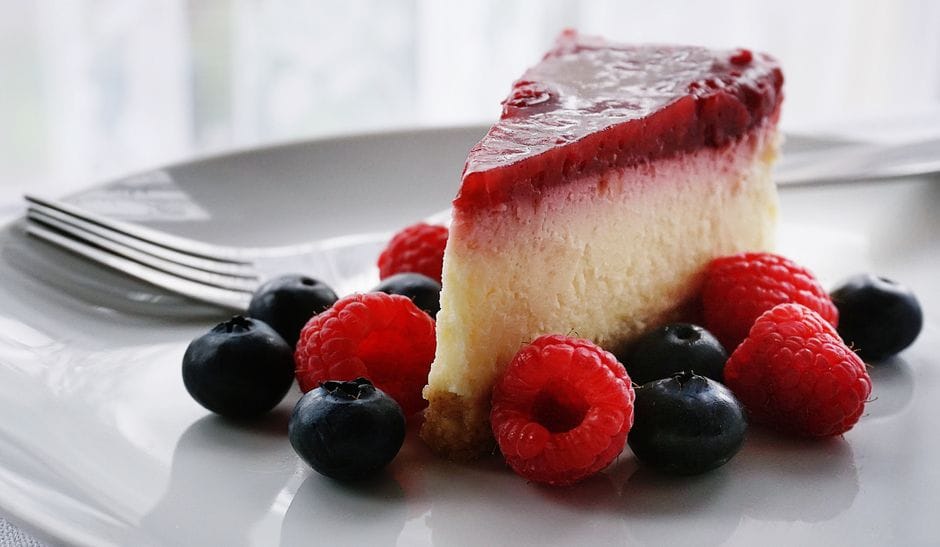
Berry swirl: Before freezing, drop spoonfuls of blended fresh or frozen raspberries (briefly cooked with 2 tablespoons sugar until syrupy) over the top of the filling. Use a toothpick or thin knife to drag swirl patterns through the surface.
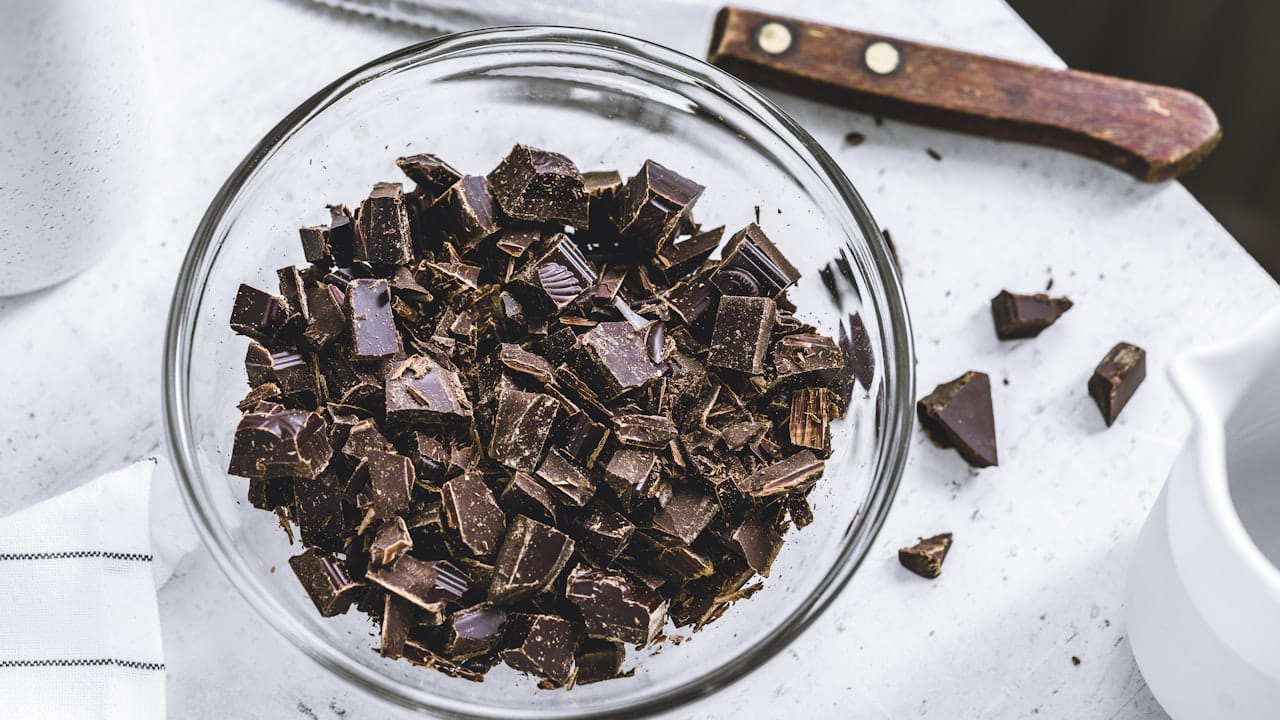
Chocolate cheesecake: Add 3 tablespoons of cocoa powder and 2 ounces of melted vegan dark chocolate to the cashew filling before blending. Use a chocolate-almond crust by adding 2 tablespoons of cocoa powder to the food processor with the nuts and dates.
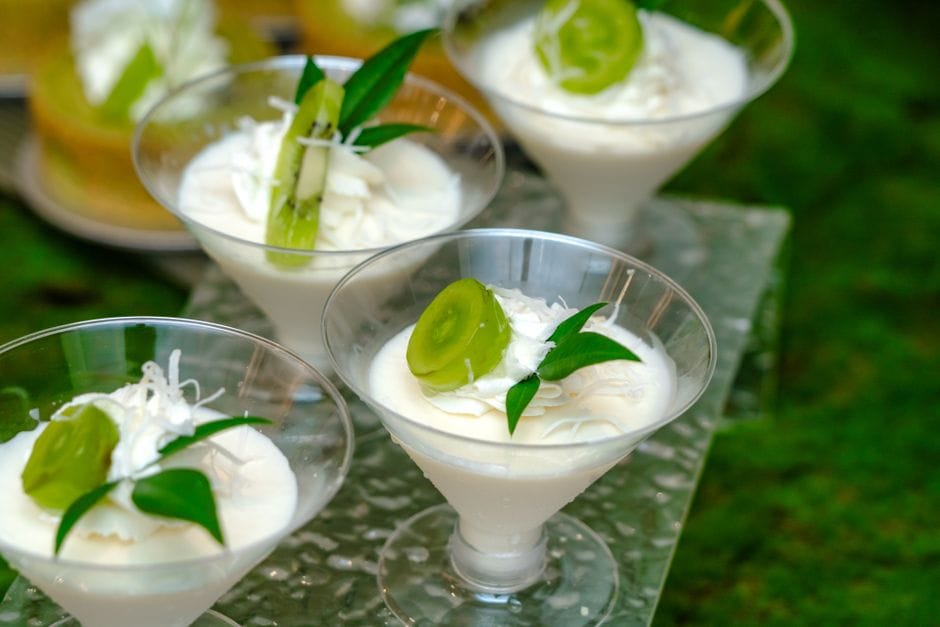
Mini individual cheesecakes: Press the crust into a lined 12-cup muffin tin, about 1 heaping tablespoon per cup. Divide the filling evenly. Freeze 3 to 4 hours. These are easy to serve at a gathering and thaw faster than a full cake.
Fruit topping: A simple compote of fresh raspberries or strawberries cooked briefly with sugar and lemon juice, then cooled and spread over the top just before serving, adds color and brightness without competing with the creamy filling.
Serving and Storage
Serving: Remove the cheesecake from the freezer 20 to 30 minutes before slicing. Run a thin knife or offset spatula around the inside edge of the springform ring before releasing it. Serve slices on chilled plates to slow softening.
Refrigerator storage: Once thawed, the cheesecake keeps well covered in the refrigerator for 5 to 7 days. The texture will be softer and more mousse-like than when freshly sliced from frozen, which some people actually prefer.
Freezer storage: Wrap individual slices in parchment and store in a sealed container in the freezer for up to 4 weeks. Thaw individual slices for 15 minutes before eating.
Make-ahead note: This is one of the best desserts to make 1 to 2 days ahead. It holds in the freezer without any quality loss and actually develops a cleaner, more set texture with extra freeze time. Make it the night before any event and you are done.
The recipe
No-Bake Vegan Cheesecake
Prep
25 min
Total
25 min
Makes
8 to 10 slices
Ingredients
- CRUST
- 1 cup raw walnuts
- 1 cup pitted Medjool dates (about 10 large, soft)
- FILLING
- 3 cups raw cashews, soaked 6 to 8 hours in cold water (or 1 hour in boiling water), then drained
- 3/4 cup water
- 3/4 cup maple syrup
- 1/2 cup refined coconut oil, melted
- 1/4 cup fresh lemon juice (about 2 lemons)
- 1 teaspoon alcohol-free vanilla extract or 1/2 teaspoon vanilla bean powder
- Pinch of fine sea salt
- OPTIONAL TOPPING
- 1 cup fresh raspberries or mixed berries
- 2 tablespoons maple syrup
Instructions
- 1 Line an 8-inch springform pan with a round of parchment paper on the base. Lightly grease the sides with coconut oil.
- 2 Make the crust: add walnuts to a food processor and pulse until a coarse meal forms, about 15 seconds. Add the dates and process until the mixture comes together into a sticky dough that holds when pressed. If it feels dry, add 1 to 2 teaspoons of water.
- 3 Press the crust firmly and evenly into the base of the prepared pan using the flat bottom of a measuring cup. Freeze while you make the filling.
- 4 Make the filling: combine the drained cashews, water, maple syrup, melted coconut oil, lemon juice, vanilla, and sea salt in a high-powered blender. Blend on high for 2 to 3 minutes, scraping down the sides as needed, until completely smooth with no visible cashew pieces.
- 5 Taste the filling. It should be tangy, creamy, and sweet. Adjust with a little extra lemon juice for more tang or maple syrup for more sweetness.
- 6 Pour the filling over the frozen crust. Tap the pan gently on the counter 4 to 5 times to release air bubbles. Smooth the top with a spatula.
- 7 Cover with plastic wrap and freeze for at least 4 to 6 hours, or overnight, until completely firm.
- 8 To serve: remove from the freezer 20 to 30 minutes before slicing. Run a knife around the inside edge of the springform ring, then release and remove it. Dip a long knife in hot water, wipe dry, and slice.
- 9 Optional berry topping: toss berries with maple syrup and spoon over each slice just before serving, or cook raspberries and maple syrup in a small saucepan over medium heat for 3 to 4 minutes until syrupy, then cool and spread over the top of the whole cheesecake.
Notes
- ·Soak cashews properly: under-soaked cashews produce a grainy filling. Cold water for 6 to 8 hours is best; boiling water for 1 hour minimum if short on time.
- ·A high-powered blender produces the smoothest filling. A standard blender works but blend longer and in batches if needed.
- ·Refined coconut oil gives a neutral flavor; virgin coconut oil adds a mild coconut background note. Both set the same way.
- ·The cheesecake must stay cold to hold its shape. Do not leave it at room temperature for more than 30 to 40 minutes.
- ·Vegan cream cheese variation: skip the cashew filling and use 2 cups vegan cream cheese folded into 1 and 2/3 cups whipped vegan cream with 1/2 cup powdered sugar, 2 tablespoons lemon juice, and 1 teaspoon alcohol-free vanilla. Use a vegan cookie and vegan butter crust. Refrigerate 8 hours instead of freezing.
- ·Stores in the freezer up to 4 weeks wrapped tightly; refrigerator 5 to 7 days once thawed.
Frequently asked questions
Do I really need to soak the cashews?+
Yes. Raw cashews are dense and starchy straight from the bag. Soaking them in water softens them so they blend into a completely smooth, creamy paste. Skip this step and your filling will be grainy no matter how long you blend. Cold water for 6 to 8 hours is the most reliable method. If you are short on time, cover with just-boiled water for at least 1 hour, then drain and rinse well.
Why does my vegan cheesecake need to go in the freezer instead of the fridge?+
This cashew-based filling uses coconut oil as its setting agent. Coconut oil is liquid at room temperature and softens in the refrigerator, so the filling never becomes truly firm enough to slice cleanly if only chilled. The freezer drops the temperature low enough for the coconut oil to solidify and hold the filling together. Always thaw the cheesecake 20 to 30 minutes before serving so it slices smoothly and tastes its best.
Can I make this without a high-powered blender?+
You can, but the texture will likely not be as silky. A standard blender or food processor works if you blend in batches, blend for longer (3 to 4 minutes), and scrape down the sides frequently. Make sure your cashews are very well soaked, ideally overnight, to give your blender the best chance of producing a smooth result.
How far ahead can I make this cheesecake?+
Up to 2 days ahead is ideal. The cheesecake holds perfectly in the freezer and the texture actually becomes cleaner and more set with extra time. Wrap the pan tightly in plastic wrap or transfer it to an airtight container after the first 4 to 6 hours of freezing. Individual slices can be frozen separately for up to 4 weeks.

Written by
VeganDigest Editorial is the small independent team that researches and fact-checks this site. We are not doctors or dietitians. For every is-it-vegan verdict we read the product's current ingredient list and manufacturer information, and for anything health-related we report guidance from recognized bodies such as the NHS, the Vegan Society, and the Academy of Nutrition and Dietetics rather than offering medical advice. Every page shows the date it was last verified, and our full process is on the How We Verify page.
Comments