Vegan Whipped Cream (Coconut and Aquafaba Methods)
- Gluten-free
- Nut-free
- Soy-free
- Oil-free
In this guide8
The first time I made coconut whipped cream I did everything wrong and it still worked, which is exactly why I love it. I had grabbed a can of coconut milk on a whim, forgotten about it in the back of the fridge for two days, and then, needing something to top a last-minute fruit crumble, opened it to find the fat had set into a thick white cap on top.
I scooped that off, beat it with a fork and a spoonful of icing sugar, and twenty minutes later there was a bowl of soft, glossy whipped cream on the table. Nobody could tell it was not dairy.
That accidental success taught me the whole trick: cold separates the fat, and the fat is what whips. Once you understand that, vegan whipped cream stops being a fussy project and becomes a fifteen-minute habit. There are two reliable ways to make it.
Coconut cream gives you the rich, stiff, pie-topping kind. Aquafaba, the liquid from a can of chickpeas, gives you a lighter, fluffier kind with no coconut flavor at all. I make both, for different desserts, and I will walk you through exactly when to reach for each.
The two methods, and what each one is for
Here is the short version before we get into the weeds. Coconut whipped cream is the heavyweight.
It is rich, it holds stiff peaks, and it tastes the most like dairy whipped cream, so it is what I put on pies, cakes, hot chocolate, and anything that needs the topping to actually hold its shape. The trade-off is a faint coconut flavor, which is lovely on a chocolate or banana dessert and slightly out of place on a delicate lemon tart.
Aquafaba whipped cream is the lightweight. You whip the brine from a can of chickpeas, the same way you would whip egg whites, and it foams up into something airy and almost meringue-like.
It has no coconut taste, it is far lower in fat, and it is the better choice when you want a cloud rather than a dollop. The catch is that it is more fragile and deflates faster, so it is a make-it-right-before-you-serve-it situation.
If I had to give you one rule: coconut for sturdiness and richness, aquafaba for lightness and a neutral flavor. The recipe card above is my standard coconut version, because it is the one most people want most of the time. The aquafaba method is below.
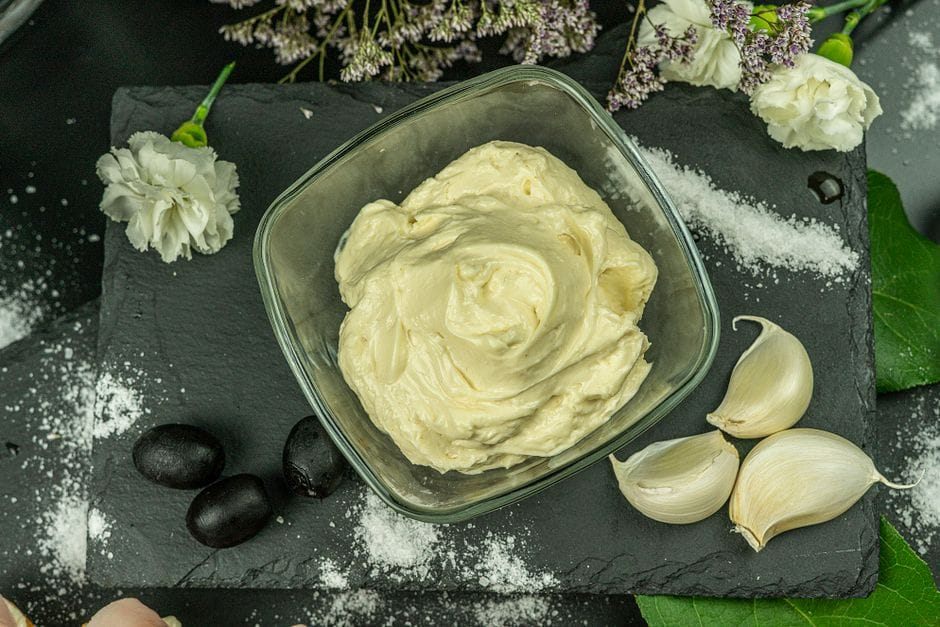
Method one: chilled coconut cream
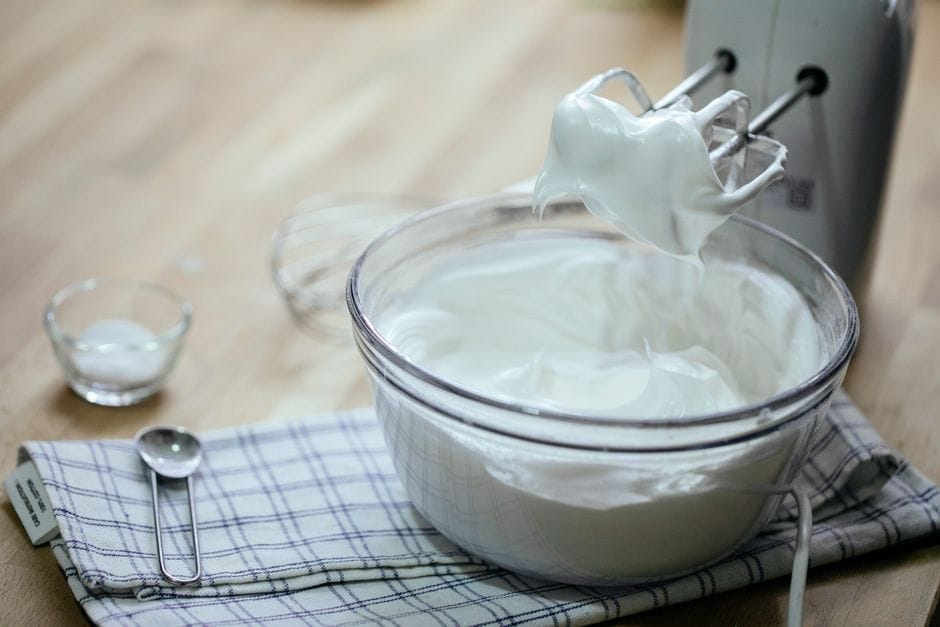 Photo: Katerina Holmes / Pexels
This is the recipe in the card, but the technique deserves its own walkthrough because the details are where people go wrong.
Start with a full-fat can. You want coconut cream if you can find it, or full-fat coconut milk if you cannot. Never "lite," which does not have the fat to whip.
Put the unopened can in the back of your fridge overnight and do not shake it, because shaking re-mixes the fat and water you are trying to keep separate. The cold pushes the solid white fat up to form a firm cap, with thin coconut water underneath.
The next day, chill your bowl and beaters in the freezer for ten minutes first. This matters more than people expect, because warm metal softens the fat as you whip and you end up chasing peaks that never come.
Open the can, scoop out only the firm white part, and leave the watery liquid behind. Beat the fat for a minute until it loosens, then add powdered sugar a spoonful at a time, plus an alcohol-free vanilla.
Beat one or two minutes more until it holds peaks, and stop the moment it looks glossy, because over-beating turns it grainy.
When mine has failed, it has almost always been the can. I once grabbed a "lite" can on autopilot and it never set.
Another time the brand had so much guar gum that the fat would not separate from the water in the fridge at all, so there was nothing solid to scoop. If the can does not separate cleanly in the cold, it will not whip cleanly either, which is why brand genuinely matters here.
The cans that reliably separate for me are full-fat Thai brands like Aroy-D and Chaokoh, and dedicated coconut cream from Native Forest and Thai Kitchen.
Coconut cream is simply coconut milk with a higher proportion of coconut fat, which is exactly why it whips stiffer. If your store carries dedicated coconut cream rather than coconut milk, buy it.
This is the same firm-fat trick I lean on for whipping in my vegan heavy cream guide, where I get into the cooking-versus-whipping split in more depth.
Method two: aquafaba
Now the genuinely surprising one. Aquafaba is the cloudy, slightly viscous liquid you usually drain down the sink from a can of chickpeas, and it whips into a foam that behaves remarkably like egg whites.
The proteins and starches that leach into the brine during canning let it trap and hold air. The first time I watched chickpea water turn into stiff white peaks, I genuinely laughed out loud at the sink.
Here is how I make a light aquafaba whipped topping. Drain one can of chickpeas (no salt added is ideal) and reserve the liquid, which is usually about 1/2 to 3/4 cup. Chill it; cold aquafaba whips better.
Pour it into a clean, grease-free bowl and beat with a hand mixer for about three minutes until it turns foamy and white. Then add 1/4 teaspoon of cream of tartar, which stabilizes the foam, and keep beating until soft-to-stiff peaks form, usually another four or five minutes.
Beat in two to three tablespoons of powdered sugar a spoonful at a time near the end, plus a little alcohol-free vanilla.
What you get is airy and meringue-like, lower in fat than coconut, and completely neutral in flavor. The honest downside is stability.
Aquafaba whipped cream weeps and deflates within an hour or two, much faster than coconut, so I make it at the last possible moment and spoon it on right before serving. It will not survive overnight in the fridge in any pretty form.
If you want the full breakdown of this ingredient, including how to reduce the brine for an even stronger whip, I keep a dedicated aquafaba egg substitute guide for exactly that. The leftover chickpeas, by the way, are perfect roasted or thrown into a salad, so nothing is wasted.
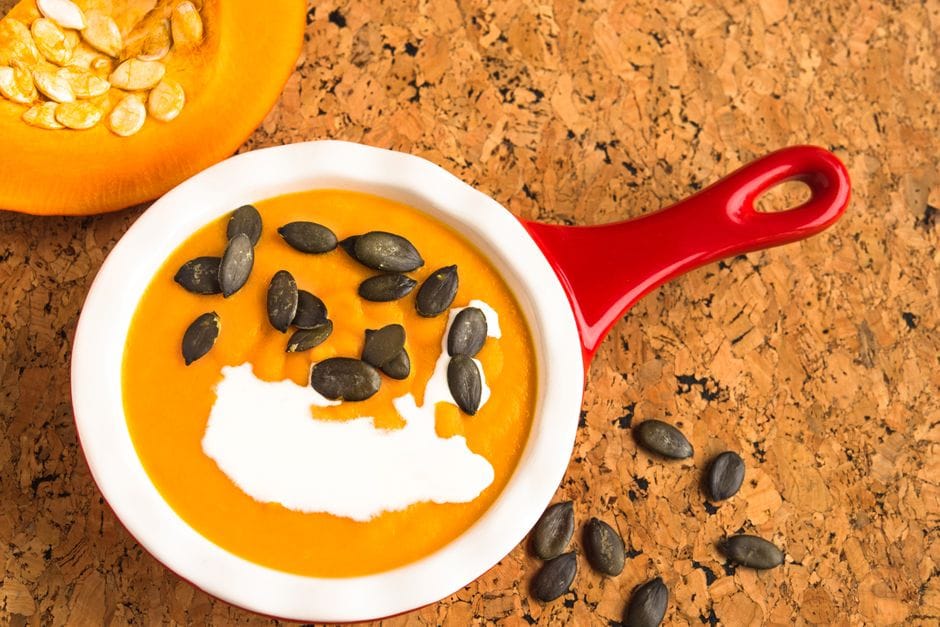
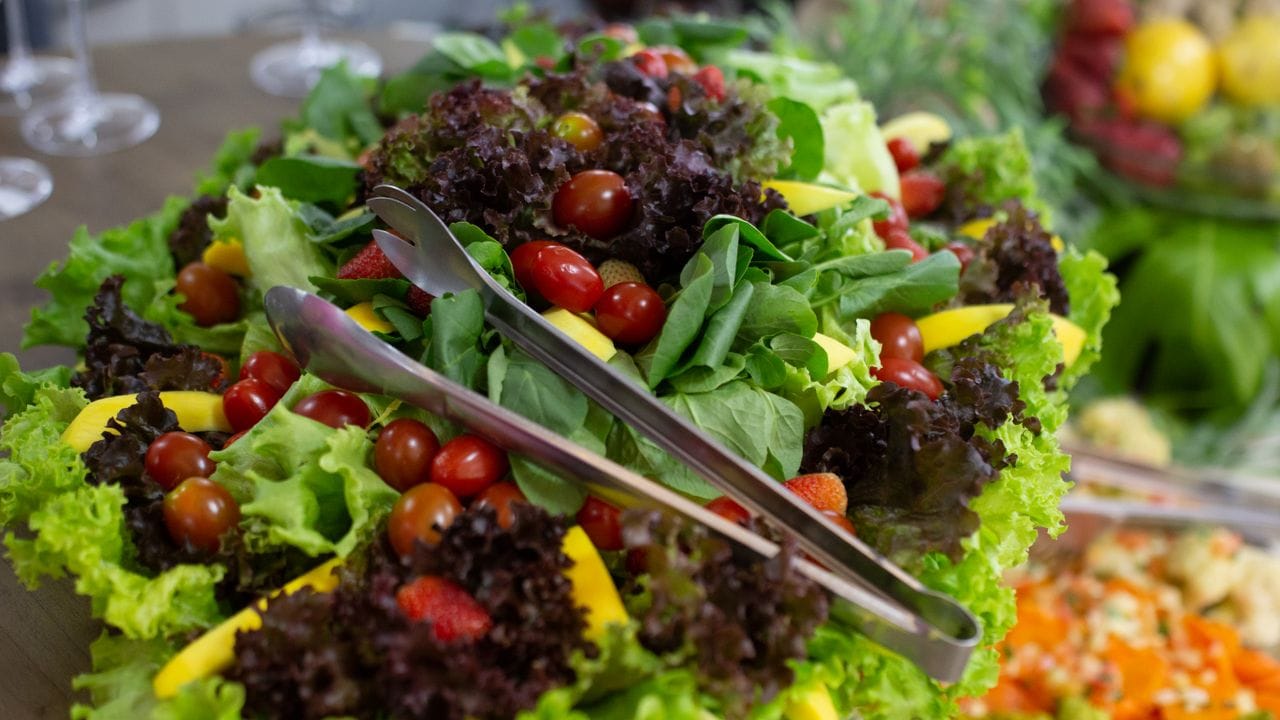
Which method to use when
 Photo: RDNE Stock project / Pexels
Let me make the choice concrete, because the right answer depends entirely on the dessert.
- Pies, cakes, and anything you pipe. Coconut. It holds its shape and pipes into rosettes that survive on a counter.
- Hot chocolate, coffee, or warm crumbles. Coconut. The richness stands up to heat and the slight coconut note is welcome.
- Delicate fruit desserts, lemon tarts, pavlovas. Aquafaba. Lighter, neutral, and it will not fight a bright citrus flavor with coconut.
- When someone genuinely dislikes coconut. Aquafaba, every time.
- When you need it sturdy and made ahead. Coconut with a teaspoon of starch beaten in.
- When you want the lowest fat option. Aquafaba, which is mostly air and water.
I keep a can of coconut cream chilling in the fridge as my default, and I reach for aquafaba when the dessert is delicate or a guest is coconut-averse. Between the two, you are covered for almost anything.
Stabilizing tips that actually work
Both versions can be coaxed into holding longer, and these are the tricks I actually use rather than the ones I have only read about.
For coconut whipped cream, beat in one teaspoon of tapioca starch or cornstarch with the sugar. It firms the structure noticeably and helps the cream survive a few hours on a buffet without slumping.
A small spoonful of powdered sugar (not granulated) also stabilizes as it sweetens, because the cornstarch already in powdered sugar does quiet structural work. And always keep everything cold: the bowl, the beaters, the cream itself. Heat is the enemy of a stable peak.
For aquafaba, cream of tartar is the single most useful addition. A quarter teaspoon transforms a foam that collapses in minutes into one that holds soft peaks for the length of a meal. Some people reduce the aquafaba on the stove first, simmering it down by a third to concentrate the proteins before whipping, which makes a sturdier foam; I do this only when I need it to last.
Keep the bowl spotlessly clean and grease-free, the same as you would for meringue, because a trace of fat will stop it whipping entirely.
One stabilizer I would skip for both: do not reach for standard vanilla extract, which is alcohol-based, both because the owner of this site and many readers avoid alcohol, and because the liquid can thin a delicate foam. Use vanilla powder or an alcohol-free vanilla instead.
Store-bought vegan whipped cream, and which brands are best
You will not always want to chill a can or whip chickpea brine, and the good news is the store-bought category has become genuinely reliable. Here are the ones I actually keep on hand.
- Reddi-wip Non-Dairy. This comes in an almond-milk and a coconut-milk version, both in the familiar aerosol can, and it is certified vegan by Vegan Action. It is the closest thing to grabbing a can of dairy Reddi-wip out of the fridge. It is light, sprays on instantly, and is my pick for hot chocolate and sundaes. It is sweeter than homemade, so taste before you pile it on.
- So Delicious CocoWhip. A coconut-based tub, sold in Original and Light, and the dairy-free answer to Cool Whip. It is Certified Vegan and Non-GMO Project Verified. The Original has a little more fat and body; the Light is barely different nutritionally and slightly less rich. I prefer the Original for anything that needs to hold a dollop. It scoops straight from the tub, which makes it the easy choice for topping a pie quickly.
- Store-brand coconut whips. Many grocery chains now carry their own coconut-based whipped topping in a tub. Quality varies, so read the label and check the fat content, but several are perfectly good and cheaper.
So, is store-bought vegan whipped cream actually vegan? The dedicated dairy-free products above are, and the certifications back that up. The trap is the lookalikes sitting right next to them.
Regular Cool Whip and standard canned dairy whipped cream are not vegan, and many "whipped toppings" contain sodium caseinate, which is a milk protein, even when the front of the package screams "non-dairy" in big letters. That labeling loophole catches people constantly.
Read the ingredient list, not the marketing.
When a brand or an unfamiliar ingredient gives me pause, I do one of two things. I paste the ingredient list into our vegan ingredient checker, which flags anything animal-derived in plain language, or I look the product up in our Is It Vegan database for a straight verdict.
It takes ten seconds and it has saved me from more than one casein surprise.
A few honest failures, so you skip mine
I have made every mistake here so you do not have to. I have whipped a warm can of coconut and gotten coconut soup. I have grabbed a "lite" can and watched it refuse to set, no matter how long I beat it.
I have over-whipped coconut cream into something grainy and slightly buttery, which, for the record, you cannot un-whip. And I have served aquafaba whipped cream that I made an hour too early and watched it weep a sad puddle onto the dessert plate.
Every one of those was a technique problem, not a recipe problem. Cold equipment, a full-fat can, stopping the mixer the moment the peaks form, and making aquafaba at the last minute fix all of them. For more dairy-free swaps beyond whipped cream, the substitutes hub is where I keep the rest of them, from cream to cheese.
My honest bottom line
You do not need a special product to make beautiful vegan whipped cream. You need a cold can of full-fat coconut cream and a chilled bowl, and ten minutes, and you will have a rich, stiff topping nobody at the table can distinguish from dairy.
When you want something lighter or coconut-free, whip the brine from a can of chickpeas with a pinch of cream of tartar and use it right away. And when you want to skip the kitchen entirely, reach for Reddi-wip Non-Dairy or So Delicious CocoWhip, both certified and both genuinely good, and just check the label on anything else.
Match the method to the dessert, keep everything cold, and you will never look back at the dairy version.
The recipe
Chilled Coconut Whipped Cream
Prep
10 min
Total
10 min
Makes
about 1.5 cups (350 ml), enough to top one pie
Ingredients
- 1 can (13.5 oz / 400 ml) full-fat coconut cream, or full-fat coconut milk, chilled overnight (do not shake the can)
- 3 to 4 Tbsp powdered sugar, sifted (start with less; powdered, not granulated, so it dissolves and stays smooth)
- 1/2 tsp alcohol-free vanilla, or 1/4 tsp vanilla powder (skip standard extract, which is alcohol-based)
- 1 tsp tapioca starch or cornstarch (optional, for a firmer, more stable peak)
- Pinch of fine sea salt (optional, sharpens the sweetness)
- 1/2 tsp lemon juice (optional, brightens the flavor and cuts the coconut richness)
Instructions
- 1 Put your mixing bowl and beaters in the freezer for 10 minutes. Cold equipment is the difference between stiff peaks and soup.
- 2 Open the chilled can without shaking it. Scoop only the firm white coconut fat from the top into the cold bowl, and pour the thin watery liquid underneath into a jar to save for a smoothie.
- 3 Beat the coconut fat on medium-high for about 1 minute, until it loosens and looks creamy.
- 4 Add the powdered sugar one spoonful at a time, then the vanilla, salt, and tapioca starch if using. Adding sugar slowly keeps you from knocking out the air you just beat in.
- 5 Beat another 1 to 2 minutes until it holds soft, billowy peaks. Stop the moment it looks thick and glossy, because over-beating turns it grainy.
- 6 Taste and adjust the sugar. Use right away, or chill covered until serving and give it a quick re-whip if it firms up too much.
Notes
- ·Coconut cream whips stiffer than coconut milk because it has more fat. If you only have coconut milk, buy a full-fat can and use just the solid part.
- ·The starch is optional but genuinely helps the cream hold its shape on a warm dessert or through a few hours on a buffet.
- ·It softens at room temperature and firms in the fridge. For piping, chill it 20 minutes first; for dolloping, use it straight from the bowl.
Calories
70 per 2 Tbsp
Protein
1 g
Fat
6 g
Carbs
4 g
Frequently asked questions
Is store-bought vegan whipped cream actually vegan?+
The dedicated dairy-free ones are. Reddi-wip Non-Dairy (made with almond or coconut milk) is certified vegan by Vegan Action, and So Delicious CocoWhip is Certified Vegan and Non-GMO Project Verified. The thing to watch for is regular Cool Whip and standard canned whipped cream, which contain dairy or sodium caseinate, a milk protein. Always read the label, because a tub sitting next to the vegan one is often not vegan at all.
Which is better, coconut or aquafaba whipped cream?+
Coconut whipped cream is richer, holds stiffer peaks, and tastes closer to dairy, so it is my pick for topping pies and cakes. Aquafaba whipped cream is lighter, almost like a soft meringue, with no coconut flavor, which makes it better for delicate desserts or when someone dislikes coconut. Coconut is sturdier and aquafaba is airier. Pick based on the dessert underneath it.
Why won't my coconut whipped cream get stiff?+
Almost always it is the can. You need full-fat coconut cream or full-fat coconut milk, chilled overnight and undisturbed so the solid white fat separates from the watery liquid. A 'lite' can does not have enough fat to whip, and cans loaded with guar gum sometimes will not separate at all. Scoop only the firm white part, leave the water behind, and beat it cold. Warm fat will not hold peaks.
How long does vegan whipped cream last once whipped?+
Coconut whipped cream keeps its shape for a few hours at room temperature and a couple of days covered in the fridge, though it firms up cold and may need a quick re-whip. Aquafaba whipped cream is more fragile and starts weeping within an hour or two, so it is best made right before you serve it. Both are happiest the same day you make them.

Written by
VeganDigest Editorial is the small independent team that researches and fact-checks this site. We are not doctors or dietitians. For every is-it-vegan verdict we read the product's current ingredient list and manufacturer information, and for anything health-related we report guidance from recognized bodies such as the NHS, the Vegan Society, and the Academy of Nutrition and Dietetics rather than offering medical advice. Every page shows the date it was last verified, and our full process is on the How We Verify page.
Comments