Vegan Hummus: Smooth, Creamy, and Better Than Store-Bought
 Jump to recipe ↓
 In this guide5
Hummus is naturally and completely vegan, built entirely from chickpeas, tahini, lemon, garlic, and olive oil. No substitutions needed, no ingredients to swap out. The challenge has never been making it vegan; it has always been making it genuinely smooth and restaurant-quality at home.
The secret most recipes skip: simmer your canned chickpeas with a pinch of baking soda for about 20 minutes before blending. That small step softens the skins and breaks the chickpeas down so completely that your food processor does the rest with ease. Pair that with whipping the tahini and lemon juice first before adding anything else, and you get hummus that is silky, pale, and light, not grainy or flat.
Why Hummus Is Always Vegan
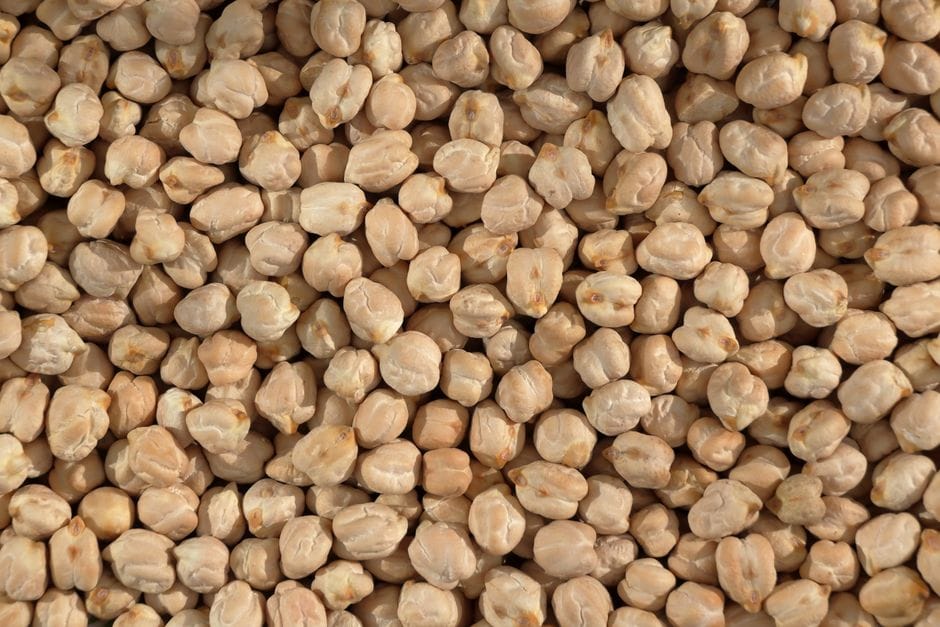
Hummus traces its roots to the Middle East, where the classic preparation has always been plant-based. The four core ingredients, chickpeas (also called garbanzo beans), tahini (ground sesame paste), lemon juice, and garlic, are all derived from plants. Olive oil, the standard finishing drizzle, is likewise 100 percent vegan.
There is no hidden dairy, egg, or animal-derived thickener in a properly made hummus. Store-bought versions occasionally sneak in additives, but the homemade version you control is naturally free of all animal products. It is also high in protein and fiber, which makes it one of the most nutritionally complete vegan dips you can put together.
The Ingredients That Actually Matter
Chickpeas: One 15-ounce can, drained and rinsed, yields roughly 1.5 cups of cooked chickpeas, enough for about 2 cups of finished hummus. If you prefer to cook dried chickpeas from scratch, make sure they are very tender before blending; firm chickpeas produce grainy hummus no matter how long you blend.
Tahini: This is the ingredient with the widest quality range. Budget tahini can taste bitter and separate into a greasy mess. Well-made tahini from quality sesame seeds is smooth, nutty, and almost pourable. Use half a cup per can of chickpeas for a rich result. Stir the jar thoroughly before measuring, since the oil and solids separate during storage.
Lemon juice: Use fresh lemons only. Bottled lemon juice has a flat, slightly metallic edge that comes through clearly in a simple recipe like this. You need about one-quarter cup, which is roughly 1 to 2 large lemons.
Garlic: One medium clove is enough. Letting the garlic sit in the lemon juice for 10 minutes before blending mellows its sharpness considerably and prevents the harsh raw garlic bite that can dominate a freshly made batch.
Ice water: This sounds minor but it is not. Adding 2 to 4 tablespoons of ice-cold water while blending lightens the texture, contributes to the pale ivory color, and helps the emulsion stay fluffy rather than dense.
Baking soda: Half a teaspoon added to the simmering water for the chickpeas makes the environment more alkaline, which accelerates the breakdown of the chickpea skins and flesh. The difference in final smoothness is noticeable.
The Method That Gets It Smooth
The biggest mistake home cooks make is dumping all the ingredients into the blender at once. Order matters more than equipment.
Step 1: Simmer the chickpeas. Drain and rinse your canned chickpeas, then add them to a small saucepan with half a teaspoon of baking soda and enough water to cover by 2 inches. Bring to a boil, then reduce to a steady simmer for about 20 minutes. The chickpeas should look bloated and soft, with skins beginning to slip off. Drain them and rinse under cold running water.
Step 2: Mellow the garlic. Combine the lemon juice, chopped garlic, and salt in your food processor. Pulse a few times to mince the garlic, then let the mixture sit for 10 minutes. This step alone improves the flavor noticeably.
Step 3: Whip the tahini. Add the tahini to the lemon and garlic mixture. Process for a full 1 to 2 minutes, scraping the bowl once halfway through. You are building the base emulsion here. The mixture should turn thick, pale, and creamy before you add anything else.
Step 4: Add the chickpeas and water. Add the drained, cooled chickpeas along with the cumin if you are using it. Start processing and drizzle in ice water one tablespoon at a time until you reach the texture you want. Two tablespoons is usually enough for a thick dip; up to 4 tablespoons gives you something lighter and more spreadable. Process for at least 2 minutes, longer if your machine is less powerful.
Step 5: Taste and adjust. Add more salt, lemon, or a drizzle of olive oil before serving. The flavor develops further as it sits, so hummus made a few hours ahead often tastes better than hummus served immediately.
Variations Worth Making
The base recipe is a canvas. Once you have it down, a few additions open up an entirely different flavor profile.
Roasted red pepper hummus: Add three-quarters of a cup of drained jarred roasted red peppers along with the chickpeas. The result is sweeter, slightly smoky, and a vivid orange color.
Roasted garlic hummus: Replace raw garlic with a whole head of roasted garlic. Roasting mellows and sweetens the garlic so completely that you can use the whole head without any harshness. Squeeze the cloves directly into the food processor.
Green herb hummus: Blend in three-quarters of a cup of packed fresh herbs. Parsley and cilantro together work well; basil on its own gives something closer to a vegan green dip. The color fades within a day, so serve this variation fresh.
Spiced hummus: Add half a teaspoon of smoked paprika and a pinch of cayenne along with the cumin for a warmer, more complex profile. A drizzle of good olive oil and a dusting of sumac finishes it perfectly.
Serving and Storage
Hummus is best served at room temperature, not straight from the refrigerator. The cold firms up the tahini and makes the texture feel stiffer and heavier than it actually is. Pull it from the fridge 15 to 20 minutes before serving.
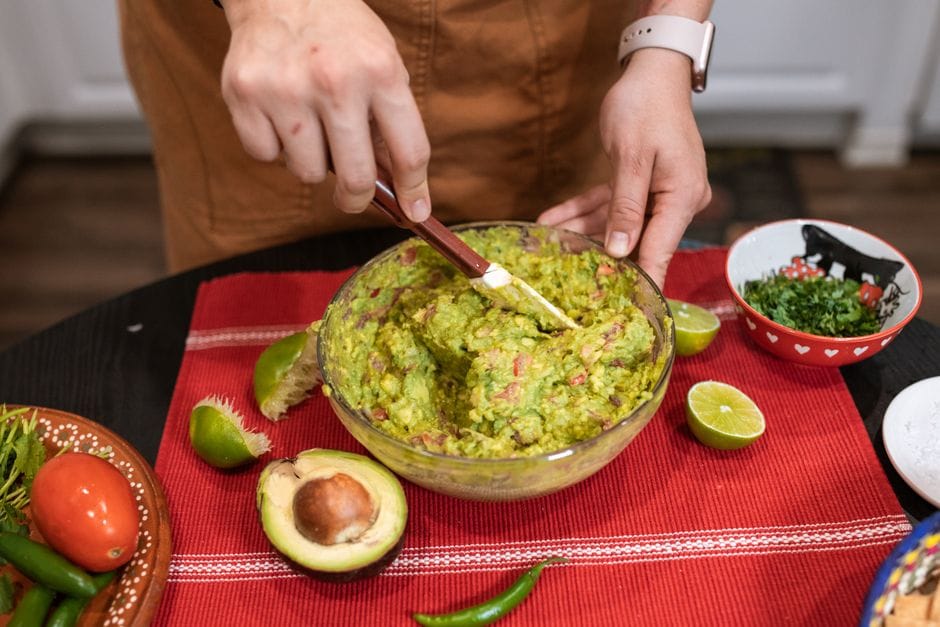
For presentation, spread the hummus into a shallow bowl and use the back of a spoon to create a shallow well across the surface. Fill that well with a generous pour of extra-virgin olive oil and a pinch of paprika or sumac. Fresh parsley adds color. Toasted pine nuts or a few whole chickpeas finish it neatly.
For dipping, warm pita wedges and raw vegetables are classic. Sliced cucumbers, carrots, radishes, and bell peppers all work well. Hummus also works as a spread inside wraps, a base layer under roasted vegetables, or a sauce thinned with extra lemon juice and water.
Storage: Transfer leftover hummus to an airtight container and refrigerate for up to 5 days. A thin film of olive oil across the surface helps prevent it from drying out. Hummus does not freeze well because the texture becomes grainy after thawing.
The recipe
Smooth Vegan Hummus
Prep
15 min
Cook
20 min
Makes
8 (about 2 cups)
Ingredients
- 1 can (15 oz) chickpeas, drained and rinsed
- 1/2 teaspoon baking soda
- 1/2 cup well-stirred tahini
- 1/4 cup fresh lemon juice (1 to 2 large lemons)
- 1 medium garlic clove, roughly chopped
- 1/2 teaspoon fine sea salt, plus more to taste
- 1/2 teaspoon ground cumin
- 2 to 4 tablespoons ice water, as needed
- 1 tablespoon extra-virgin olive oil, plus more for serving
- Paprika or sumac, for garnish
Instructions
- 1 Add the drained chickpeas and baking soda to a small saucepan. Cover with 2 inches of cold water. Bring to a boil, then reduce to a steady simmer and cook for 20 minutes until the chickpeas are very soft and skins are loosening. Drain and rinse under cold running water.
- 2 In a food processor, combine the lemon juice, garlic, and salt. Pulse several times to mince the garlic. Let the mixture rest for 10 minutes to mellow the garlic flavor.
- 3 Add the tahini to the food processor. Process for 1 to 2 minutes, scraping the bowl once halfway through, until the mixture is thick, pale, and creamy.
- 4 Add the drained chickpeas and cumin. Turn on the processor and drizzle in 2 tablespoons of ice water. Process for 2 minutes, adding more ice water one tablespoon at a time, until the hummus is ultra-smooth and creamy.
- 5 Drizzle in the tablespoon of olive oil with the processor running and process for another 30 seconds.
- 6 Taste and adjust salt, lemon, or cumin as needed.
- 7 Transfer to a shallow bowl. Use the back of a spoon to create a shallow well across the surface. Drizzle generously with olive oil and dust with paprika or sumac. Serve at room temperature.
Notes
- ·Simmering canned chickpeas with baking soda is the single biggest upgrade for texture. Do not skip it.
- ·Quality tahini makes a significant difference. Look for tahini with a pourable consistency and a mild, nutty smell.
- ·Always use fresh lemon juice; bottled juice produces a noticeably flatter flavor.
- ·Hummus tastes better made a few hours ahead, as the flavors continue to develop in the refrigerator.
- ·Store in an airtight container in the refrigerator for up to 5 days. Bring to room temperature before serving.
Calories
~160
Protein
5g
Fat
11g
Carbs
12g
Frequently asked questions
Is hummus always vegan?+
Classic hummus made from chickpeas, tahini, lemon juice, garlic, and olive oil is completely vegan with no substitutions needed. A small number of commercial brands add non-vegan ingredients or natural flavors of uncertain origin, so checking the label on store-bought versions is worthwhile. Homemade hummus is always safe.
Do I need to peel the chickpeas for smooth hummus?+
Not if you use the baking soda simmer method. Boiling canned chickpeas with baking soda for 20 minutes softens and loosens the skins so thoroughly that you get a very smooth result without the tedious hand-peeling step. If you skip the simmer, peeling helps but is not essential with a powerful blender.
Can I make hummus without tahini?+
You can, but the result will not taste like hummus. Tahini provides the sesame depth and fat that make hummus rich and filling. Sunflower seed butter is the closest vegan substitute in terms of texture, though the flavor is quite different. If you are working around a sesame allergy, sunflower seed butter plus a few extra tablespoons of olive oil is the best available option.
Why does my homemade hummus taste bitter?+
Bitterness usually comes from one of two places: low-quality or rancid tahini, or too much raw garlic. Taste your tahini on its own before adding it. Good tahini should be nutty and mild. If it tastes strongly bitter or off, replace it. For garlic bitterness, letting the chopped garlic rest in lemon juice for 10 minutes before blending mellows it significantly.

Written by
VeganDigest Editorial is the small independent team that researches and fact-checks this site. We are not doctors or dietitians. For every is-it-vegan verdict we read the product's current ingredient list and manufacturer information, and for anything health-related we report guidance from recognized bodies such as the NHS, the Vegan Society, and the Academy of Nutrition and Dietetics rather than offering medical advice. Every page shows the date it was last verified, and our full process is on the How We Verify page.

Comments