How to Make Vegan Gravy (Rich and Brown)
- Nut-free
In this guide8
The first vegan gravy I ever made for a holiday table looked like wallpaper paste. It was the right idea, flour and fat and broth, but I'd panicked at the roux stage, dumped the broth in after barely a minute, and ended up with a pale beige sludge that tasted like raw flour glue.
My aunt poured it politely over her mashed potatoes and then quietly ate around it. That gravy haunted me, and fixing it taught me the two things this whole guide hangs on: you have to actually brown the roux, and you have to build savory depth on purpose, because there are no meat drippings doing it for you.
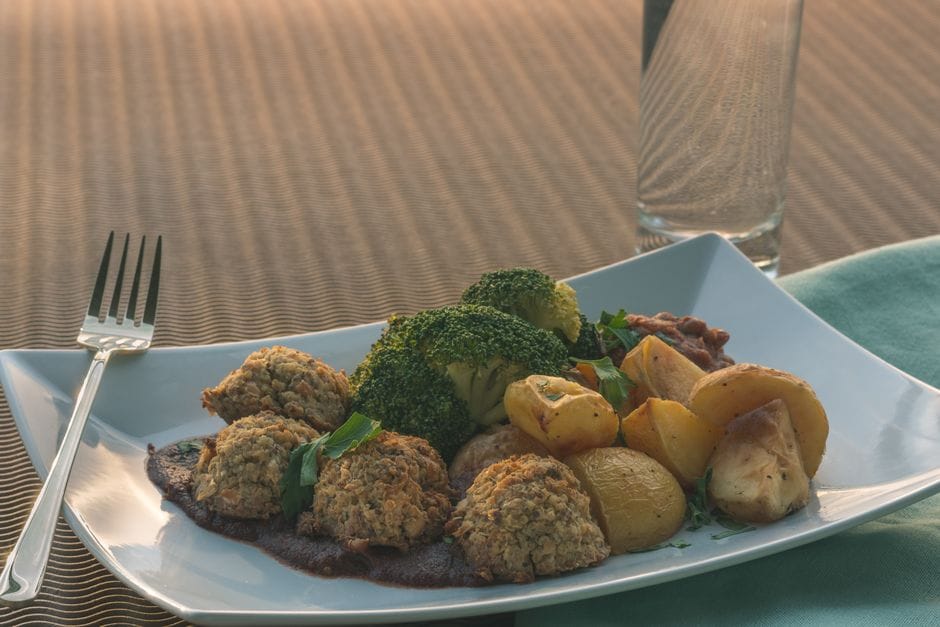
So this is the gravy I make now, the one people ask me to bring. It's properly brown, it's glossy, it coats the back of a spoon, and it tastes rich enough that nobody at the table clocks it as the vegan option.
The whole thing is a flour-and-vegan-butter roux, good broth, soy sauce, nutritional yeast, and a couple of small tricks for color. I'll walk you through the base recipe, the mushroom and onion variations, exactly how to nail the color and thickness, and how to make it ahead so the holiday isn't a panic.
What Actually Makes Gravy Brown and Rich
Let me start with the part I got wrong, because it's the part everyone gets wrong. Classic gravy gets its color and savory richness from meat drippings, the browned fond stuck to the bottom of the roasting pan.
We don't have that, so we build the same effect from three other directions, and once you understand them you'll never make pale gravy again.
The first is the roux itself. When you cook flour in fat, the flour toasts and browns through the Maillard reaction, the same chemistry that browns toast and roasted vegetables.
A roux cooked to the color of peanut butter brings both a deep nutty flavor and real brown color before any liquid even enters the pan. You can read the plain science on the Maillard reaction if you're curious why this works.
The second is umami, and this is where soy sauce earns its place. Soy sauce or tamari adds salty, savory depth and a brown tint at the same time. The third is mushrooms, which are naturally loaded with glutamates, the savory compound that makes meat taste meaty.
A mushroom broth alone gets you a long way. Stack a browned roux, soy sauce, and a mushroom or rich vegetable broth together, and you get gravy that reads as proper roast-dinner gravy, no animal anywhere in sight.
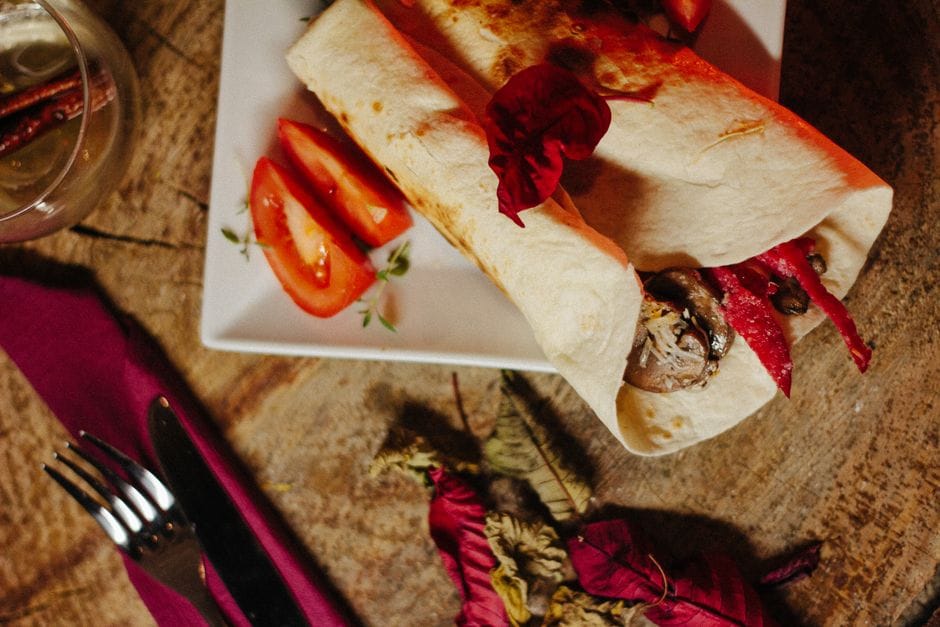
The Base Recipe, Step by Step
 Photo: cottonbro studio / Pexels
The exact amounts are in the recipe card above, so here I want to explain what's happening at each stage so you can adjust by feel, which is the only way to make consistently good gravy.
You start by melting the fat. I use vegan butter here because it browns beautifully and adds a richness that neutral oil can't quite match, though oil works fine if that's what you have. If you're adding onion for body, it goes in now to soften.
Then comes the flour, whisked into the fat to make a paste, and this is the stage I rushed and ruined years ago. Keep whisking and let it cook for a full two to four minutes until it smells nutty and turns the color of peanut butter.
That browning is non-negotiable for both color and flavor.
A spoon of tomato paste stirred in next deepens the color and adds a rounder savoriness. Then you pour in warm broth, slowly, whisking hard the entire time. Warm broth and a slow stream are what keep it lump-free.
Once it's smooth, in go the soy sauce, nutritional yeast, and seasonings, and you simmer until it thickens to a coat-the-spoon consistency. If you've never cooked with nutritional yeast, my nutritional yeast guide explains why it adds that roasted, almost cheesy savory note that does so much quiet work here.
The Mushroom Variation (My Favorite)
If you only make one variation, make this one. Mushroom gravy is the most savory, most convincing version, and it's the one I default to for biscuits and gravy or a big bowl of mashed potatoes.
The method is a small but important change. Before you make the roux, you saute sliced mushrooms in the vegan butter over medium-high heat until they're deeply browned and all their liquid has cooked off. This step matters more than people think.
Mushrooms release a lot of water, and if you crowd the pan or pull them early, they steam instead of brown and you lose the depth. Give them room, let them go golden and a little crisp at the edges, and they concentrate into pure savory intensity.
I like cremini or chestnut mushrooms for this, but a handful of dried porcini soaked and chopped in pushes it over the top.
Once the mushrooms are browned, you sprinkle the flour right over them and build the roux as usual, then use mushroom broth for the liquid to double down. The result is a thick, brown, almost meaty gravy with whole pieces of mushroom in every spoonful.
It's hearty enough to make a meal of over toast, and it's the version I pour over a sliced roast made from homemade seitan, which is about as close to a traditional roast-and-gravy dinner as plant food gets.
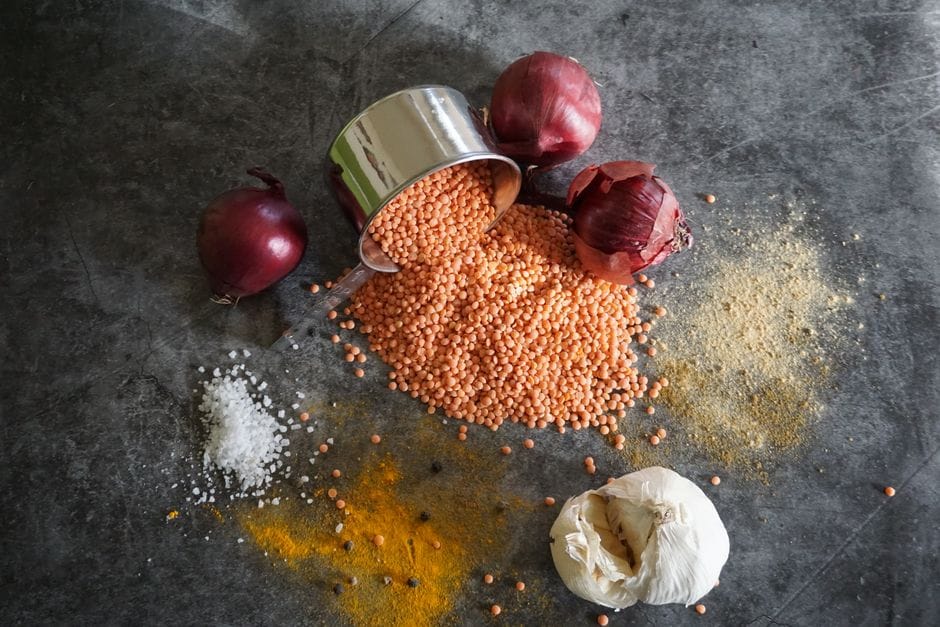
The Onion Variation
 Photo: İdil Ceren Çelikler / Pexels
This is the sweeter, mellower cousin, and it shines over sausages, roasts, and anything that wants a softer, jammier savory note rather than the punch of mushrooms.
The trick is patience. You cook two thinly sliced onions low and slow in the vegan butter for fifteen to twenty minutes, stirring now and then, until they collapse into a soft golden jam.
Don't blast the heat to speed it up, because rushed onions burn at the edges and turn bitter before the centers soften. Low and slow gives you that deep caramelized sweetness that makes onion gravy special. A pinch of sugar early on helps them along if your onions aren't very sweet to start.
Once they're jammy, you build the roux right on top of them, whisk in the flour, and proceed exactly as the base recipe. The onions melt partly into the gravy and partly stay as soft golden strands, giving it a lovely texture.
I keep the soy sauce and a little thyme in this one for backbone, since the sweetness of the onions wants a savory anchor to balance it. This is the gravy I make for bangers and mash night, ladled thick over the whole plate.
Getting the Color and Thickness Right
Two things trip people up, and both are fixable in seconds once you know what you're aiming for.
Color first. If your gravy comes out pale, it's almost always an underbrowned roux plus shy seasoning.
The fixes, in order: cook the roux longer next time, add more soy sauce, stir in that spoon of tomato paste, and if you want a properly deep roast-dinner brown without changing the flavor, add a few drops of a vegan browning sauce like Kitchen Bouquet. Browning sauce is mostly caramelized vegetable color, so it darkens without sweetening or salting.
A little goes a long way, so add it drop by drop.
Now thickness. Gravy thickens as it simmers and again as it cools, so judge it hot and aim for something that coats the back of a spoon and holds a brief line when you drag a finger through it. Too thin?
Simmer it a few minutes longer, or whisk a teaspoon of cornstarch into a splash of cold broth and stir that in. Too thick? Whisk in warm broth a little at a time until it pours the way you want.
The most common rookie mistake, the one that gave me wallpaper paste, is adding cold liquid too fast to a hot roux, which seizes it into lumps. Warm broth, slow stream, constant whisking.
If you do get lumps, a quick blitz with an immersion blender rescues almost any gravy.
Gluten-Free and Oil-Free Options
You don't need flour or vegan butter to make good gravy, so nobody at the table gets left out.
For gluten-free gravy, skip the roux entirely and thicken with cornstarch instead. Whisk two to three tablespoons of cornstarch into a little cold broth until smooth, bring the rest of your seasoned broth to a simmer, then stream the slurry in while whisking and cook a minute or two until it turns glossy and thick.
Use tamari in place of soy sauce, since standard soy sauce contains wheat, and double-check your stock cubes, because some hide wheat too. If you're ever unsure about a bouillon or sauce, run the label through our vegan ingredient checker before it goes in the pot.
For oil-free gravy, you can build the savory base by sweating your onion or mushrooms in a splash of broth instead of fat, then thicken with the cornstarch slurry method above. You lose a little of the silky richness that fat brings, so I push the nutritional yeast and soy sauce a touch harder to compensate.
It won't be quite as luxurious as a buttery roux gravy, but it's genuinely good, and a quick whisk of plant milk at the end adds back some of that creamy body.
Make-Ahead, Storing, and Reheating
This is the part that makes vegan gravy a friend on a busy holiday, because it reheats better than most people expect.
Make it up to a few days ahead, cool it, and store it in a sealed jar in the fridge for up to four days. Two things will happen and both are normal. It will thicken considerably as it sits, because the flour or cornstarch firms up when cold, and a skin may form on the surface.
Neither is a problem. To reheat, scrape it into a saucepan, set it over low heat, and whisk in a splash of warm broth or plant milk until it loosens back to a pourable gravy.
The skin whisks right in, or you can lift it off first if you prefer. Don't blast it on high or it can scorch on the bottom before the middle warms.
It also freezes for about two months, which is handy if you want gravy on standby. One honest note: flour-based gravy sometimes looks a little grainy or separated right after thawing, since freezing can break the emulsion. Don't panic.
Reheat it gently and whisk hard, or give it a few seconds with an immersion blender, and it comes back smooth. Cornstarch-thickened gravy freezes slightly less reliably than flour gravy, so if make-ahead freezing is the plan, the roux version is the safer bet.
Putting It All on the Plate
Here's the whole thing in one breath, the version of advice I wish someone had given me before that beige holiday disaster. Brown your roux until it smells nutty and looks like peanut butter, build umami with soy sauce, nutritional yeast, and a mushroom or rich vegetable broth, add warm liquid slowly while whisking, and adjust color with tomato paste or a few drops of browning sauce.
That's a gravy nobody will guess is plant-based.
From there, pick your moment. Pour the classic over mashed potatoes and roasted vegetables, the mushroom version over biscuits or a seitan roast, and the jammy onion one over sausages.
If you ever doubt whether a store-bought broth, bouillon, or browning sauce is actually vegan, our Is It Vegan database gives you a straight answer faster than squinting at the label in the aisle. Make a batch ahead, keep it in a jar, and reheat with a splash of broth, and you'll have rich brown gravy on the table with none of the last-minute panic.
Mine pours glossy and dark now, and that wallpaper-paste holiday feels like someone else's kitchen.
The recipe
Rich Brown Vegan Gravy
Prep
5 min
Cook
15 min
Makes
About 2 cups (480 ml), serves 4 to 6
Ingredients
- 4 Tbsp (60 g) vegan butter or 1/4 cup neutral oil, the fat for the roux
- 1 small onion, finely diced, for savory sweetness and body (optional but recommended)
- 4 Tbsp (32 g) all-purpose flour, the thickener that builds the roux
- 2 cups (480 ml) good vegetable or mushroom broth, warmed, the flavor base
- 1 1/2 Tbsp soy sauce or tamari, for salty umami and color
- 1 Tbsp nutritional yeast, for roasted savory depth
- 1 Tbsp tomato paste, for color and a rounder savory note
- 1/2 tsp garlic powder and 1/2 tsp onion powder, for background depth
- 1/2 tsp dried thyme or sage, optional, for a roast-dinner flavor
- Black pepper to taste, plus salt only if needed after the soy sauce
- A few drops vegan browning sauce, optional, for a deeper brown
Instructions
- 1 Melt the vegan butter in a saucepan over medium heat. If using onion, add it now and cook 4 to 5 minutes until soft and just starting to brown, which builds the savory base.
- 2 Sprinkle in the flour and whisk constantly to form a smooth paste. Keep cooking and whisking for 2 to 4 minutes until the roux smells nutty and turns the color of peanut butter. Do not rush this, since this browning is where the rich color and the cooked-flour flavor come from.
- 3 Stir in the tomato paste and cook 30 seconds, until it darkens slightly and smells less raw.
- 4 Pour in the warm broth in a slow stream while whisking hard the whole time. Adding it warm and slowly is what prevents lumps. Whisk until completely smooth.
- 5 Add the soy sauce, nutritional yeast, garlic powder, onion powder, and thyme or sage. Bring to a gentle simmer, whisking, and cook 3 to 5 minutes until it thickens and coats the back of a spoon.
- 6 Taste and adjust. Add black pepper, a little more soy sauce for salt and depth, and a few drops of browning sauce if you want it darker. Salt only if it needs it after the soy sauce.
- 7 Serve hot. If it thickens too much as it sits, whisk in a splash of warm broth to loosen it back to a pour.
Notes
- ·Mushroom gravy: saute 8 oz (225 g) sliced mushrooms in the butter until deeply browned and their liquid has cooked off before you add the flour. Use mushroom broth for the liquid. This is the most savory version and my favorite over biscuits and mashed potatoes.
- ·Caramelized onion gravy: cook 2 thinly sliced onions low and slow for 15 to 20 minutes until jammy and golden before adding the flour. Sweet, deep, and excellent over sausages and roasts.
- ·Gluten-free: skip the roux. Whisk 2 to 3 Tbsp cornstarch into a little cold broth, then stream it into the simmering seasoned broth and cook until glossy. Use tamari instead of soy sauce.
Calories
90 per 1/4 cup
Protein
1 g
Fat
7 g
Carbs
6 g
Frequently asked questions
Why is my vegan gravy pale instead of brown?+
Pale gravy almost always means an underbrowned roux and not enough soy sauce. Cook the flour-and-fat paste longer, until it smells nutty and turns the color of peanut butter, before you add any liquid. Then lean on soy sauce or tamari and a spoon of tomato paste for color and savory depth. A few drops of a vegan browning sauce like Kitchen Bouquet will deepen it further if you want that proper roast-dinner brown.
How do I make vegan gravy without flour for gluten-free?+
Skip the roux and use a cornstarch slurry instead. Whisk 2 to 3 tablespoons of cornstarch into a little cold broth until smooth, bring the rest of your seasoned broth to a simmer, then stream the slurry in while whisking and cook a minute or two until it thickens and turns glossy. Use tamari instead of regular soy sauce to keep it gluten-free, and check any stock cubes, since some sneak in wheat.
What makes vegan gravy taste savory without meat drippings?+
Three things do the heavy lifting: soy sauce or tamari for salty umami, nutritional yeast for a roasted savory depth, and a good mushroom or vegetable broth as the base. A spoon of tomato paste and a little onion or garlic powder round it out. Mushrooms in particular are loaded with natural glutamates, which is the same savory compound that makes meat gravy taste rich, so a mushroom broth gets you most of the way there on its own.
Can I make vegan gravy ahead of time?+
Yes, and it actually reheats well. Cool it, store it in a sealed jar in the fridge for up to four days, and reheat gently while whisking. It will thicken in the fridge and a skin may form on top, both of which are normal. Just whisk in a splash of broth or plant milk over low heat until it loosens back to a pourable gravy. It also freezes for about two months, though flour-based gravy can look slightly grainy after thawing until you whisk it smooth again.

Written by
VeganDigest Editorial is the small independent team that researches and fact-checks this site. We are not doctors or dietitians. For every is-it-vegan verdict we read the product's current ingredient list and manufacturer information, and for anything health-related we report guidance from recognized bodies such as the NHS, the Vegan Society, and the Academy of Nutrition and Dietetics rather than offering medical advice. Every page shows the date it was last verified, and our full process is on the How We Verify page.
Comments