Vegan Buttercream Frosting (Silky, Not Greasy)
- Nut-free
- Oil-free
In this guide8
- 01Why vegan buttercream goes greasy, and how to stop it
- 02The base recipe, step by step
- 03American versus Swiss-style with aquafaba
- 04Coloring and piping without ruining the texture
- 05A rich chocolate variation
- 06Is store-bought vegan frosting any good, and which brands are best
- 07A few honest failures, so you skip mine
- 08My honest bottom line
The first vegan buttercream I ever made looked perfect in the bowl and betrayed me an hour later on the cake. It was glossy, it piped into neat little rosettes, and then it sat under the kitchen lights and slowly went slack, leaving a faint oily sheen on everyone's fork.
I had used a soft tub spread because it was what I had, and a soft tub spread is mostly water and liquid oil. That is the whole story of greasy vegan frosting in one sentence, and once I understood it, I never made a greasy batch again.
Good vegan buttercream is genuinely easy. It is firm vegan butter, sifted powdered sugar, a splash of plant milk, and a long whip to beat in air. The light, silky texture is not luck; it comes from two decisions you make before the mixer even turns on.
Get those right and you will pipe frosting nobody can tell is dairy-free. Get them wrong and you get the oily slump I started with. Let me walk you through exactly how to land on the silky side every time.
Why vegan buttercream goes greasy, and how to stop it
The greasiness almost always traces back to the fat, not the sugar. Dairy butter is roughly 80 percent fat with a low, stable water content, which is why it whips into a structured, airy frosting.
Many vegan spreads, especially the soft ones in tubs, carry far more water and a higher proportion of liquid oils. When you whip those, you are not building a stable emulsion so much as suspending oil that wants to weep back out the moment things warm up.
The result tastes greasy because it literally is leaving oil on your palate.
The fix is to use a firm, high-fat vegan butter sold in sticks or a solid block, the kind formulated to behave like real butter in baking. My reliable ones are Miyoko's Cultured Vegan Butter, Violife block, Flora Plant Butter, and the Country Crock Plant Butter sticks.
These hold structure, whip up pale and light, and do not slump on a warm counter the way a spread does. If you only have a tub, you can sometimes get away with it by chilling the frosting hard and serving cold, but you are fighting the ingredient the whole way.
Start from the right vegan butter and the battle is mostly won.
The second fix is temperature. Cool-but-pliable is the target, not melting-soft. You want butter you can dent with a fingertip that still holds its shape, around 65 degrees Fahrenheit.
Too warm and the fat can no longer trap the air you beat in, so it goes from fluffy to soupy as it sits. Too cold and it will not cream smoothly and you get lumps. Twenty minutes out of the fridge is usually right.
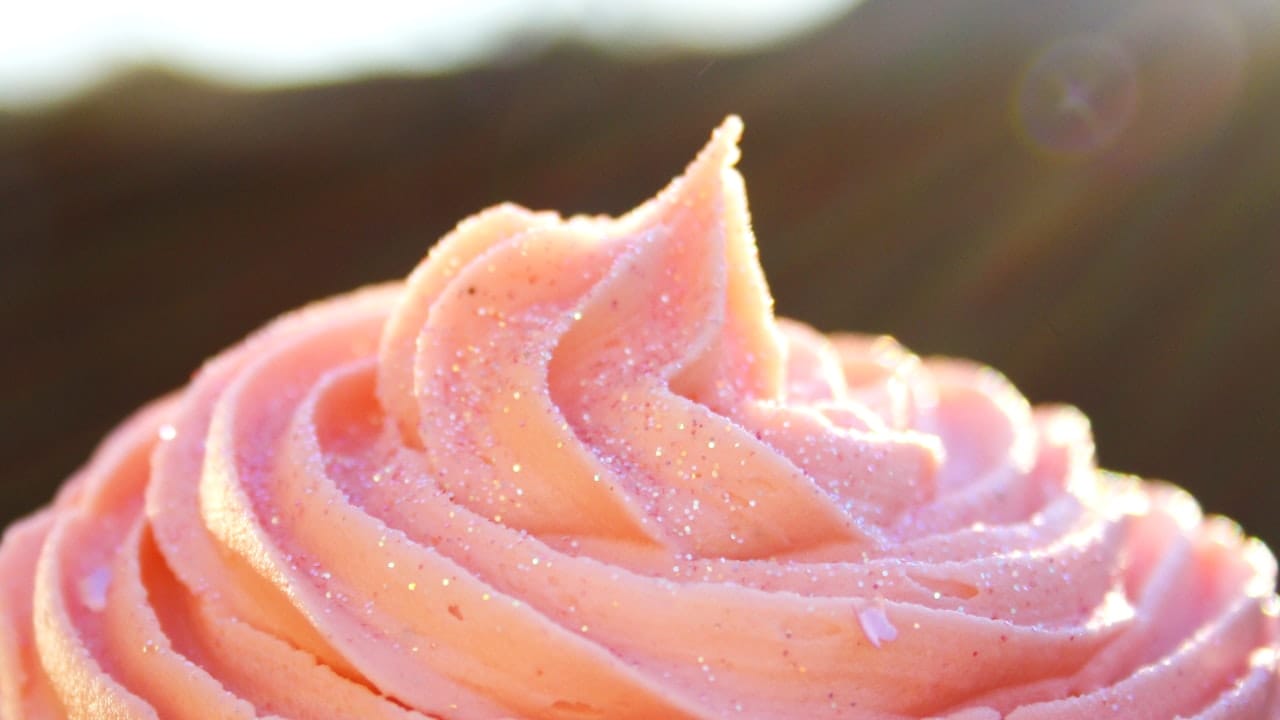
The base recipe, step by step
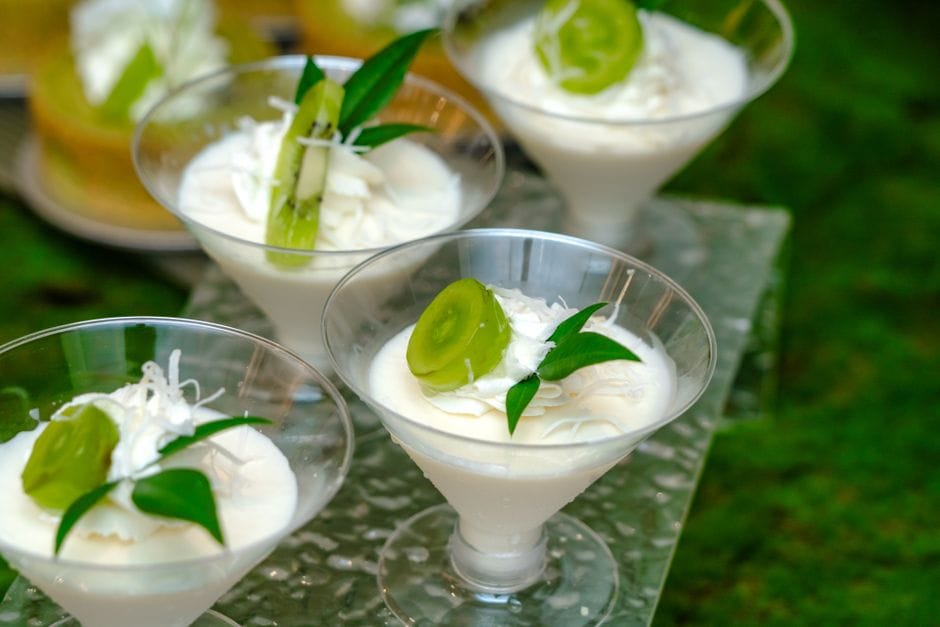
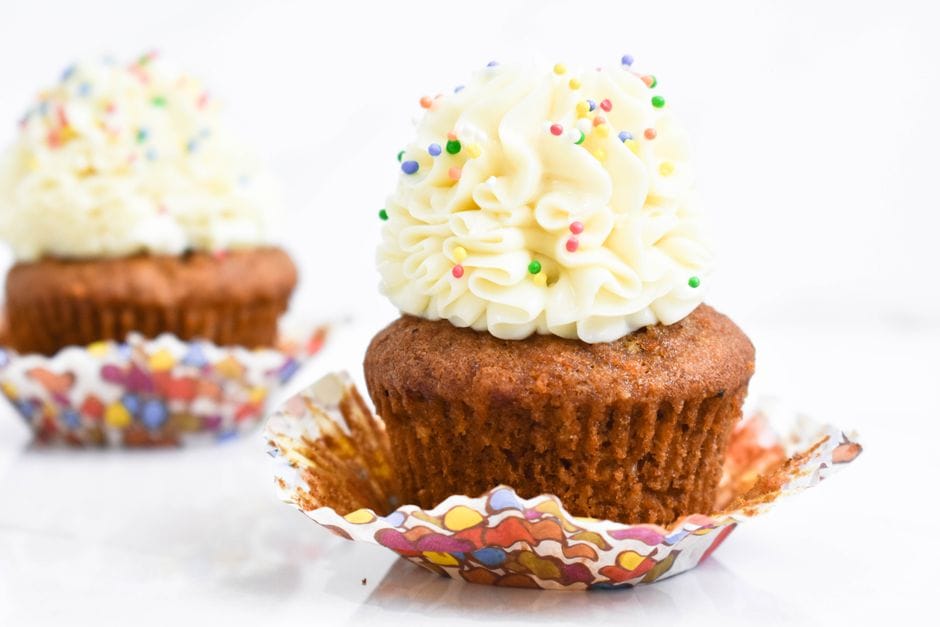 Photo: Mariam Shahbazi / Pexels
The recipe card above is my standard American buttercream, but the technique rewards a closer look because the order of operations is where people slip.
Start by beating the butter completely on its own for two to three minutes, until it turns visibly paler. This is not a throwaway step.
Creaming the butter alone first builds the aerated structure that everything else clings to, and skipping it is the single most common reason a frosting comes out dense and heavy. You should see it lighten in color, almost going from yellow to ivory.
Then add the sifted powdered sugar one cup at a time on low speed. I cannot say sifting strongly enough: lumps in powdered sugar do not beat out, they just sit there as gritty specks, and nobody wants a gritty rosette.
Add the salt and the alcohol-free vanilla, and only then start adding the plant milk a teaspoon at a time. The milk is there to loosen the frosting to a spreadable, pipe-able texture, not to thin it, so add the bare minimum.
I have flooded a perfectly good batch by dumping in milk all at once and chasing it with more sugar for ten minutes.
Finish with a long whip, three to five minutes on medium-high. This last stretch is what beats the air in and turns a dense paste into something light and silky. It is the difference between frosting that feels rich and frosting that feels heavy.
Stop, scrape the bowl, taste, and adjust. More salt or a squeeze of lemon if it reads too sweet, a little more sugar if too loose, a few drops of milk if too stiff.
American versus Swiss-style with aquafaba
There are two main camps in vegan buttercream and they suit different occasions. American buttercream is the one above: butter, powdered sugar, plant milk, beaten together. It is fast, sturdy, sweet, and it pipes like a dream, which makes it my default for cupcakes and kids' birthday cakes.
The honest downside is that it is quite sweet, because the sugar is doing structural work as well as flavor work.
Swiss-style vegan buttercream is the silkier, more grown-up version, and it leans on aquafaba, the liquid from a can of chickpeas, to stand in for the egg whites of a traditional Swiss meringue buttercream. You whip the aquafaba with sugar into a glossy, stable meringue first, then beat in softened vegan butter a tablespoon at a time until it comes together into something smooth, light, and noticeably less sweet than the American kind.
It tastes more like buttercream from a good bakery than from a tub.
Here is how I make it. Reduce three-quarters of a cup of aquafaba on the stove down to about half a cup to concentrate the proteins, then cool it completely.
Whip it with a quarter teaspoon of cream of tartar until foamy, then beat in three-quarters of a cup of superfine sugar a spoonful at a time until you have stiff, glossy peaks, around eight minutes. With the mixer running, add one cup of cool, firm vegan butter a tablespoon at a time.
It will look soupy and possibly curdled in the middle of this process, which is normal and terrifying the first time. Keep beating. It almost always pulls together into a thick, silky frosting within a minute or two.
If it stays soupy the butter was too warm, so chill the bowl fifteen minutes and re-whip.
I reach for Swiss when I want an elegant, not-too-sweet frosting for a layer cake I am proud of, and American when I want speed and a sturdy pipe. Both are real buttercream; they just sit at different points on the sweetness and effort scale.
Coloring and piping without ruining the texture
 Photo: Son Tung Tran / Pexels
Coloring vegan buttercream is straightforward as long as you respect one rule: use gel or paste colors, not liquid. Liquid food coloring adds water, and water is the enemy of a stable frosting, so even a teaspoon can loosen a stiff buttercream into something that will not hold a piped edge.
Gel colors are concentrated, so a toothpick-tip amount goes a long way without changing the consistency. Beat the color in fully before you judge the shade, because it deepens as it sits.
For piping, consistency is everything. A frosting that pipes clean sharp petals is slightly stiffer than one you would spread with a knife.
If yours is too soft to hold a tip's pattern, beat in a quarter cup more sifted powdered sugar, or chill it for fifteen minutes and re-whip. If it is too stiff and tearing at the edges, add a half teaspoon of plant milk.
The optional cornstarch in my recipe genuinely helps here, firming the structure so piped rosettes survive a warm room without slumping into blobs.
The thing that catches people is heat. Your hands warm the piping bag, the kitchen lights warm the cake, and suddenly the crisp lines you piped are going soft.
I keep a backup bowl of frosting in the fridge and swap to the cold one if my working batch starts to slacken. A frosted cake that has gone soft is not ruined, either: fifteen minutes in the fridge re-firms it completely.
A rich chocolate variation
Chocolate buttercream is the variation I make most, and there are two ways to get there. The quick way is to sift in a half cup of cocoa powder with the powdered sugar, reducing the sugar slightly to keep it from getting too sweet, and adding an extra splash of plant milk because cocoa is drying.
Use a good Dutch-process cocoa for a deeper color and a rounder flavor. This gives you a reliable, fudgy chocolate frosting in the same twelve minutes as the base recipe.
The richer way is to beat in melted, cooled dairy-free chocolate. Melt three to four ounces of good dark vegan chocolate, let it cool until it is just barely warm so it does not melt the butter, then beat it into the finished buttercream.
This produces a glossier, more intensely chocolate frosting, almost ganache-like in richness. If you want to go further still, a swirl of vegan chocolate ganache folded in, or used as a filling under the buttercream, makes a layer cake taste genuinely decadent.
Either chocolate route keeps the silky, non-greasy texture as long as your base technique was sound and the chocolate was cool, not hot, when it went in.
Is store-bought vegan frosting any good, and which brands are best
You will not always want to whip your own, and the tub category has gotten better, though it requires more label-reading than you would hope. The clearest plant-based options I trust are Miss Jones Organic Frosting and Simple Mills frostings, both of which are formulated to be vegan-friendly and read clean.
Several Pillsbury and Betty Crocker frostings also happen to contain no animal ingredients, which makes them popular accidental vegan picks.
Here is the honest caveat, because this is where people get caught. Mainstream frostings vary by flavor and reformulate over time. One flavor in a lineup might be fine while the cream-cheese or whipped variety in the same brand contains milk or whey.
Some sneak in confectioner's glaze, which is shellac and not vegan, or color additives like carmine. The blanket statement "Pillsbury frosting is vegan" is not safe; the specific tub in your hand is what matters.
Read the ingredient list every time and look for milk, butter, whey, casein, and shellac or confectioner's glaze.
When a label leaves me uncertain, I do one of two things. I paste the ingredient list into our vegan ingredient checker, which flags anything animal-derived in plain language, or I look the product up in our Is It Vegan database for a straight verdict.
It takes ten seconds and it has saved me from more than one whey surprise on a busy afternoon. For more dairy-free swaps beyond frosting, the substitutes hub is where I keep the rest of them.
A few honest failures, so you skip mine
I have made the mistakes so you do not have to. I have whipped a soft tub spread and gotten that oily slump on the first cake.
I have softened the butter too far in a warm kitchen and watched a perfect-looking frosting collapse into soup an hour later. I have skipped sifting once, in a hurry, and served cupcakes with faintly gritty rosettes that I could not un-grit.
And I have added liquid coloring to a stiff buttercream and turned it into something that would not hold a single petal.
Every one of those was a technique problem with a clean fix: firm stick butter, cool-but-pliable temperature, always sift, and gel colors only. None of them is hard once you know the trap is there.
My honest bottom line
Silky vegan buttercream is not a special skill, it is a couple of right choices made before you start. Use a firm, high-fat vegan butter in sticks rather than a soft tub spread, keep it cool and pliable, sift your powdered sugar, add plant milk only by the teaspoon, and whip it long enough to beat real air in.
That is the whole game, and it gives you frosting that pipes clean, sits out for hours, and never leaves a greasy film. When you want something more refined, take the extra twenty minutes for the Swiss-style version with aquafaba.
And when you reach for a tub instead, just turn it over and read the label first.
The recipe
Silky Vegan American Buttercream
Prep
12 min
Total
12 min
Makes
about 2.5 cups (560 g), enough to frost 12 cupcakes or fill and crumb-coat one 8-inch layer cake
Ingredients
- 1 cup (226 g) firm vegan butter, slightly cool but pliable (use a stick or block butter like Miyoko's, Violife, or Country Crock Plant Butter sticks, not a soft tub spread, which makes it greasy and runny)
- 3.5 to 4 cups (440 to 500 g) powdered sugar, sifted (sifting is non-negotiable; lumps will not beat out and you can taste them)
- 2 to 3 Tbsp unsweetened plant milk, cold (soy or oat hold up best; add a splash at a time only to loosen, never to thin)
- 1 tsp alcohol-free vanilla, or 1/2 tsp vanilla powder (standard vanilla extract is alcohol-based, so skip it)
- 1/4 tsp fine sea salt (cuts the sweetness and the fatty feel; do not skip)
- 1/2 tsp lemon juice (optional, brightens the flavor and sharpens against the richness)
- 1 Tbsp cornstarch or tapioca starch (optional, for a stiffer, more pipe-stable frosting in a warm kitchen)
Instructions
- 1 Take the butter out about 20 minutes before you start. You want it cool and pliable, dentable with a finger but not greasy-soft. Too warm and the frosting turns to soup later.
- 2 Beat the butter alone on medium-high for 2 to 3 minutes, until it is pale, smooth, and noticeably lighter in color. This step builds the structure; do not rush it.
- 3 Add the sifted powdered sugar one cup at a time on low speed, letting each addition disappear before the next. Going slowly keeps sugar out of your face and keeps the mix from breaking.
- 4 Add the salt, vanilla, optional lemon, and optional starch. Beat on low to combine, then raise to medium-high.
- 5 Add the plant milk one teaspoon at a time, only as much as you need to reach a smooth, spreadable, pipe-able consistency. It firms as it sits, so stop while it still looks slightly stiff.
- 6 Whip on medium-high for a final 3 to 5 minutes. This long whip beats in air, which is exactly what turns dense, greasy frosting into light and silky. Stop and scrape the bowl once.
- 7 Taste and adjust: more salt or lemon if it is too sweet, a touch more sugar if too soft, a few drops more milk if too stiff. Use right away, or chill and re-whip briefly before piping.
Notes
- ·If the frosting ever looks oily or splits, it got too warm. Chill the whole bowl for 15 minutes, then re-whip and it usually comes back together.
- ·For a stiffer frosting that holds sharp piped edges, lean toward the higher sugar amount and add the starch. For a softer, more spreadable finish, use less sugar and a touch more milk.
- ·It keeps covered in the fridge for up to a week. Bring it back to room temperature and re-whip for a minute before using, or it will be too hard to spread.
Calories
180 per 2 Tbsp
Protein
0 g
Fat
9 g
Carbs
25 g
Frequently asked questions
Why does my vegan buttercream taste greasy?+
Almost always it is the butter. Tub spreads and soft margarines are full of water and liquid oils, so they slump and leave an oily film on the tongue. Switch to a firm vegan butter sold in sticks or a solid block, like Miyoko's, Violife, or a plant-butter stick, and beat it cold-but-pliable rather than melting-soft. A pinch of salt and a squeeze of lemon also cut the fatty feel.
Is store-bought vegan frosting actually vegan?+
Some tubs are, but not all, and the same brand can vary by flavor. Miss Jones Organic and Simple Mills frostings are clearly plant-based, and several Pillsbury and Betty Crocker flavors happen to contain no animal ingredients. The catch is that formulations change and some flavors sneak in milk, whey, or confectioner's glaze, so you have to read the label on the exact tub. Paste the ingredient list into our checker if you are unsure.
What is the difference between American and Swiss vegan buttercream?+
American buttercream is just vegan butter beaten with powdered sugar and a splash of plant milk. It is fast, sweet, and sturdy for piping. Swiss-style buttercream whips aquafaba and sugar into a glossy meringue first, then beats in softened butter, which gives a silkier, less sweet, more luxurious frosting. American is the weeknight version; Swiss is the special-occasion one.
Can vegan buttercream sit out at room temperature?+
Yes, for several hours, which is one of its advantages over dairy-free whipped toppings. A frosted cake is fine on the counter for a day in a cool room. In a warm kitchen the butter softens and the frosting can slump, so chill the cake for fifteen minutes if it goes soft, and store it in the fridge for longer than a day, letting it come back to room temperature before serving.

Written by
VeganDigest Editorial is the small independent team that researches and fact-checks this site. We are not doctors or dietitians. For every is-it-vegan verdict we read the product's current ingredient list and manufacturer information, and for anything health-related we report guidance from recognized bodies such as the NHS, the Vegan Society, and the Academy of Nutrition and Dietetics rather than offering medical advice. Every page shows the date it was last verified, and our full process is on the How We Verify page.
Comments