5-Minute Vegan Ricotta (Tofu and Almond Versions)
- Gluten-free
In this guide8
The first time I made lasagna for my mother-in-law, I forgot to press the tofu. I remember pulling the pan out of the oven, golden and bubbling, feeling very pleased with myself, and then watching a small lake of grey water seep out the moment I cut into it.
The flavor was there. The structure had completely given up. She was kind about it.
I was not kind about it to myself.
That was years ago, and I have made tofu ricotta probably a hundred times since. It is genuinely one of the fastest, most useful things in my kitchen, and I want to save you the weepy-lasagna stage entirely.
There are two versions I make: a crumbly tofu one that takes five minutes and a creamier almond and cashew one for when I want something richer. Both are below. Neither requires a single specialty ingredient you can't find at a normal grocery store.
Why Dairy Ricotta Isn't Vegan
Let's clear this up first, because people are often surprised. Ricotta is dairy. There is no asterisk, no "it depends on the brand," no grey area for the traditional stuff.
It is milk-based and always has been.
The name itself gives it away. Ricotta means "recooked" in Italian, and the classic method is to take the leftover whey from making another cheese, reheat it, and collect the soft curds that float to the top.
So it's effectively a byproduct of cheesemaking, made from milk, start to finish. You can read the plain-language version of this on the Wikipedia ricotta entry if you want the full history.
Modern commercial versions often use whole milk directly rather than whey, but the point stands: it's an animal product, not vegetarian-friendly with a workaround, just dairy.
So if a recipe calls for ricotta and you want to keep it plant-based, you either buy a vegan version (more on brands further down) or you make it. Making it is faster than driving to the store, which is most of why I do it.
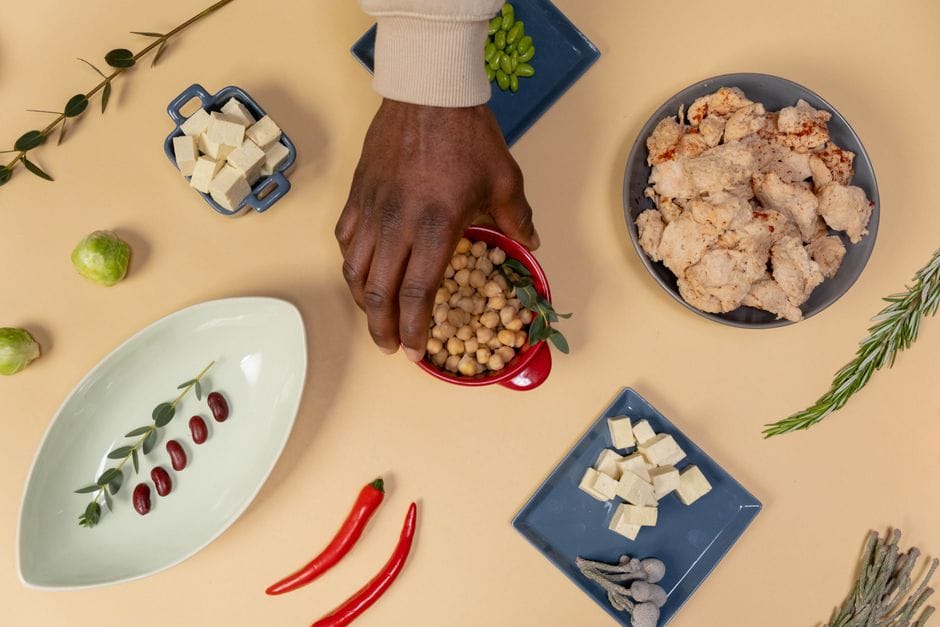
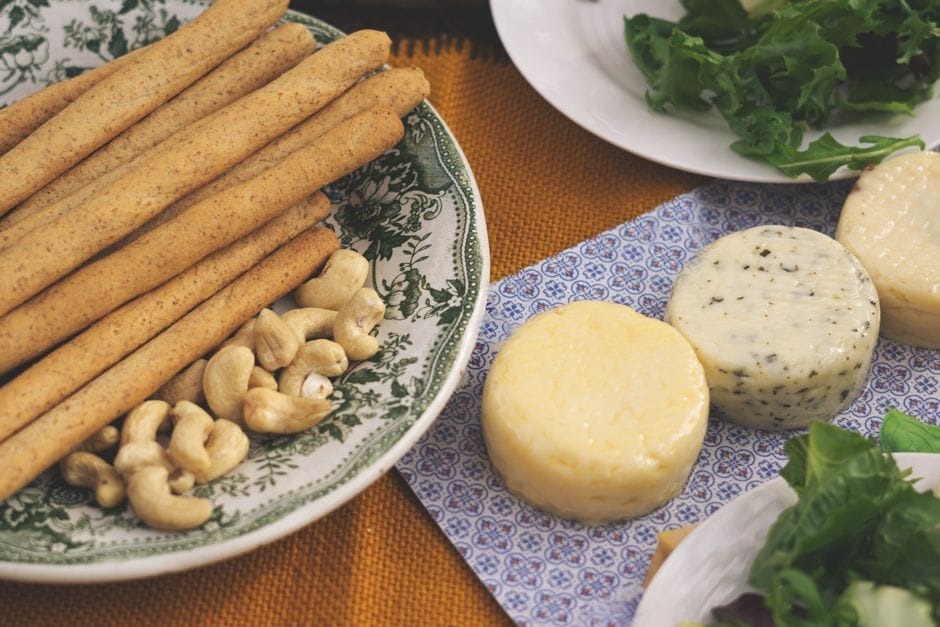
The 5-Minute Tofu Ricotta
 Photo: Loren Castillo / Pexels
This is my workhorse. The recipe card above has the exact amounts, but here's what's actually happening so you can adjust it to your taste.
You start with firm or extra-firm tofu, crumbled into small curds with your fingers. Then you add the four things that turn bland pressed soy into something that reads as ricotta: nutritional yeast for savory depth, lemon juice for the tang that real ricotta has, olive oil for richness, and salt.
A lot of salt, honestly, more than feels right at first. Garlic powder is optional but I almost always add it for savory bakes.
The texture is the whole game here. You want to mash it just enough that it holds together and looks fluffy, while leaving distinct little curds. If you blend it smooth, you've made something closer to tofu cream cheese, which is nice but isn't ricotta.
Fork-mashing is the move. It takes about ninety seconds.
If your tofu is new to you as an ingredient, the one thing to internalize is this: firm tofu is a sponge, and how you treat that sponge determines everything. Get the water out and season it boldly, and it will do almost anything you ask.
Don't Skip Pressing the Tofu
I will keep saying this because it is the difference between good ricotta and a disaster. Firm and even extra-firm tofu holds an enormous amount of water. You can't see it, but it's in there, and the moment you bake it that water comes out.
For a cold use, like a dollop on toast, you can get away with a quick squeeze in a towel. For anything that goes in the oven, lasagna and stuffed shells especially, you need to actually press it for fifteen minutes minimum.
I wrote a whole walkthrough on how to press tofu with the towel-and-heavy-pan method and a couple of faster shortcuts, because this one step fixes the single most common complaint people have.
Here is my honest test: after pressing, the tofu should feel noticeably denser and the towel should be damp, sometimes soaked. If the towel is dry, you didn't press long enough or your tofu was already very dry to begin with, which is rare.
When in doubt, press longer. I have never once regretted pressing too much.
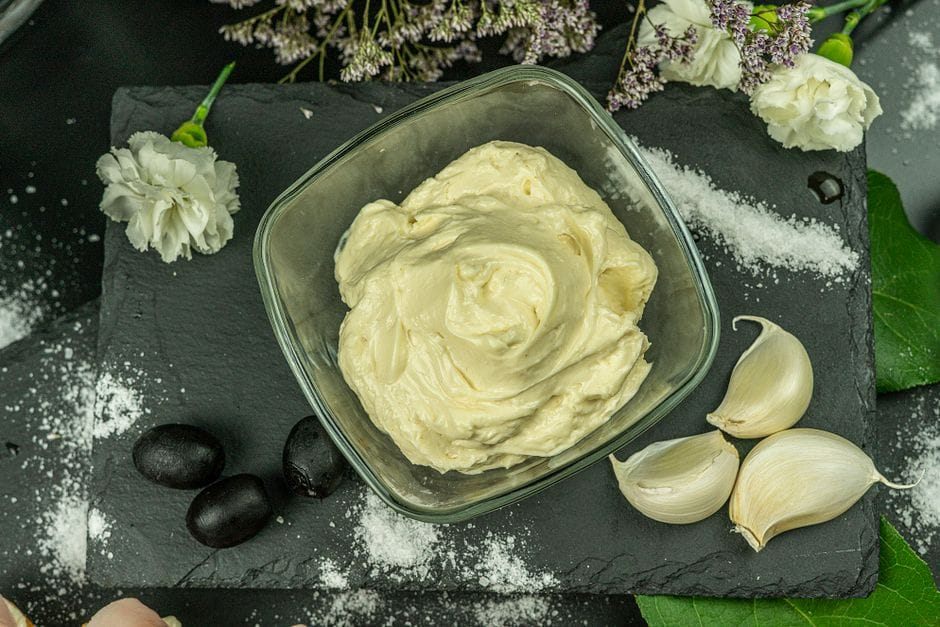
The Almond and Cashew Version
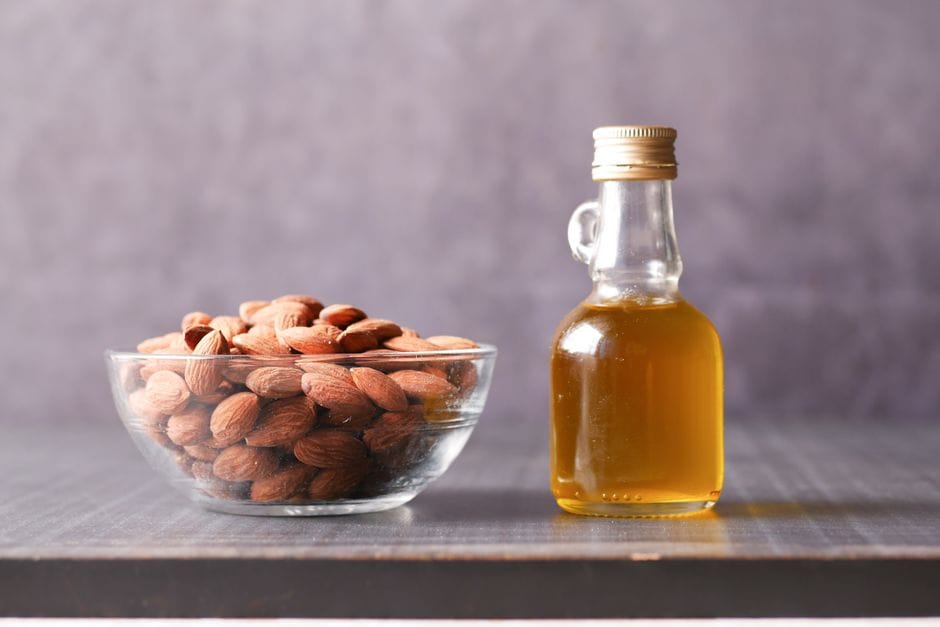 Photo: Towfiqu barbhuiya / Pexels
When I want something creamier and a little more indulgent, I reach for the nut version. This is the one for spreading thick on toast, swirling cold into a grain bowl, or topping a pizza where you want luscious white pools instead of crumbly curds.
The method is simple. Soak a cup of raw cashews or blanched almonds in hot water for about fifteen minutes to soften them, then drain and pulse them with lemon juice, a splash of water, salt, and a little nutritional yeast.
Cashews give you the smoothest, most neutral result. Blanched almonds are slightly sweeter and a touch more textured, which I actually love for a fresh-tasting summer ricotta. You can even do a fifty-fifty blend.
The one thing to watch: pulse, don't puree. If you run the blender too long you'll end up with nut butter, which is gluey and wrong for this. Short bursts, scraping down the sides, stopping while it still looks a little grainy.
If you've made cashew cream before, this is the same family of technique, just stopped earlier so it stays curd-like instead of pourable.
A note on the soak: if you don't have a high-speed blender, give the nuts longer in the hot water, up to thirty minutes, or boil them for ten. Softer nuts break down with less effort, which means you can stop blending sooner and keep that grainy curd.
A weak blender plus hard nuts is exactly how people accidentally over-process and end up with paste. The water does the work so the motor doesn't have to.
I also want to be honest about cost. A cup of cashews is not cheap, and this version uses a full cup for a modest amount of ricotta. The tofu version costs a fraction as much, which is part of why it's my default.
I save the nut version for when I specifically want that creamy richness and the price is worth it to me. Both are real options, just be clear-eyed about which one your week and your budget are asking for.
Texture Tips That Actually Matter
A few things I've learned the hard way, so you don't have to.
If your tofu ricotta tastes flat, it's under-salted, full stop. Tofu is so mild that salt is what convinces your brain this is cheese. Add it in small pinches and keep tasting until it tips from "bland" to "savory."
If your nut version turns gluey, you over-blended. There's no real fix once it's nut butter, so next time stop earlier. Grainy is the goal.
If your baked dish comes out watery, the tofu wasn't pressed. We covered this, but it's worth repeating because it's the number one issue.
And if you want a brighter, fresher flavor, add the lemon juice last and taste as you go. Some lemons are sharp, some are mild, and you can always add more but you can't take it out.
One more I get asked about often: how to make tofu ricotta feel less like tofu. The honest answer is fat and acid. The olive oil rounds out that slightly chalky soy edge, and the lemon lifts it.
If yours still reads a little beany, add another teaspoon of lemon and a real pinch more salt. A tiny bit of garlic powder also does a surprising amount of work to cover any lingering soy flavor.
The goal isn't to taste exactly like dairy ricotta, which has its own creamy-milky note, but to taste like a good fresh cheese in its own right. Once you stop chasing an identical copy and start aiming for delicious, it gets a lot easier.
Temperature matters too. Cold from the fridge, the tofu version firms up and the flavors mute slightly, which is great for baking but a little flat for eating straight.
If you're serving it cold on toast, let it sit out for ten minutes and taste again before deciding it needs more salt. Cheese almost always tastes better a touch closer to room temperature.
Is Store-Bought Vegan Ricotta Any Good? (And the Best Brands)
Yes, sometimes I buy it. On a busy week, a tub from the fridge is a perfectly good shortcut. The category has improved a lot.
The one I reach for most is Kite Hill, which makes an almond-milk ricotta that's genuinely creamy and bakes well. It's the closest store-bought match to the homemade almond version, and it ties right into the flavor I'm going for. Tofutti makes a soy-based "Better Than Ricotta" that's been around for years and works fine in baked pasta, though I find it a little softer.
Beyond those two, availability gets regional fast, and new plant-based cheese brands appear constantly.
Here's my honest advice on buying it: don't assume. Some products labeled "ricotta-style" or "ricotta alternative" still sneak in casein, the milk protein, which is not vegan even when a product is marketed as dairy-free.
Read the label every time, and if an ingredient name is unfamiliar, drop it into our vegan ingredient checker before you buy. For specific products and verdicts, our Is It Vegan database is the faster route than squinting at a tub in the aisle.
One quick rule of thumb: the word ricotta alone on a label almost always means dairy, so look for an explicit plant-based or vegan claim.
How to Actually Use It
This is where vegan ricotta earns its place in your fridge. A few of my regulars.
Lasagna. The classic, and where the tofu version shines. Layer it with marinara and pasta sheets exactly as you would dairy ricotta. Because pressed tofu ricotta is firm, it stays in tidy layers instead of melting away.
A shower of vegan parmesan over the top before baking is non-negotiable in my house.
Stuffed shells. Pipe or spoon the tofu ricotta into cooked jumbo shells, nestle them in sauce, and bake. The crumbly texture is perfect for this, holding its shape while going soft and warm. A handful of chopped spinach folded into the ricotta makes them feel fancy with zero extra effort.
Toast. This is the almond and cashew version's moment. Thick sourdough, a generous spread of creamy ricotta, a drizzle of good olive oil, flaky salt, and cracked pepper. Add sliced tomatoes in summer or a smear of fig jam when it's cold out.
It's the breakfast I make when I want to feel like I have my life together.
It also works stirred into baked pasta, dotted over pizza, folded into a vegetable galette, or layered into a savory tart. Anywhere a recipe wants soft white cheese, one of these two versions slots right in.
Which One Should You Make?
If you're baking, make the tofu version. It's faster, higher in protein, and holds its shape under heat. If you're spreading or eating it cold, make the almond and cashew version for that creamy richness.
And if you're new to making your own dairy swaps at all, start with the tofu one. It's nearly impossible to ruin as long as you press the tofu and salt it properly.
That's really the whole thing. Two recipes, five minutes each, no specialty ingredients, and both of them better than they have any right to be. Press your tofu, salt it like you mean it, and you'll never stress about a ricotta-shaped hole in a recipe again.
My mother-in-law, for what it's worth, has had the properly pressed version since. No lake this time.
The recipe
5-Minute Tofu Ricotta
Prep
5 min
Total
5 min
Makes
About 2 cups (roughly 450 g), enough for one 9x13 lasagna
Ingredients
- 1 block (14 oz / 400 g) firm or extra-firm tofu, pressed for at least 15 minutes
- 3 Tbsp nutritional yeast, for a savory, faintly cheesy depth
- 2 Tbsp fresh lemon juice (about half a lemon), for the tang real ricotta has
- 2 Tbsp extra-virgin olive oil, for richness and to bind the crumbs
- 3/4 tsp fine sea salt, then more to taste
- 1/2 tsp garlic powder (optional, lovely in savory bakes)
- 1 to 2 Tbsp unsweetened plant milk, only if you want it creamier
Instructions
- 1 Press the tofu first. Wrap the block in a clean towel, set a heavy pan on top, and leave it 15 minutes so the water drains out.
- 2 Crumble the pressed tofu into a bowl with your hands. Break it into small, ricotta-sized curds, not a paste.
- 3 Add the nutritional yeast, lemon juice, olive oil, salt, and garlic powder if using.
- 4 Mash and fold with a fork until it looks like fluffy ricotta. Leave some texture. You want curds, not a smooth puree.
- 5 Taste. It will need more salt than you think. Add a pinch at a time until it tastes savory and bright.
- 6 If you want it creamier for toast or a cold dollop, mash in 1 to 2 Tbsp plant milk. For lasagna, skip it and keep it firm.
- 7 Use right away or chill. It firms up slightly in the fridge and keeps about 5 days.
Notes
- ·Almond and cashew version: soak 1 cup (130 g) raw cashews or blanched almonds in hot water for 15 minutes, drain, then blend with 2 Tbsp lemon juice, 2 Tbsp water, 1/2 tsp salt, and 1 Tbsp nutritional yeast. Pulse, don't puree, so it stays grainy like ricotta.
- ·Under-salted ricotta tastes like wet tofu. Salt is what makes it read as cheese, so don't be shy.
- ·Pressing is the single most important step for baked dishes. Skip it and your lasagna weeps water.
Calories
90 per 1/4 cup
Protein
7 g
Fat
6 g
Carbs
2 g
Frequently asked questions
Is store-bought ricotta vegan?+
No, regular ricotta is dairy. It's traditionally made by reheating the leftover whey from cheesemaking, so it's an animal product through and through. A few brands now sell plant-based versions, but the default tub in the dairy aisle is never vegan. Always check the label or run it through a vegan ingredient checker if you're unsure.
Which is better, tofu or almond ricotta?+
It depends on what you're making. The tofu version is crumbly, high-protein, and holds up beautifully baked into lasagna and stuffed shells. The almond and cashew version is creamier and richer, so it's the one I want spread on toast or dolloped cold. I keep both in rotation and pick based on the dish.
Why is my tofu ricotta watery?+
Almost always because the tofu wasn't pressed enough. Firm and extra-firm tofu still holds a surprising amount of water, and that water leaks out when it bakes, leaving you with soup. Press it for at least 15 minutes, or longer if you have time. The texture difference is night and day.
Can I freeze vegan ricotta?+
The tofu version freezes well and thaws back to a usable texture, though it gets a touch crumblier, which is fine for baked dishes. The almond and cashew version separates a little when frozen, so I'd rather make a fresh batch since it only takes five minutes. Both keep about five days in the fridge.

Written by
VeganDigest Editorial is the small independent team that researches and fact-checks this site. We are not doctors or dietitians. For every is-it-vegan verdict we read the product's current ingredient list and manufacturer information, and for anything health-related we report guidance from recognized bodies such as the NHS, the Vegan Society, and the Academy of Nutrition and Dietetics rather than offering medical advice. Every page shows the date it was last verified, and our full process is on the How We Verify page.
Comments