How to Cook Quinoa (Fluffy, Never Mushy)
 Jump to recipe ↓
 In this guide8
- 01Why rinsing matters more than you think
- 02The ratio that fixes the mush: 1 to 1.5
- 03Toasting the quinoa first, the step worth doing
- 04The simmer and the rest off the heat
- 05The protein angle: why quinoa earns its hype
- 06Storage and meal prep, the way I actually do it
- 07Common mistakes, and what failed when I tried it
- 08My reliable, repeatable method
The first time I cooked quinoa, around 2014, I followed the box exactly and ended up with something between wet sand and porridge. I remember standing over the pot thinking the internet had lied to me.
Everyone said quinoa was this magic protein grain, and what I had was a bitter, gluey beige mound that nobody at the table wanted seconds of. It put me off the stuff for a solid year.
Here is what nobody on that box told me: quinoa is genuinely easy to cook well, but it punishes two specific lazy habits. You have to rinse it, and you have to use less water than the package says.
Get those two things right and you get light, separate grains with a faint nutty bite that hold their shape in a salad or under a curry. Get them wrong and you get the sad porridge of my early twenties.
So this is the method I have used a few hundred times since, plus the toasting trick that turns quinoa from a fine grain into one I actually crave.
Why rinsing matters more than you think
Let me start with the step most people skip, because it is the single biggest reason quinoa tastes bad. Quinoa seeds are coated in saponins, a naturally bitter, slightly soapy compound the plant produces to keep insects and birds from eating the seed.
It is doing its job a little too well on your tongue. If you have ever cooked quinoa straight from the bag and found it weirdly bitter or with an aftertaste like dish soap, that is the saponins, not the quinoa itself.
The fix takes about thirty seconds. Tip the quinoa into a fine-mesh sieve, because the grains are small enough to slip through a regular colander, and run cold water over it.
Swish it around with your fingers for half a minute until the water running through goes clear instead of cloudy. That cloudy, slightly foamy water is the saponins rinsing away. Shake off the excess and you are done.
A few brands sell quinoa labeled pre-rinsed, and that is mostly honest. Bob's Red Mill and a lot of store-brand bags have already stripped the saponins at the factory.
With those you can skip the rinse, though I usually give it a quick pass anyway to wash off any dust from the bag. If the bag says nothing about rinsing, assume it needs it.
The quinoa plant, a relative of spinach and beets rather than a true cereal grain, has been cultivated in the Andes for thousands of years, and that saponin coat is exactly why traditional growers have always washed it before eating.
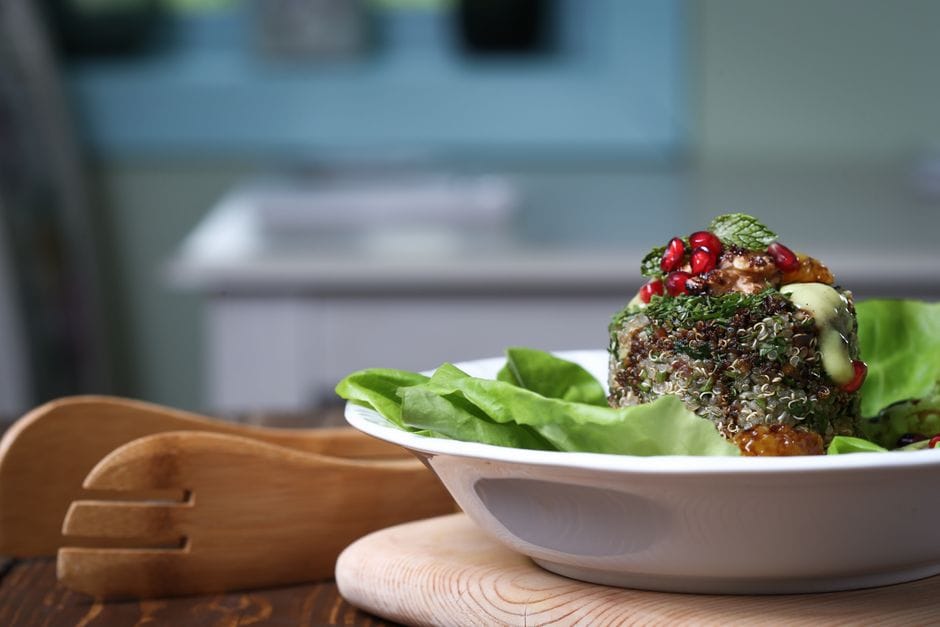
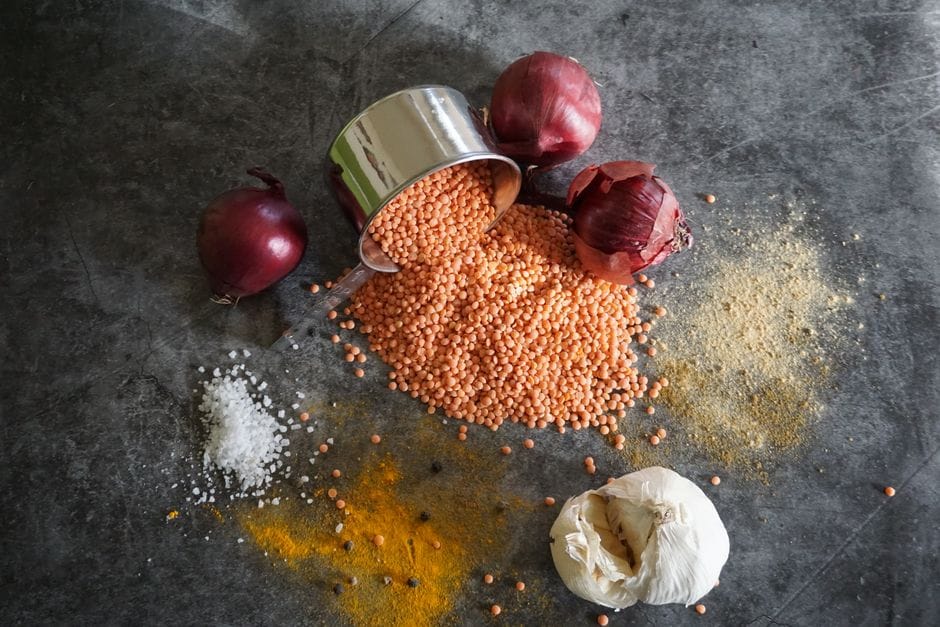
The ratio that fixes the mush: 1 to 1.5
 Photo: Pixabay / Pexels
This is the number that changed everything for me. Most boxes tell you two cups of water to one cup of quinoa. Ignore that.
Two to one is how you make porridge. The grain absorbs roughly its own volume in water, and a flood of extra liquid just leaves it waterlogged and gummy.
Use 1 cup of quinoa to 1.5 cups of liquid. That is the whole secret to fluffy quinoa, and it works because there is just enough water for the seeds to swell and split open, showing those little curly white tails, without any left over to stew them.
I measure with the same cup for both so the proportion stays honest.
You can use water, but I almost always cook quinoa in vegetable broth because plain quinoa is a bit flat on its own. A good low-sodium broth, or even just water with half a teaspoon of salt stirred in, makes the difference between a side dish people ignore and one they go back for.
If you are using a packaged broth or bouillon, it is worth a quick check that nothing animal-derived sneaked in, since some stocks hide it. I run the brand through the vegan ingredient checker or look it up in the Is It Vegan database before it goes in the pot.
Toasting the quinoa first, the step worth doing
Here is the upgrade that took me years to bother with, and I am annoyed I waited. Before you add any liquid, toast the rinsed quinoa in the dry pot for a couple of minutes. It deepens the flavor from mildly nutty to genuinely toasty and savory, the same way toasting nuts or spices wakes them up.
The catch is that you have to dry it slightly first, because you just rinsed it. After draining, I let the quinoa sit in the sieve for a minute, then tip it into a dry saucepan over medium heat.
Stir it around with a wooden spoon for two to three minutes until you hear faint popping and it smells like warm popcorn or hazelnuts. Do not walk away, because the line between toasted and scorched is short, and burnt quinoa is bitter in a whole new way.
A small splash of oil before toasting is optional. I sometimes add a teaspoon of olive oil or a knob of vegan butter for a richer result, especially if the quinoa is going into a pilaf. Once it is toasted, pour in your 1.5 cups of liquid, stand back from the steam, and move on to the simmer.
The simmer and the rest off the heat
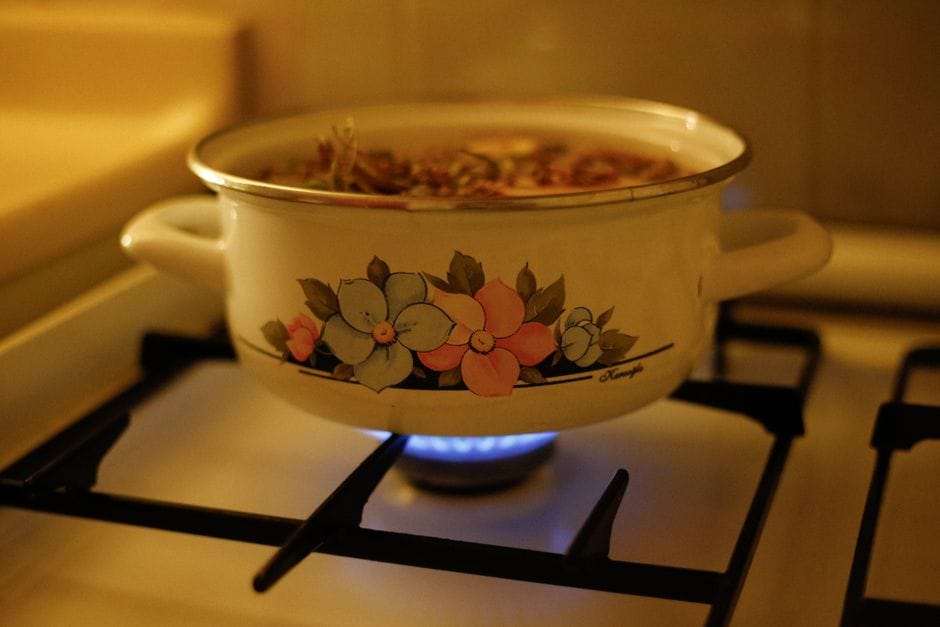 Photo: betül nur akyürek / Pexels
Now the part where most recipes rush you, and where the rest of the magic happens. Once the liquid is in, bring it up to a boil, then immediately drop it to the lowest simmer your stove will hold and clamp the lid on. You want the gentlest bubble, not a rolling boil that throws grains against the lid.
Let it simmer covered for about 15 minutes. Resist the urge to lift the lid and stir, because stirring quinoa mid-cook releases starch and makes it claggy, the same way over-stirring rice does. At 15 minutes, most of the liquid should be absorbed and you should see those little holes and tunnels forming on the surface where steam escaped.
Then comes the step that actually delivers fluffy quinoa: take the pot off the heat completely and leave the lid on for another 10 minutes. Do not skip this.
During that rest, the residual steam finishes cooking the grains and, more importantly, the quinoa redistributes its moisture and dries out from gummy to fluffy. When I plate quinoa straight off the stove without resting, it is noticeably wetter and clumps together.
Ten minutes off the heat fixes that for free. Only after the rest do you take the lid off and fluff it with a fork, lifting and separating rather than stirring or mashing.
The protein angle: why quinoa earns its hype
The reason quinoa got famous, and the reason it deserves a spot in a plant-based kitchen, is the protein. Most grains are decent but incomplete protein sources, missing or short on one or more of the essential amino acids your body cannot make itself.
Quinoa is one of the rare exceptions. It contains all nine essential amino acids in meaningful amounts, including lysine, the one most grains are low in, which makes it what people loosely call a complete protein.
In real numbers, a cooked cup of quinoa carries roughly 8 grams of protein, plus a solid hit of fiber, iron, and magnesium. That is about double what you get from the same amount of white rice.
It will not single-handedly cover your day, and I would never tell anyone to lean on quinoa as their main protein the way you would on lentils, beans, or tofu. But as the carbohydrate base of a meal, it quietly does far more work than couscous or rice, and that adds up.
If you are mapping out where your daily protein actually comes from on a vegan diet, quinoa is a useful supporting player, and our full guide on getting enough protein walks through how the pieces fit together.
One practical note: pairing quinoa with legumes or a sprinkle of nutritional yeast stacks the protein and rounds out the amino acids even further, which is why a quinoa-and-black-bean bowl is such a reliable, filling lunch.
Storage and meal prep, the way I actually do it
Quinoa is one of the best things you can batch-cook, and it is a fixture in my weekly prep. Cooked and cooled, it keeps in an airtight container in the fridge for about 4 to 5 days.
The key is to cool it reasonably fast and not seal hot quinoa into a sealed tub, where the trapped steam turns it soggy and shortens its life. I spread mine on a plate or sheet pan for a few minutes first, then box it up.
It also freezes beautifully, which surprised me the first time. Portion cooled quinoa into bags or containers, flatten the bags so they stack, and freeze for up to a couple of months.
To reheat, I either microwave it straight from frozen with a teaspoon of water to bring back a little steam, or tip it into a hot pan. Frozen-then-reheated quinoa holds its texture far better than frozen rice does, and it never goes mushy on me.
For prep, I almost always cook a double batch on the weekend, around 2 cups of dry quinoa, and use it three or four ways: cold in a salad with chopped cucumber and a lemony dressing, warm under a stew, fried in a pan like fried rice, or stirred into a bowl with roasted vegetables. Cold quinoa is genuinely good, unlike a lot of grains that turn hard in the fridge, which is part of why it earns its spot in my rotation.
Common mistakes, and what failed when I tried it
Let me save you the experiments I have already botched. The biggest mistake, by far, is too much water. If your quinoa is wet and gluey, you used a two-to-one ratio or skipped the rest.
Drop to 1.5 to 1 and let it sit off the heat, and the problem disappears.
The second is not rinsing, which gives you that bitter, soapy edge no amount of seasoning fully hides. I once cooked an unrinsed bag for a guest and spent the whole meal apologizing.
Third is stirring during the simmer. Quinoa, like rice, gets starchy and clumpy if you agitate it while it cooks. Lid on, leave it alone, fork it only at the end.
Fourth, and this one cost me a pot, is boiling it too hard. I once left it at a full rolling boil thinking it would cook faster. The bottom scorched, the top was still crunchy, and the whole thing tasted burnt.
Lowest simmer, every time.
And finally, undercooking from impatience. If you lift the lid at 15 minutes and there is still a puddle of water, it is not done. Put the lid back, give it the rest, and let the steam finish the job.
Crunchy, chalky centers mean it needed more time or more rest, not more water. If you want to build a whole meal around it, the same fluff-not-mush logic applies to most grains and pulses in our how-to guides.
My reliable, repeatable method
Strip all of it down and here is what I actually do, every time, without thinking. Rinse 1 cup of quinoa in a fine-mesh sieve until the water runs clear. Drain it, toast it dry in the pot for two to three minutes until it smells nutty.
Add 1.5 cups of broth or salted water. Boil, then drop to the lowest simmer and cover for 15 minutes. Pull it off the heat and let it rest, still covered, for 10 minutes.
Fluff with a fork.
That is the whole thing. Once you stop trusting the two-to-one ratio on the box and start respecting the rest off the heat, quinoa goes from a grain you tolerate to one you reach for.
Make a double batch, keep it in the fridge, and you have got the base of half a week's lunches sorted in under half an hour of actual attention.
The recipe
How to Cook Quinoa (Fluffy, Never Mushy)
Prep
2 min
Cook
25 min
Makes
3 servings (about 3 cups cooked)
Ingredients
- 1 cup quinoa
- 1.5 cups vegetable broth or salted water
- 1 teaspoon olive oil or vegan butter (optional, for toasting)
Instructions
- 1 Rinse 1 cup of quinoa in a fine-mesh sieve under cold water for about 30 seconds, swishing with your fingers until the water runs clear. Shake off the excess and drain.
- 2 Tip the drained quinoa into a dry saucepan over medium heat. Toast for 2 to 3 minutes, stirring with a wooden spoon, until you hear faint popping and it smells nutty like warm popcorn. If using oil, add it before toasting. Do not walk away.
- 3 Pour in 1.5 cups of broth or salted water, standing back from the steam. Bring to a boil.
- 4 Drop the heat to the lowest simmer your stove will hold and clamp the lid on. Simmer covered for 15 minutes without lifting the lid or stirring.
- 5 Take the pot off the heat completely, keeping the lid on, and let it rest for 10 minutes. Do not skip this step.
- 6 Remove the lid and fluff with a fork, lifting and separating the grains rather than stirring or mashing. Serve immediately or cool for storage.
Notes
- ·Use a fine-mesh sieve for rinsing, not a regular colander, as quinoa grains are small enough to slip through.
- ·Skip rinsing only if the bag is labeled pre-rinsed (such as Bob's Red Mill and many store-brand bags).
- ·The 1.5 to 1 liquid ratio is the key difference from most package instructions, which say 2 to 1 and produce mushy quinoa.
- ·Do not stir during the simmer. Like rice, quinoa turns starchy and clumpy if agitated while cooking.
- ·For high-altitude or very dry climates, nudge the liquid to 1.6 cups.
- ·Cooked quinoa keeps in an airtight container in the fridge for 4 to 5 days, or freeze for up to 2 months.
- ·For a double batch, use 2 cups quinoa and 3 cups liquid.
Protein
8g
Frequently asked questions
Do I really have to rinse quinoa before cooking it?+
For most quinoa, yes, unless the bag says pre-rinsed. The outer coating carries saponins, a natural compound that tastes bitter and slightly soapy. Rinsing for thirty seconds under cold water washes most of it away. Pre-rinsed brands like Bob's Red Mill and many store-brand bags have already done this step for you, so a rinse there is optional and mostly about removing dust.
What is the correct water to quinoa ratio?+
Use 1 cup of quinoa to 1.5 cups of water or broth. The packets often say two to one, which is where the mush comes from. With one and a half to one you get separate, fluffy grains every time. If you live somewhere very dry or high up, nudge it to 1.6 cups, but start with 1.5 and adjust from there.
Why is my quinoa always mushy and wet?+
Almost always too much water and not enough resting. If you drown it at two to one and then dump it straight onto a plate while it is still steaming, the grains sit in their own moisture and turn gummy. Cut the water to 1.5 to 1, then pull the pot off the heat, keep the lid on, and let it rest ten minutes before you fluff. That rest is what dries the grains out.
Is quinoa a complete protein?+
Yes. Quinoa is one of the few plant foods that contains all nine essential amino acids in usable amounts, which is unusual for a grain-like seed. A cooked cup delivers around 8 grams of protein along with fiber and iron. It will not replace beans or tofu as your main protein, but it does far more heavy lifting in that department than rice or couscous.

Written by
VeganDigest Editorial is the small independent team that researches and fact-checks this site. We are not doctors or dietitians. For every is-it-vegan verdict we read the product's current ingredient list and manufacturer information, and for anything health-related we report guidance from recognized bodies such as the NHS, the Vegan Society, and the Academy of Nutrition and Dietetics rather than offering medical advice. Every page shows the date it was last verified, and our full process is on the How We Verify page.
Comments