How to Roast Chickpeas (Crispy and Stays Crispy)
In this guide7
The first dozen times I roasted chickpeas, I did everything the recipe told me and still ended up with a sheet pan of sad, chewy pebbles. They looked crisp. They smelled incredible.
And the second I bit into one, it gave way with that disappointing leathery squish instead of the shattering crunch I was promised. I assumed roasted chickpeas were just one of those internet foods that look better than they taste, and I gave up on them for about a year.
Then I got obsessed, in the way I do, and roasted batch after batch until I understood exactly where they go wrong. The good news is that crispy roasted chickpeas are genuinely easy.
The bad news, if you can call it that, is that almost every step that matters happens before and after the oven, not in it. Get the drying right, get the timing of your seasoning right, and store them properly, and you get a snack that actually crunches.
Here is the whole method, including the parts I had to learn the embarrassing way.
Start with the right chickpeas
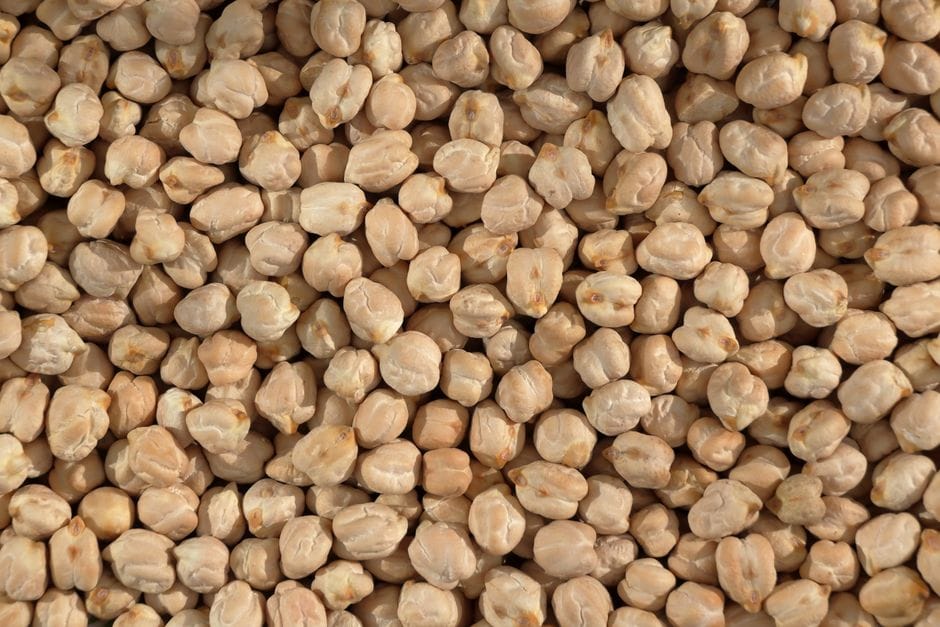
You can roast either canned chickpeas or ones you cooked from dried, and honestly both work well. I usually reach for canned because roasting is a low-stakes use that does not need the superior texture of from-scratch beans, and a can is fast.
Two 15-ounce cans give you roughly three cups of chickpeas, which cooks down to about two cups of finished snack.
If you do start from dried, cook them until they are tender but still holding their shape, not falling apart. Blown-out, mushy chickpeas roast into hollow shells that crumble to dust.
For the full method on getting cooked chickpeas to the right doneness, that is its own topic, but the short version is to stop them the moment they are creamy in the center and still intact. Overcooked beans are the single most common reason a batch will not crisp.
One quick aside on the can itself. Most plain canned chickpeas are just chickpeas, water, and salt, but flavored or pre-seasoned varieties sometimes sneak in additives you might not want.
If you are ever unsure whether a brand or an added ingredient is plant-based, I run it through the vegan ingredient checker or look the product up in the Is It Vegan database before it goes anywhere near my oven.
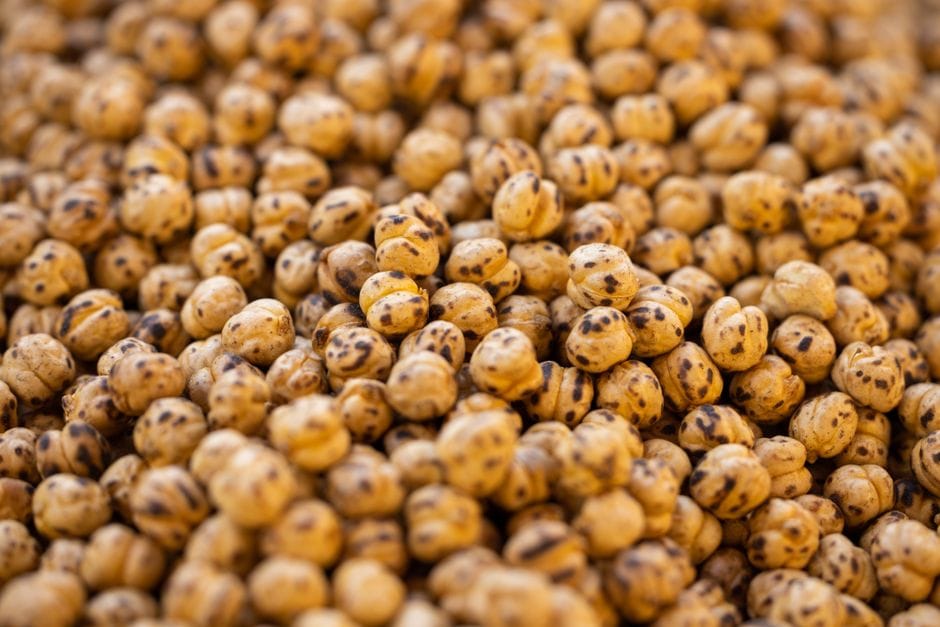
Dry them like you mean it
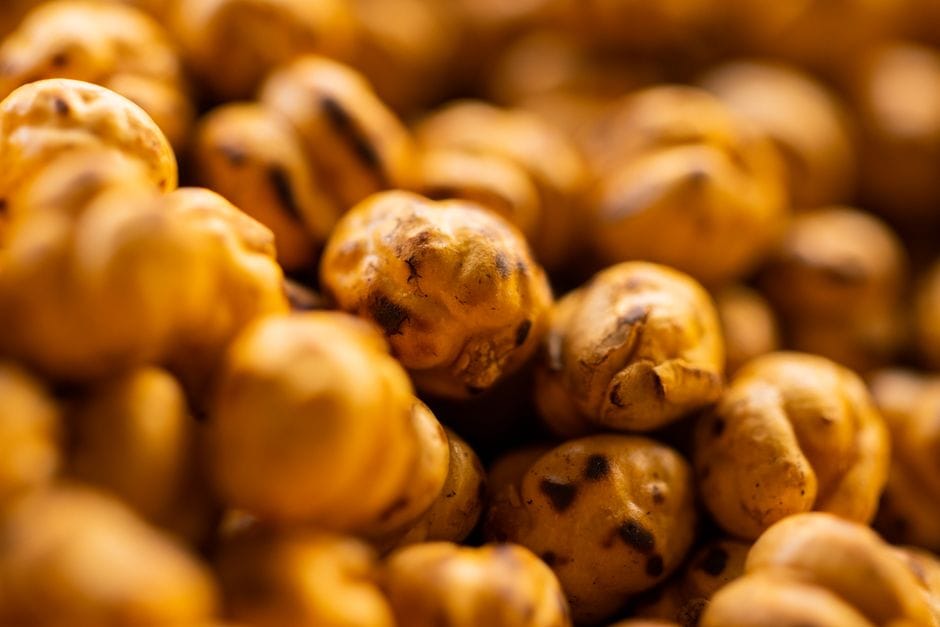 Photo: Engin Akyurt / Pexels
This is the step that separates crunchy from chewy, and it is the one nearly everyone underdoes, including past me. Roasting is really just evaporating water until the starch and protein on the surface harden into a crust.
Every drop of water clinging to a chickpea when it goes in the oven is water that has to boil off before any browning starts, and that delay is what leaves you with pale, tough beans.
Drain and rinse your chickpeas, then spread them out on a clean kitchen towel or a few layers of paper towel. Lay a second towel on top and roll them around gently, pressing as you go.
You want them visibly dry, not damp, with no shine of water on the surface. While you are at it, this is when a lot of the papery skins rub loose.
I pick out the ones that detach and leave the rest, since the loose floating skins are the bits most likely to stay leathery.
Here is a trick I picked up that genuinely helped: after towel-drying, let the chickpeas sit out on the dry towel for ten or fifteen minutes while the oven heats. Air-drying pulls off even more surface moisture.
Some people go further and refrigerate them uncovered for an hour, which works, but I rarely have the patience and the air-dry is enough most days. If you remember one thing from this whole guide, make it this: dry chickpeas crisp, wet chickpeas steam.
Oil and salt, then roast at 400F
Now, and only now, do you add fat. Tip the dry chickpeas into a bowl and toss them with about one and a half tablespoons of oil per can, plus a good pinch of salt.
The oil helps conduct heat and brown the surface, and salt at this stage seasons them as they roast. I use a neutral oil like avocado or a light olive oil.
You want them lightly coated and glossy, not swimming, because a puddle of oil on the pan just fries the bottoms and steams the tops.
Spread them in a single layer on a rimmed baking sheet with plenty of space between them. Crowding is a quiet killer here. Chickpeas packed together trap steam against each other and end up soft in the middle of the pan even when the edges crisp.
If you are doing two cans, use two pans rather than one crowded one.
Roast at 400F, which I have found is the sweet spot. Lower, around 375F, and they dry out slowly without ever getting that glassy crunch. Higher, at 425F or above, and the outsides scorch before the insides finish drying, leaving you with bitter, hollow husks.
At 400F a batch takes 30 to 40 minutes. Give the pan a shake or a stir every 10 minutes or so to roll them and brown them evenly.
They are done when they are deep golden, rattle around the pan loudly, and a test chickpea shatters rather than bends when you bite it. Pull one and taste it before you commit; ovens vary, and the sound and the bite tell you more than the clock does.
Season after, not before, and here is why
 Photo: Mustafa Akın / Pexels
I learned this one by ruining several batches. The instinct is to toss the chickpeas with all your spices and the oil up front, throw them in, and walk away.
The problem is that ground spices and dried herbs are mostly tiny particles with very little water and a lot of sugar and oils, and over 30 to 40 minutes at 400F they burn. Garlic powder goes acrid. Paprika turns from sweet and red to scorched and bitter.
Dried herbs basically turn to ash.
So the rule is simple. Oil and plain salt go on before roasting. Everything else, all your ground spices, your dried herbs, any extra salt, goes on the instant the chickpeas come out of the oven.
Have your spice mix measured and waiting in a bowl. The moment the pan comes out, while the chickpeas are blisteringly hot and still slick with oil, dump them straight into the bowl and toss.
The residual heat blooms the spices and the oil makes them cling, so the flavor is bright and deep instead of charred. It is the difference between roasted chickpeas that taste like the spice and ones that taste vaguely burnt, and I have served enough of both to be sure.
Flavor combinations that actually work
Once you have the technique down, the seasoning is the fun part, and you can go in any direction. These are the combinations I make on repeat, all added after roasting.
Smoky and savory is my default: smoked paprika, garlic powder, a little cumin, and flaky salt. It tastes like a campfire snack and disappears fastest at gatherings.
For a cheesy, umami hit, toss the hot chickpeas with a couple of tablespoons of nutritional yeast plus garlic powder and salt; the nooch turns them into something close to a popcorn-cheese flavor, and if you are new to it, the basics of nutritional yeast are worth a read because it is a workhorse in the plant-based pantry.
For heat, I go with cayenne, smoked paprika, and a pinch of brown sugar for a sweet-hot balance. A ranch-style version with dried dill, garlic powder, onion powder, and a little salt is shockingly good and tastes great scattered over a salad.
And for something sweeter, toss them while warm with cinnamon and a teaspoon of maple syrup, then return them to the turned-off but still hot oven for five minutes so the syrup sets rather than staying sticky. That last one is the only time I add anything before the chickpeas have fully cooled, and even then it is after roasting, never before.
Why they go soft, and the trick that keeps them crisp
This is the question that sent me down the whole rabbit hole, so let me be specific. Roasted chickpeas go soft for two reasons, and both come down to water.
First, the inside of a roasted chickpea is never fully bone dry. The crust crisps, but the center still holds some moisture, and over time that water migrates outward and softens the shell from within.
Second, and bigger, chickpeas are hygroscopic, which means they actively pull moisture out of the surrounding air. Trap them in a humid environment and they will go from crunchy to chewy in a couple of hours.
The single most common mistake, and the one I made constantly, is sealing them in a jar or a lidded container while they are still warm. A warm chickpea is still giving off steam, and a sealed container traps that steam, which condenses and soaks straight back into the crust.
You can roast a perfect, shattering-crisp batch and turn it leathery in 30 minutes just by capping it too soon.
So here is the crisp-keeping trick, and it is almost annoyingly simple. Let the chickpeas cool completely on the pan, uncovered, before you touch them.
Then store them loosely and uncovered, or in a container with the lid left ajar or cracked, at room temperature, never in the fridge. The fridge is humid and cold, which is the worst possible environment, and a tightly sealed jar runs a close second.
A bowl on the counter with a paper towel laid over the top is genuinely better than an airtight container. Honestly, roasted chickpeas are best within a day or two no matter what you do, so I roast smaller batches more often rather than fighting to keep a big one crisp all week.
And when they do soften, do not throw them out. Spread them back on a pan and re-crisp them in a 350F oven or an air fryer for five to eight minutes, and they come right back. I keep a soft batch around just for that.
Snacking, salads, and beyond
The obvious use is as a snack, eaten by the handful, and they are a brilliant one. They are protein-rich, fiber-heavy, and far more satisfying than chips.
According to the USDA FoodData Central database, chickpeas bring a solid amount of plant protein and fiber per serving, which is part of why a bowl of them actually holds you over instead of leaving you hungry an hour later.
But the move I make most often is using them as a topper. Crispy roasted chickpeas are the best vegan crouton there is.
Scatter them over a kale Caesar, a grain bowl, a creamy soup, or a roasted vegetable salad and they add crunch and substance the way bacon bits or croutons would. The trick when topping is to add them at the very last second, right before serving, because the moment they hit a wet dressing or a hot soup they start to soften.
I keep them in a separate bowl on the table and let people add their own.
They also crush into a coarse crumb that works as a crunchy coating or a finishing sprinkle, and they make a great addition to a snack mix alongside nuts and pretzels. If you are building out a plant-based kitchen and want more staples that earn their place, my notes on how to stock a vegan pantry cover the things I always keep on hand, and the wider how-to guides go deep on the techniques behind them.
Roast a batch this week and pay attention to two things only: dry the chickpeas until they squeak, and let them cool completely before you cover them. Those two habits do more for crunch than any fancy seasoning ever will, and once they are second nature you will have a snack that crackles every single time.
Frequently asked questions
Why do my roasted chickpeas go soft after a few hours?+
Chickpeas are hygroscopic, which means they pull moisture from the air, and the inside of a chickpea still holds water even after roasting. If you seal them in a jar or container while they are even slightly warm, the trapped steam condenses and softens the crust within an hour. Cooling them fully on the pan and storing them loosely, uncovered, at room temperature keeps them crisp far longer.
Should I season chickpeas before or after roasting?+
Toss them in oil and salt before they go in the oven, but add ground spices and dried herbs after they come out. Most spices, especially garlic powder and paprika, scorch and turn bitter over a 30 to 40 minute roast at 400F. Adding them to the hot chickpeas straight from the oven lets the residual heat and oil bloom the flavor without burning it.
Do I need to remove the skins from the chickpeas?+
You do not have to, but it helps. The loose skins trap a little moisture and can stay leathery instead of crisping. Rubbing the drained chickpeas in a clean towel lifts most of the skins off in about a minute, and the ones that stay on are fine. If you want maximum crunch with minimum fuss, just dry them very well and skip the skin step.
Can I roast chickpeas in an air fryer instead?+
Yes, and they crisp up faster. Dry and oil them the same way, then air fry at around 390F for 12 to 15 minutes, shaking the basket halfway through. The smaller chamber circulates hot air more aggressively, so check them early and pull them when they are deep golden and rattle in the basket. Season after, just like the oven method.

Written by
VeganDigest Editorial is the small independent team that researches and fact-checks this site. We are not doctors or dietitians. For every is-it-vegan verdict we read the product's current ingredient list and manufacturer information, and for anything health-related we report guidance from recognized bodies such as the NHS, the Vegan Society, and the Academy of Nutrition and Dietetics rather than offering medical advice. Every page shows the date it was last verified, and our full process is on the How We Verify page.
Comments