How to Meal Prep Vegan (A Week of Food in 2 Hours)
In this guide9
- 01Why component prep beats batch-cooking finished meals
- 02The four components: grain, protein, sauce, roasted veg
- 03Batch a grain (the base of every bowl)
- 04Batch a protein: tofu, beans, or tempeh
- 05Batch a sauce (the thing that prevents boredom)
- 06Roast a tray of vegetables (set it and forget it)
- 07A realistic 2-hour Sunday plan
- 08Keep it from getting boring: how to mix and match
- 09The honest takeaway
The first time I tried meal prepping, I made an enormous batch of one thing. A single vat of chickpea curry, ladled into five identical containers on a Sunday night. I was so proud of myself.
By Wednesday I could not look at it. By Thursday I bought a sad wrap from the place near my office, and by Friday the last two containers went in the bin, curry and all. I had not saved time or money.
I had just paid for the privilege of getting sick of curry.
What finally fixed it was a small mental shift: stop prepping meals, start prepping components. Instead of five finished dinners, I now spend about two hours on a Sunday batching four building blocks, a grain, a protein, a sauce, and a tray of roasted vegetables.
Then all week I mix and match them into different bowls, wraps, and plates. The exact same fridge can become a peanut-noodle bowl on Monday and a smoky burrito on Tuesday. Same effort, no boredom.
Here is the whole system.
Why component prep beats batch-cooking finished meals
The math on this is simple and it changed how I eat. If you batch one finished dish, you get one meal repeated five times.
If you batch four components that each work with the others, you get something close to a dozen plausible combinations from the same shopping list. Four times the cooking effort would be exhausting; this is the same effort arranged smarter.
It also solves the two things that kill most meal prep. The first is boredom, which the mix-and-match approach beats by design. The second is sogginess.
When you store a finished bowl, the grain sits in sauce for four days and turns to paste, the crisp things go limp, and the whole thing smells faintly of the inside of a lunchbox. Store the components separately and you assemble each meal fresh, so the rice is still rice and the sauce still tastes like a sauce instead of a memory of one.
You do not need fancy gear. I use a stack of glass containers with snap lids, a few wide-mouth jars for sauces, a half-sheet pan, and one big pot. That is the entire toolkit.
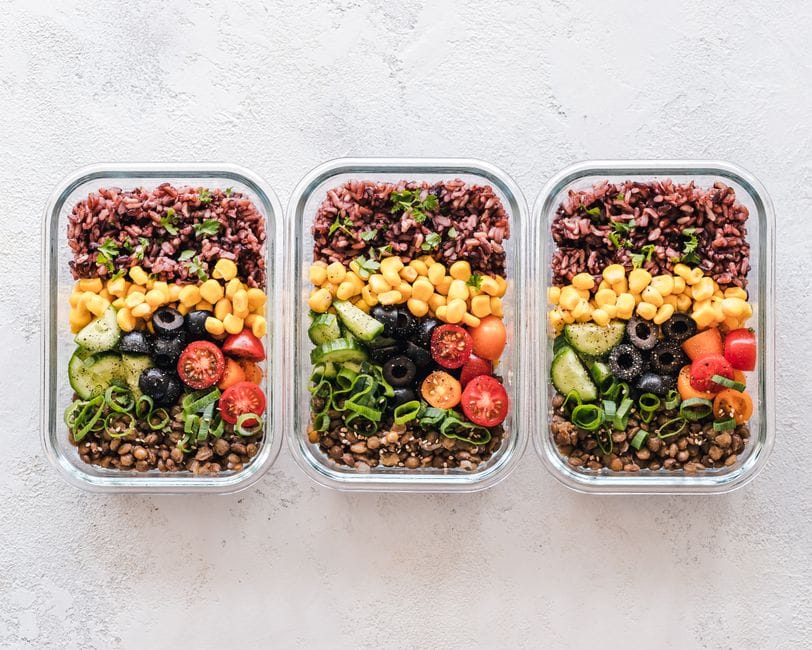
The four components: grain, protein, sauce, roasted veg
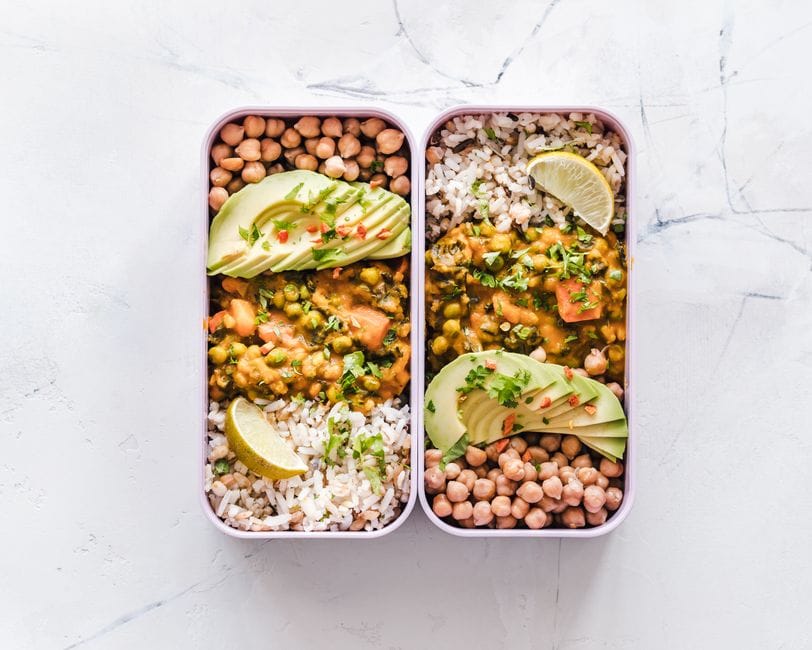 Photo: Ella Olsson / Pexels
Think of every bowl you build all week as the same four-part formula: a base of cooked grain, a hit of protein, a tray of roasted vegetables for substance and flavor, and a sauce to tie it together and stop it tasting like a diet. Get those four into the fridge and you are done thinking about food until next Sunday.
The trick is picking versions of each that play nicely with several cuisines, not just one. A pot of plain brown rice goes with a peanut sauce, a tahini sauce, or a smoky tomato one. A pot of saffron rice basically only goes with one thing.
Keep your components neutral and let the sauce do the personality work. I will walk through each one, then give you the actual two-hour Sunday plan to make them all at once.
Batch a grain (the base of every bowl)
The grain is your foundation and the easiest thing to get right. My defaults are brown rice, quinoa, or farro, and I rotate so I am not eating the same base two weeks running.
Cook a big pot, around 1.5 to 2 cups of dry grain, which gives you roughly five to six cups cooked. Brown rice takes about 40 to 45 minutes; quinoa is done in 15 and adds a useful 8 grams of protein per cooked cup, which matters more than people think, as I get into in the vegan protein guide.
Salt the cooking water properly. Bland grain is the number one reason prep tastes like punishment, and salt at the source fixes it for free.
One mistake I made for months: I cooked rice and immediately sealed it hot into a closed container, then wondered why it smelled off by day three. Trapped steam plus warmth is exactly how rice goes bad fast, and cooked rice in particular can grow a bacterium that survives reheating if it sits out warm, which is why food-safety guidance like the USDA FoodKeeper stresses cooling cooked grains quickly and refrigerating them promptly.
Spread the cooked grain on a plate or the same sheet pan to cool for ten minutes before it goes in the fridge, lid off until it is no longer steaming. Cooked grains keep a solid four days, and they freeze beautifully, so I often cook a double batch and freeze half flat in a bag for a week when I cannot face the stove.
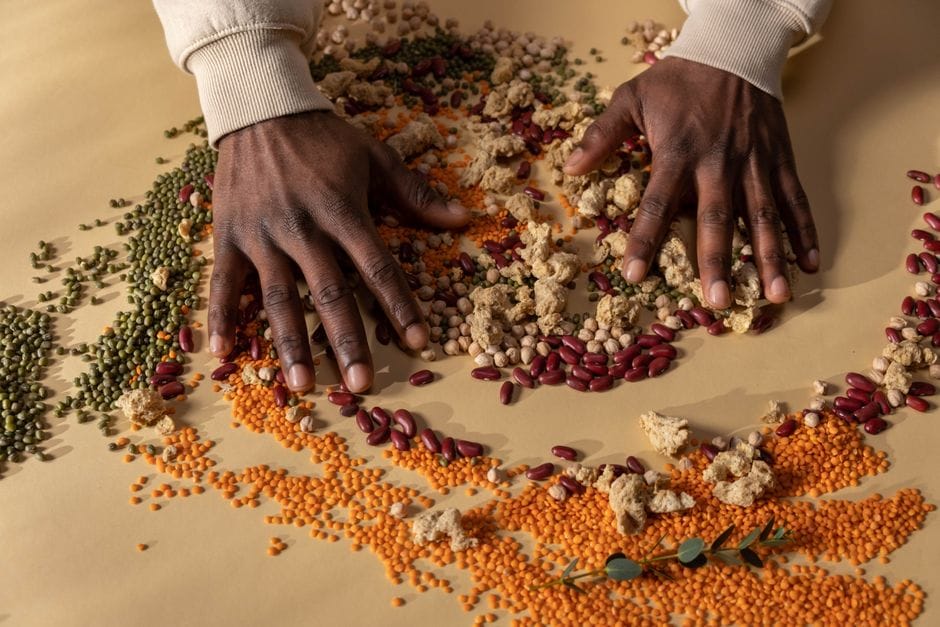
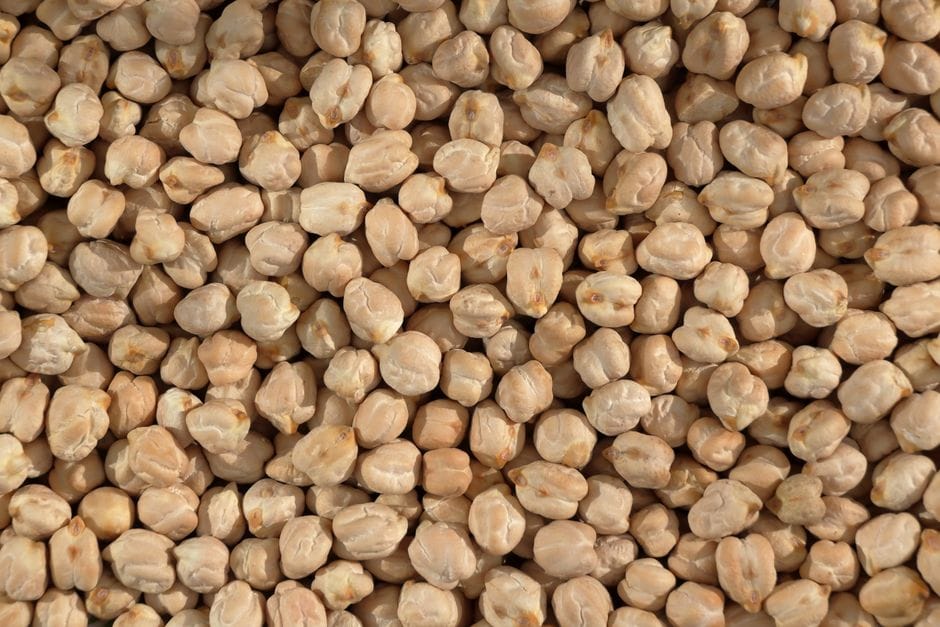
Batch a protein: tofu, beans, or tempeh
 Photo: www.kaboompics.com / Pexels
This is the component people overthink, so I rotate between three easy ones and never make all of them in one week.
Tofu is my most-used. A block of extra-firm, pressed and cubed, roasted on a sheet pan until the edges are golden and chewy, is the workhorse of my fridge. Pressing genuinely matters here, since waterlogged tofu steams instead of crisping.
If your tofu keeps coming out spongy and pale, the fix is in the tofu pressing guide and the how to cook tofu walkthrough. Roast it plain or tossed in a spoon of cornstarch and soy sauce so it stays useful for any flavor direction.
Beans and chickpeas are the cheapest, most forgiving option. A pot of beans cooked from dry costs about a dollar and tastes far better than canned, though canned is completely fine on a busy week, the protein is identical. If you want them creamy and weeknight-fast, the Instant Pot beans method is foolproof, and the how to cook chickpeas guide covers getting them tender enough to actually enjoy.
Tempeh is the one I ignored for too long. It is fermented soybeans with real chew and around 18 to 20 grams of protein per 100 grams, but straight from the package it can taste bitter.
The fix is to steam it for ten minutes before you cook it, which mellows it, then marinate and pan-fry. The cooking tempeh guide has the steam-then-marinate routine that finally won me over. Whichever you choose, make one protein, not three.
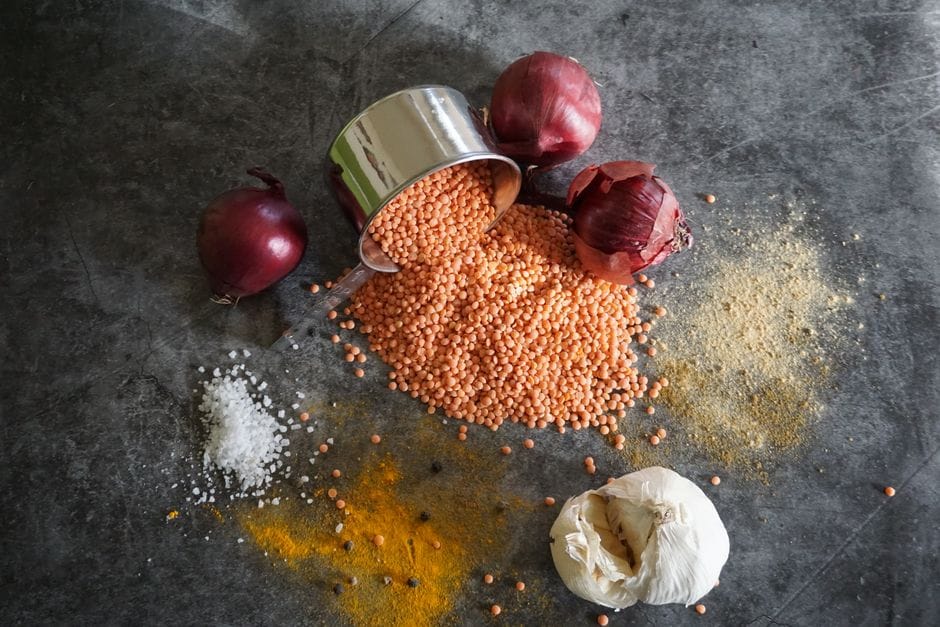
Batch a sauce (the thing that prevents boredom)
If you only take one idea from this whole article, make it this one: the sauce is what stops meal prep from feeling like a sentence. The same rice and roasted vegetables taste like a completely different meal under a peanut sauce versus a lemon-tahini one. A good jar of sauce is the cheapest variety you can buy.
I make one or two each Sunday, and they take five minutes in a blender or a jar. My three on heavy rotation:
Peanut-ginger: peanut butter, soy sauce, grated ginger, a little maple syrup, lime, and water to thin. Makes any bowl taste like takeout.
Lemon-tahini: tahini, lemon juice, a small clove of garlic, salt, and water until it pours. Goes on absolutely everything, especially roasted vegetables and chickpeas.
Smoky tomato: tomato paste, smoked paprika, garlic, a splash of vegan mayo for body, and a little nutritional yeast for savory depth. This is my burrito-and-grain-bowl sauce.
One honest warning learned the hard way: sauces with raw fresh garlic do not keep as long as you would hope and can develop an unpleasant sharp edge by day four or five. If you want a sauce to last the full week, use a pinch of garlic powder instead of a fresh clove, or just make a small batch midweek.
If you ever find yourself buying a jarred sauce instead, it is worth running the label through the ingredient checker, because fish sauce and honey hide in more bottled sauces than you would expect, and you can confirm a specific brand in the Is It Vegan database.
Roast a tray of vegetables (set it and forget it)
This is the most hands-off component and the one that makes a bowl feel like real food instead of assembled snacks. While the grain simmers and the protein roasts, you fill a second sheet pan with whatever vegetables need using up.
My reliable roasters are sweet potato, broccoli, cauliflower, bell pepper, red onion, and carrots, cut into similar-sized pieces so they finish together. Toss with a glug of olive oil, salt, and pepper, and roast at 220 C, around 425 F, for 25 to 35 minutes until the edges caramelize.
Do not crowd the pan. The single most common roasting mistake is piling everything on so it steams and goes gray instead of browning. If it does not all fit in a single layer, use two pans or two rounds.
Roasted vegetables reheat well and many of them, especially root vegetables, taste better the next day. The exceptions are anything you want crisp and bright.
I keep raw spinach, cucumber, and avocado completely separate and add them cold at the end, because nobody wants four-day-old wilted spinach reheated into a bowl. Roast the sturdy stuff on Sunday; keep the fresh, crunchy stuff for assembly.
A realistic 2-hour Sunday plan
Here is how it actually fits into two hours, run in parallel rather than one task after another. This is the difference between two hours and five.
Minutes 0 to 10: Preheat the oven to 220 C. Press the tofu (put the block under a heavy pan while you do everything else). Start the grain on the stove.
Put on a podcast.
Minutes 10 to 25: Chop all your roasting vegetables and spread them on a sheet pan. Cube the now-pressed tofu, toss it in cornstarch and soy sauce, and spread it on a second pan. Both pans go in the oven.
Minutes 25 to 55: This is your free window while everything cooks. Make your one or two sauces in a jar or blender, five minutes each. Rinse and drain your beans or chickpeas, or set them simmering if cooking from dry.
Wash and dry the fresh vegetables you will keep raw. Wash the few dishes you have already dirtied so the kitchen is not a disaster at the end.
Minutes 55 to 75: Pull the vegetables and tofu when the edges are browned. Check the grain. Spread the grain out to cool, lid off.
Minutes 75 to 120: Let everything cool to no-longer-steaming, then portion into containers, components kept separate. Label nothing fancy; you will remember what the brown jar is. Wipe the counters.
Done.
Two hours, four components, and a fridge that can produce a different lunch and dinner every day until Thursday.
Keep it from getting boring: how to mix and match
This is where the system pays off. The same four containers become genuinely different meals depending on how you assemble them. A few of my standard moves from one week's prep:
Takeout bowl: rice, crispy tofu, roasted broccoli and pepper, peanut-ginger sauce, raw cucumber on top.
Mediterranean plate: chickpeas, roasted sweet potato and cauliflower, lemon-tahini sauce, raw spinach folded in warm.
Burrito or wrap: beans, grain, roasted pepper and onion, smoky tomato sauce, wrapped in a tortilla with avocado. Check your tortillas are vegan in the Is It Vegan database, since some contain lard.
Quick stir-fry: everything thrown in a hot pan with extra soy sauce for two minutes, which also re-crisps the tofu far better than a microwave.
The rules that keep it interesting: change the sauce more often than anything else, because that is what your tongue notices most. Add one fresh, raw, crunchy element to every bowl at assembly so it never feels like leftovers.
And reheat the warm components in a skillet or air fryer when you have five minutes, since that brings the tofu and roasted veg back to life in a way the microwave never will.
The honest takeaway
Meal prep does not mean eating the same gray dinner five nights running, and it does not require a Sunday lost to the kitchen. It means spending two focused hours building four flexible components, then letting a rotating cast of sauces and fresh toppings do the variety for you.
Batch a grain, batch one protein, blend a sauce or two, roast a tray of vegetables, and keep them all separate.
Do that, and by Tuesday you are not dreading another container of the same thing. You are assembling a peanut bowl, then a tahini plate, then a smoky burrito, all from one shopping trip and one quiet Sunday.
That is the version of meal prep that actually sticks, because it never once tastes like a chore you are enduring to save time. It just tastes like dinner.
Frequently asked questions
How long does vegan meal prep last in the fridge?+
Most cooked components hold three to four days in the fridge in airtight containers, which is why I prep for half a week rather than seven days. Cooked grains, beans, and roasted vegetables are reliably good for four days. Crispy tofu and tempeh are best in the first three days because they soften over time. Sauces with no fresh garlic or fresh herbs can stretch closer to five. When in doubt, freeze half the batch on prep day and pull it later in the week.
Should I cook everything together or keep components separate?+
Keep them separate. The whole point of component prep is that four containers of grain, protein, sauce, and roasted veg can become five or six different meals, while one big container of assembled stir-fry is just the same stir-fry five times. Store each element on its own and combine them fresh at mealtime. The grain reheats better when it has not been sitting in sauce all week, and you avoid the soggy, monotonous lunch that makes people quit meal prep by Wednesday.
What vegan foods reheat well and which ones do not?+
Grains, beans, lentils, roasted root vegetables, and saucy braised dishes reheat beautifully and often taste better on day two. Crispy tofu and tempeh reheat fine but lose their crunch unless you use an air fryer or a hot skillet rather than the microwave. The things to keep raw and add at the end are anything with fresh crunch or leafy texture, like spinach, cucumber, avocado, and fresh herbs. Reheat the warm parts, then add the cold and crunchy parts after.
Can you freeze vegan meal prep?+
Yes, and it is the single best trick for keeping prep from getting boring. Cooked grains, beans, lentils, soups, and most sauces freeze well for two to three months. Portion them flat in freezer bags or small containers so they thaw fast. The components that do not freeze well are anything you want crisp, like roasted potatoes or fried tofu, which turn watery, and raw vegetables you plan to eat fresh. Freeze the saucy, starchy things and keep the crisp things for the current week.

Written by
VeganDigest Editorial is the small independent team that researches and fact-checks this site. We are not doctors or dietitians. For every is-it-vegan verdict we read the product's current ingredient list and manufacturer information, and for anything health-related we report guidance from recognized bodies such as the NHS, the Vegan Society, and the Academy of Nutrition and Dietetics rather than offering medical advice. Every page shows the date it was last verified, and our full process is on the How We Verify page.
Comments